DIY: Front Door Painting Trick
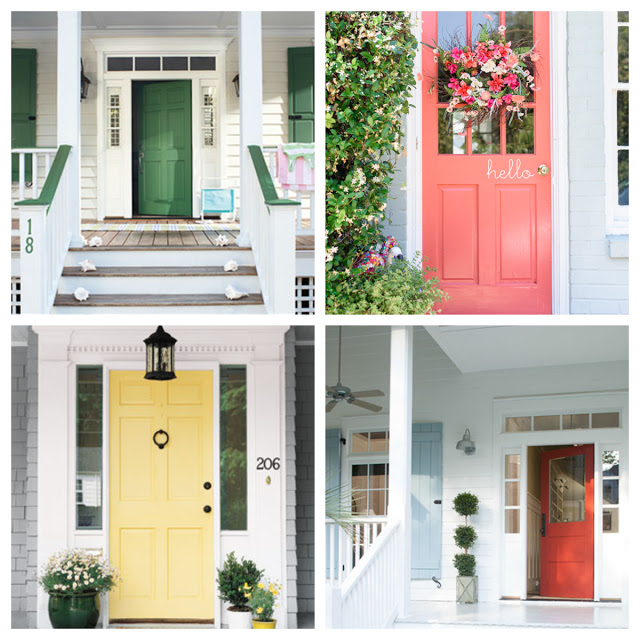
One of the easiest project you can DIY this Spring is repainting your front door. A fresh coat of paint, on the front door, can help your entry way take on any personality.
Check out these amazing examples:
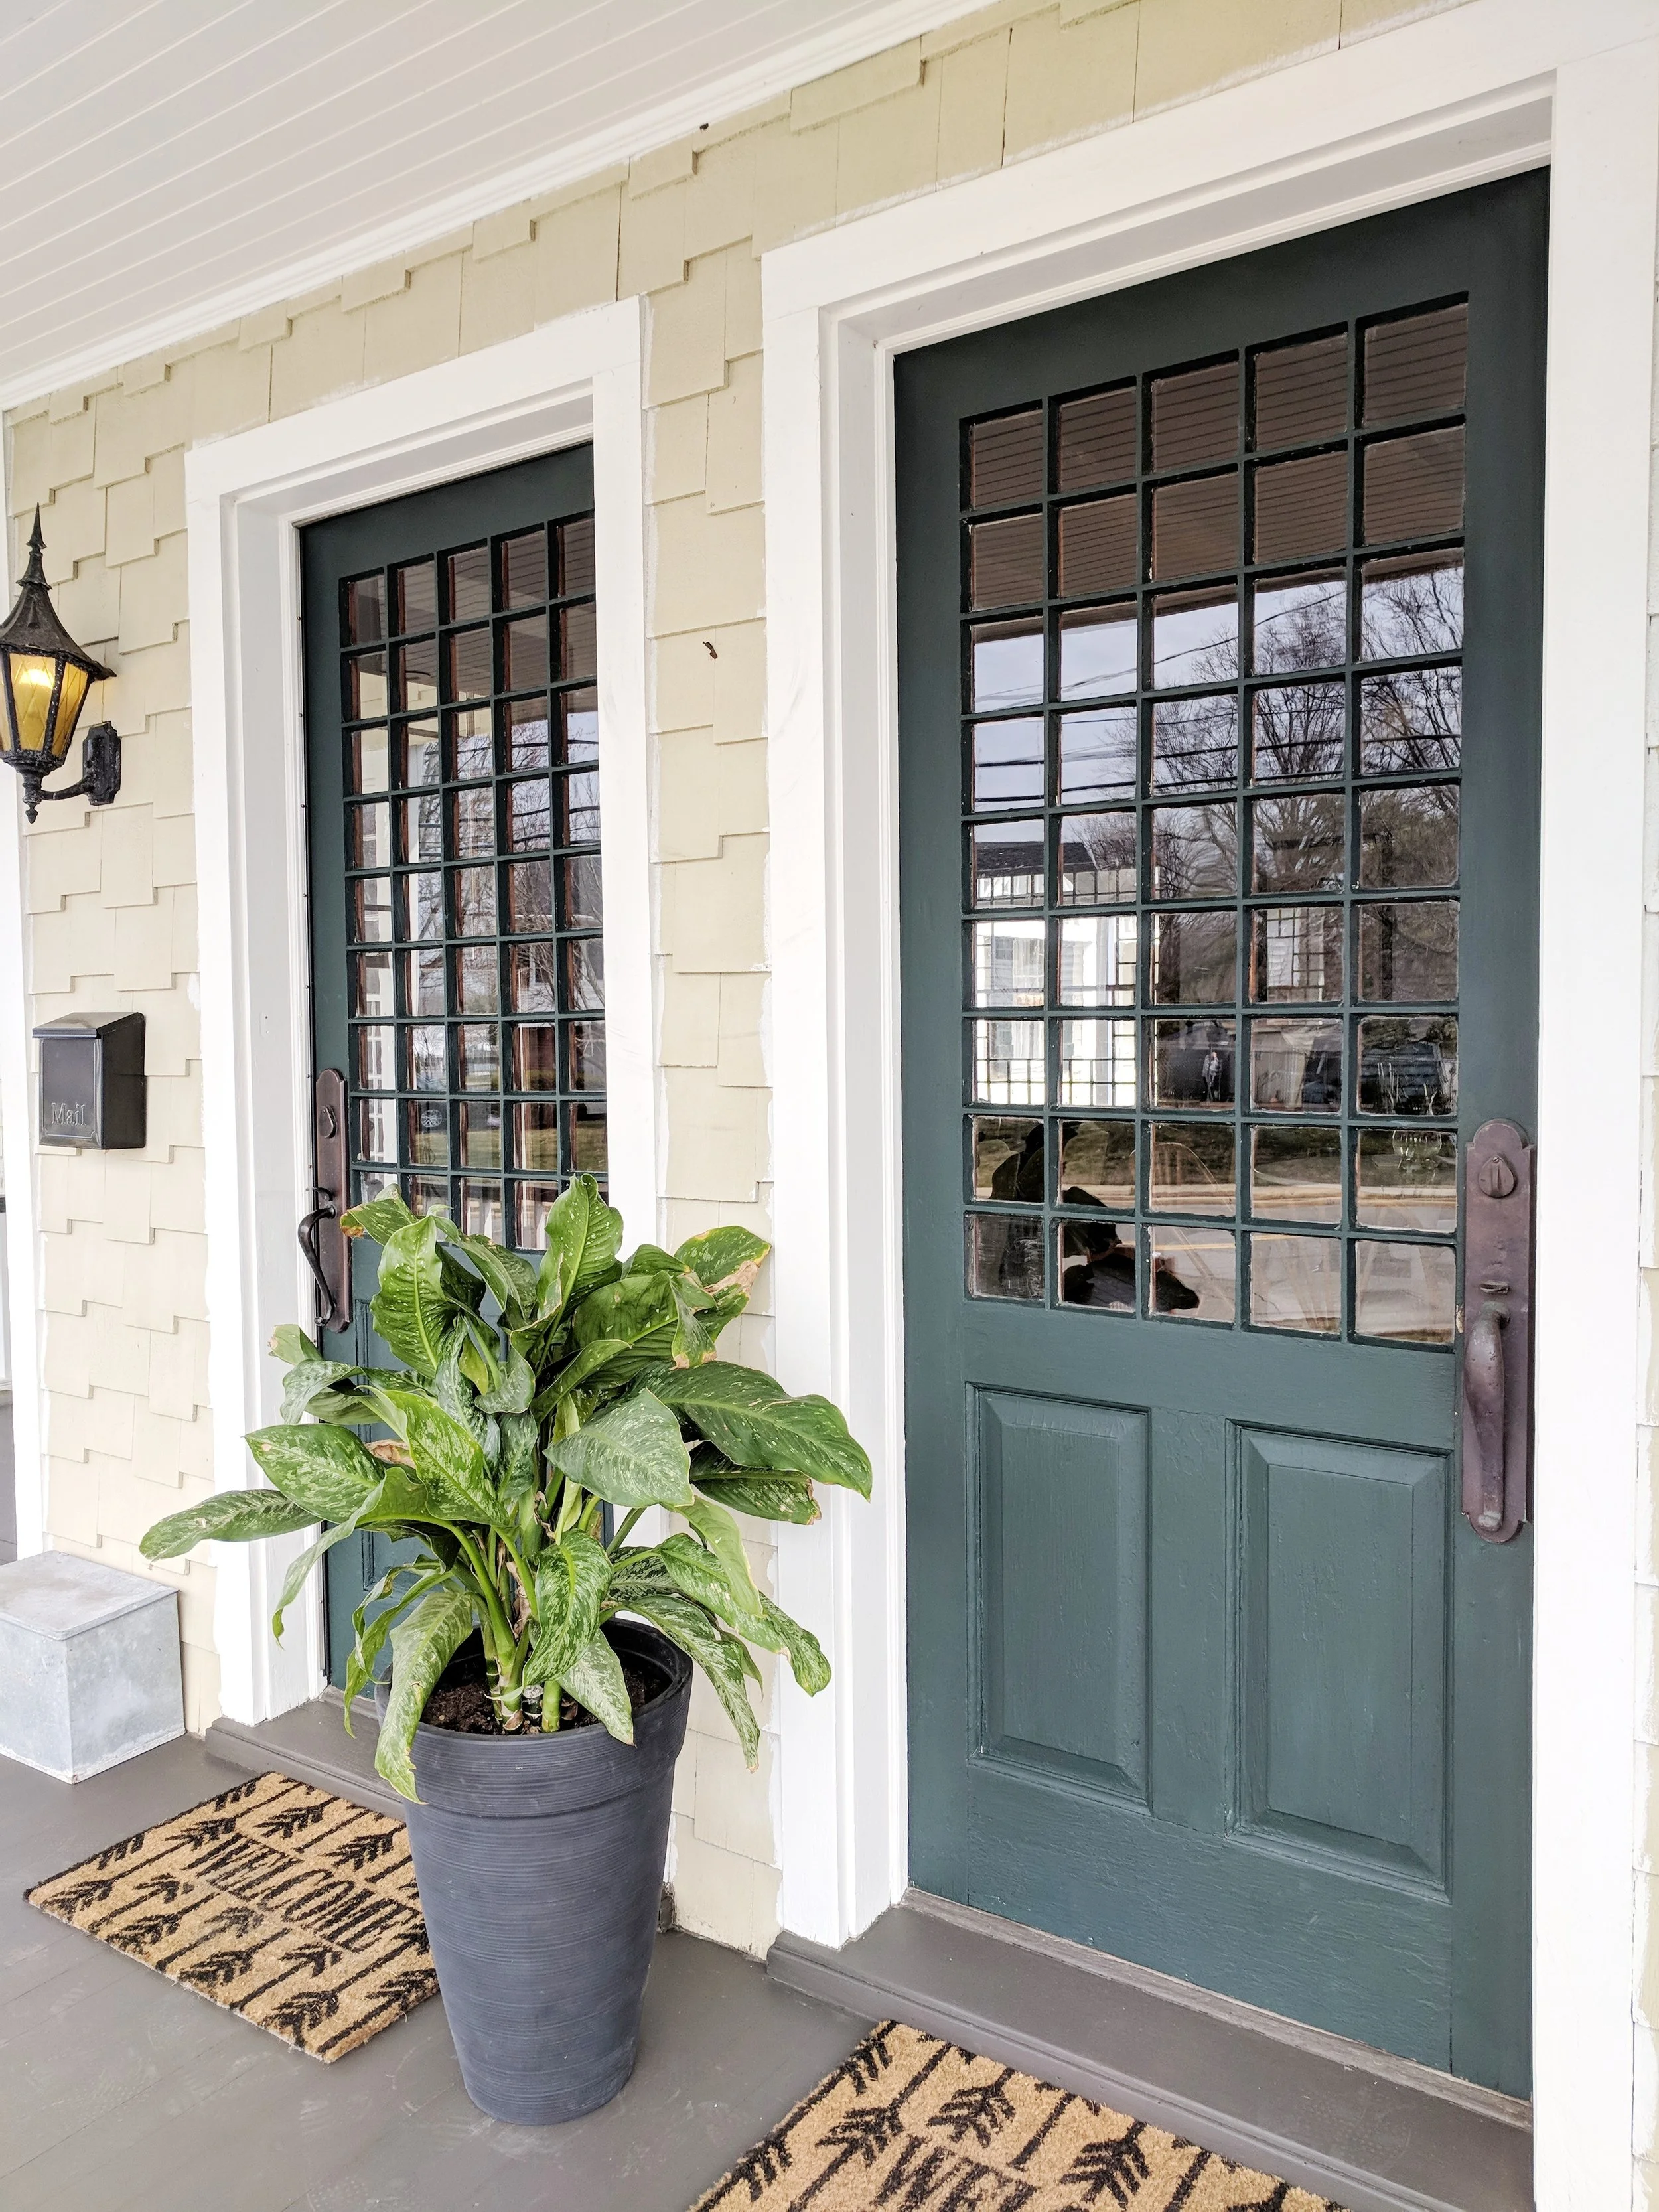
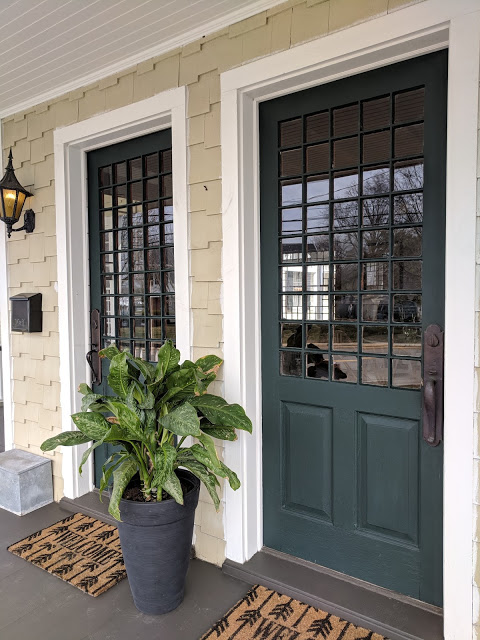
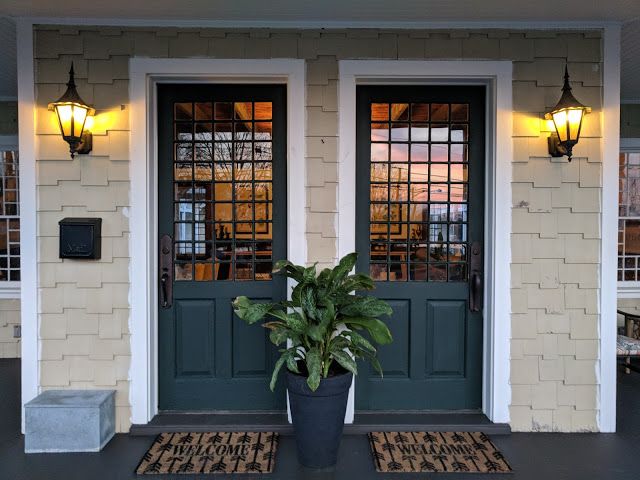
For Content, our front door has been screaming for help since we bought the house in 2014.
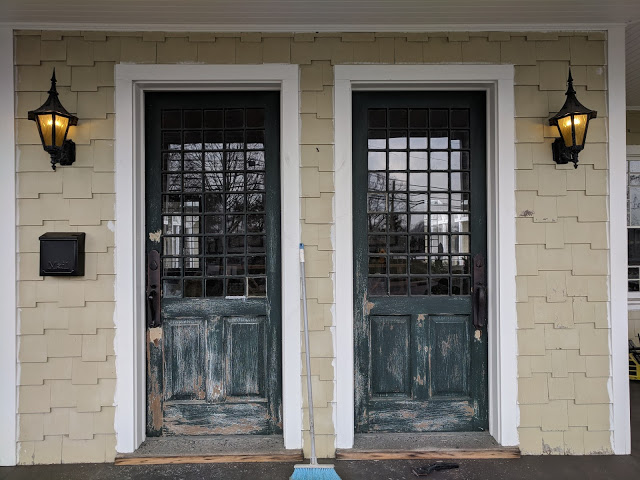

We wanted to keep the historic charm, matching the original front door paint color. The closest match we could find was Benjamin Moore Tarrytown Green (plus or minus a few adjustments).
Here's our local paint shop color matching the window shutter I brought in.
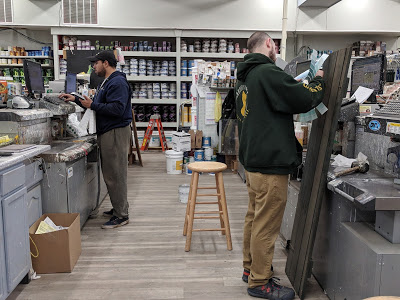
If you're not aware, most paint counters will color match just about anything. Bring them in a swatch of fabric or a petal from your favorite flower and they use a scanner to match the color. Chances are "Flower Petal" is actually a Benjamin Moore color, but you know what I mean...
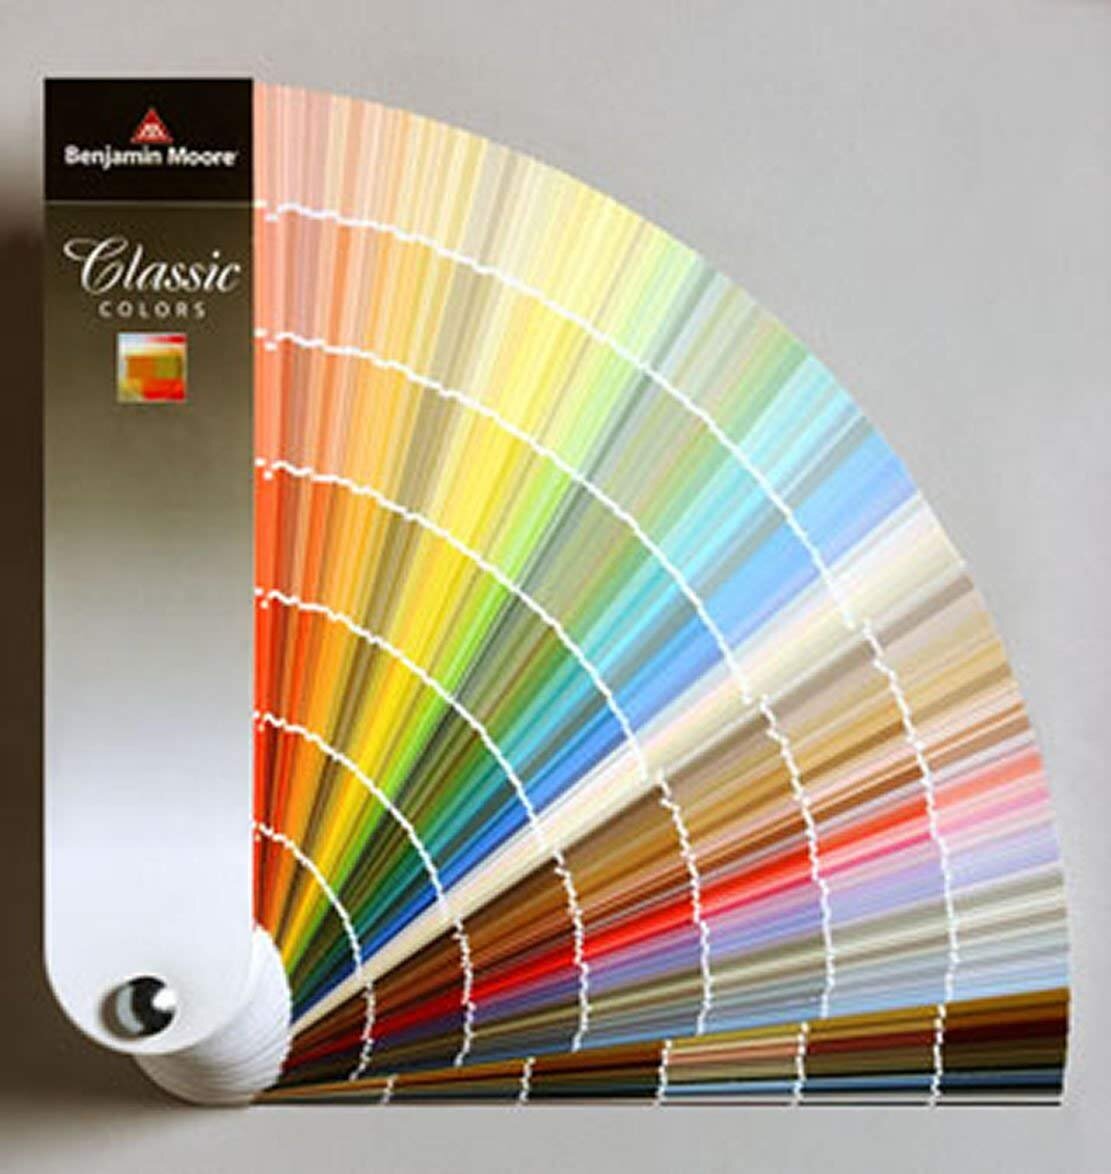
A Note On Paint Samples:
With any DIY paint project, buying paint samples can add up quickly (roughly $8 per pint)!
We’d suggest investing in your own paint deck fan, like this one from Benjamin Moore, to focus your search.
If you are starting a big project or work with clients on their projects, we recommend this paint deck set that includes a carrying case.
However, if you do not have a local Benjamin Moore distributor, you can start your search at a local home improvement store:
Lowe’s carries Sherwin Williams or Vaslpar products
Home Depot carries Behr products.
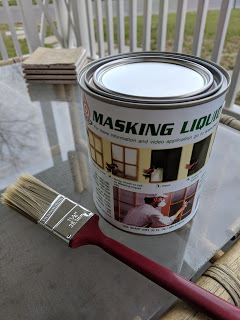
As DIYers, John and I rely on a few steadfast materials and products, but our renovation arsenal just grew by one with the find of Masking Liquid H2O (available on Amazon).
Masking Liquid H2O is easily applied to glass or any surface (I believe) and acts like blue painter's tape but in a liquid form. It's pretty phenomenal, and no, this is not a paid advertisement.

We also recommend checking out our DIY Painting Must Haves before starting any painting project. Having the right tools is the best way to make any DIY project a success!
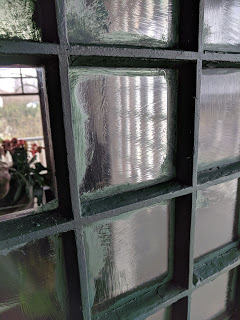
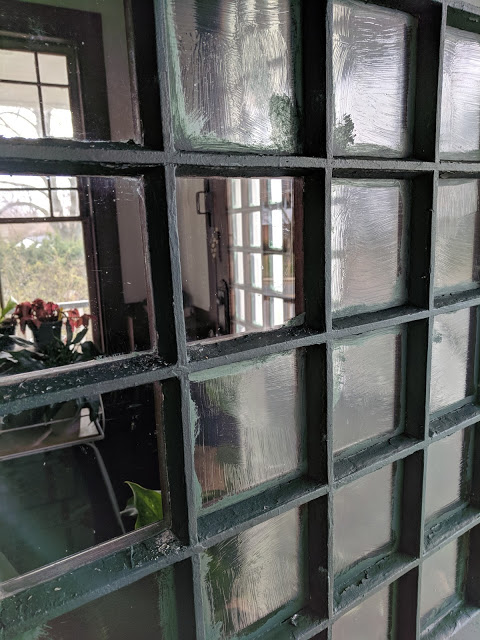
Here’s of favorite painting trick for any door with multiple windows.
The basic process is:
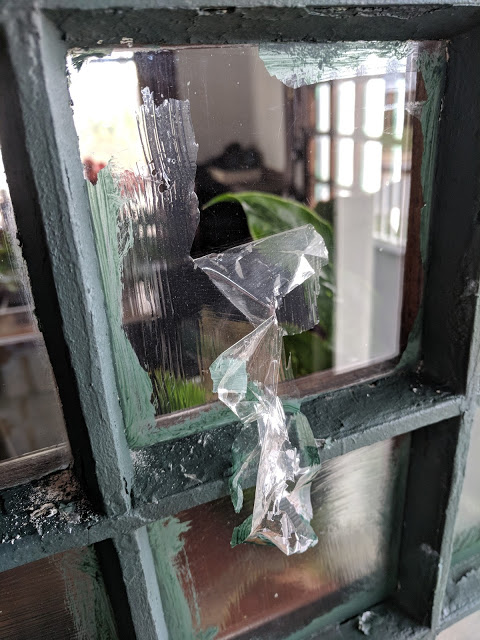
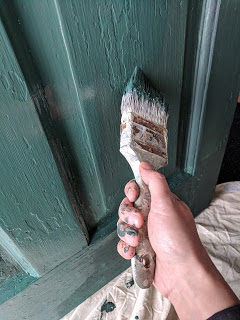
First, you paint on masking H2O, applying it to the surface you don't want to get paint on. The liquid is milky at first, which help with application, then dries clear.
USER NOTE: Next time I use this product, I will apply two coats to achieve a more rubbery peel as opposed to the shattered plastic (seen below).
After you allow the masking H2O to dry you can then proceed to paint regularly (or in my case all over ever surface that isn't suppose to get painted...)
Once your regular paint application is complete you allow the paint to dry for 24 hours. Then with a multi-tool or razor, you score along the edge and peel away the Masking Liquid H2O including any paint that has 'runneth over'.
Always more to paint on an old house...
What do you think, will you give this painting trick a try? Comment below with your thoughts on this DIY and be sure to check out our favorite DIY painting must haves for all the products and tools we use to make our painting projects successful.
Interested in seeing some of our other DIY projects, check out a few below!