DIY: Wood Shaving Fire Starters Christmas Gift
John and I love vending at our local holiday markets. It’s a wonderful opportunity to display John’s woodworking projects, share all the service we provide through Content + Co and connect with our community.
You can see our full holiday market schedule here.
And while John is busy in the workshop making wood home décor and gifts, I try to produce one new product, each season, that’s either a byproduct of John’s woodworking or adds value to our selection.
Past contributions have been our handmade, conditioning Wood Wax and our cedar sachets.
This year, I wanted to find a creative use for the wood shavings produced during the making of our Wine Butlers. John uses a round bit to make the bottle opening, and the process produces the prettiest shavings that (I think) resemble wavy, mushroom tops.
A little internet research about the many uses for wood shavings, brought me to fire starters, and I knew I’d found our 2019 holiday market product.
You can find our “ready-to-gift” All-Natural Wood Shaving Fire Starters in our Shop, but if you’re feeling motivated, here’s a quick DIY tutorial for Wood Shaving Fire Starter tutorial that you can try at home.
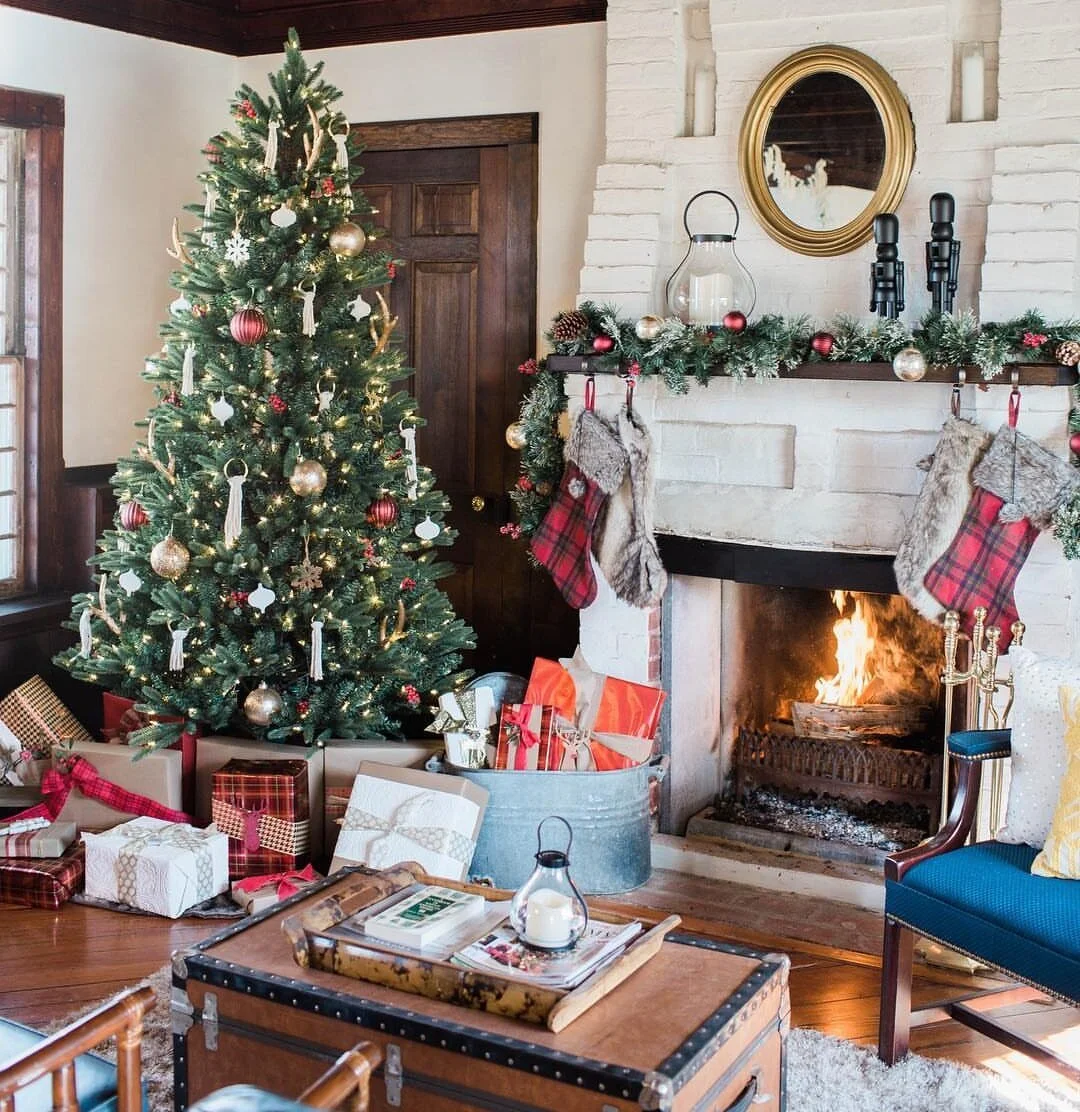
They make wonderful DIY Christmas Gifts for anyone that has a traditional fireplace or enjoys a camp fire!
DIY: Wood Shaving Fire Starters
Here’s what you’ll need:
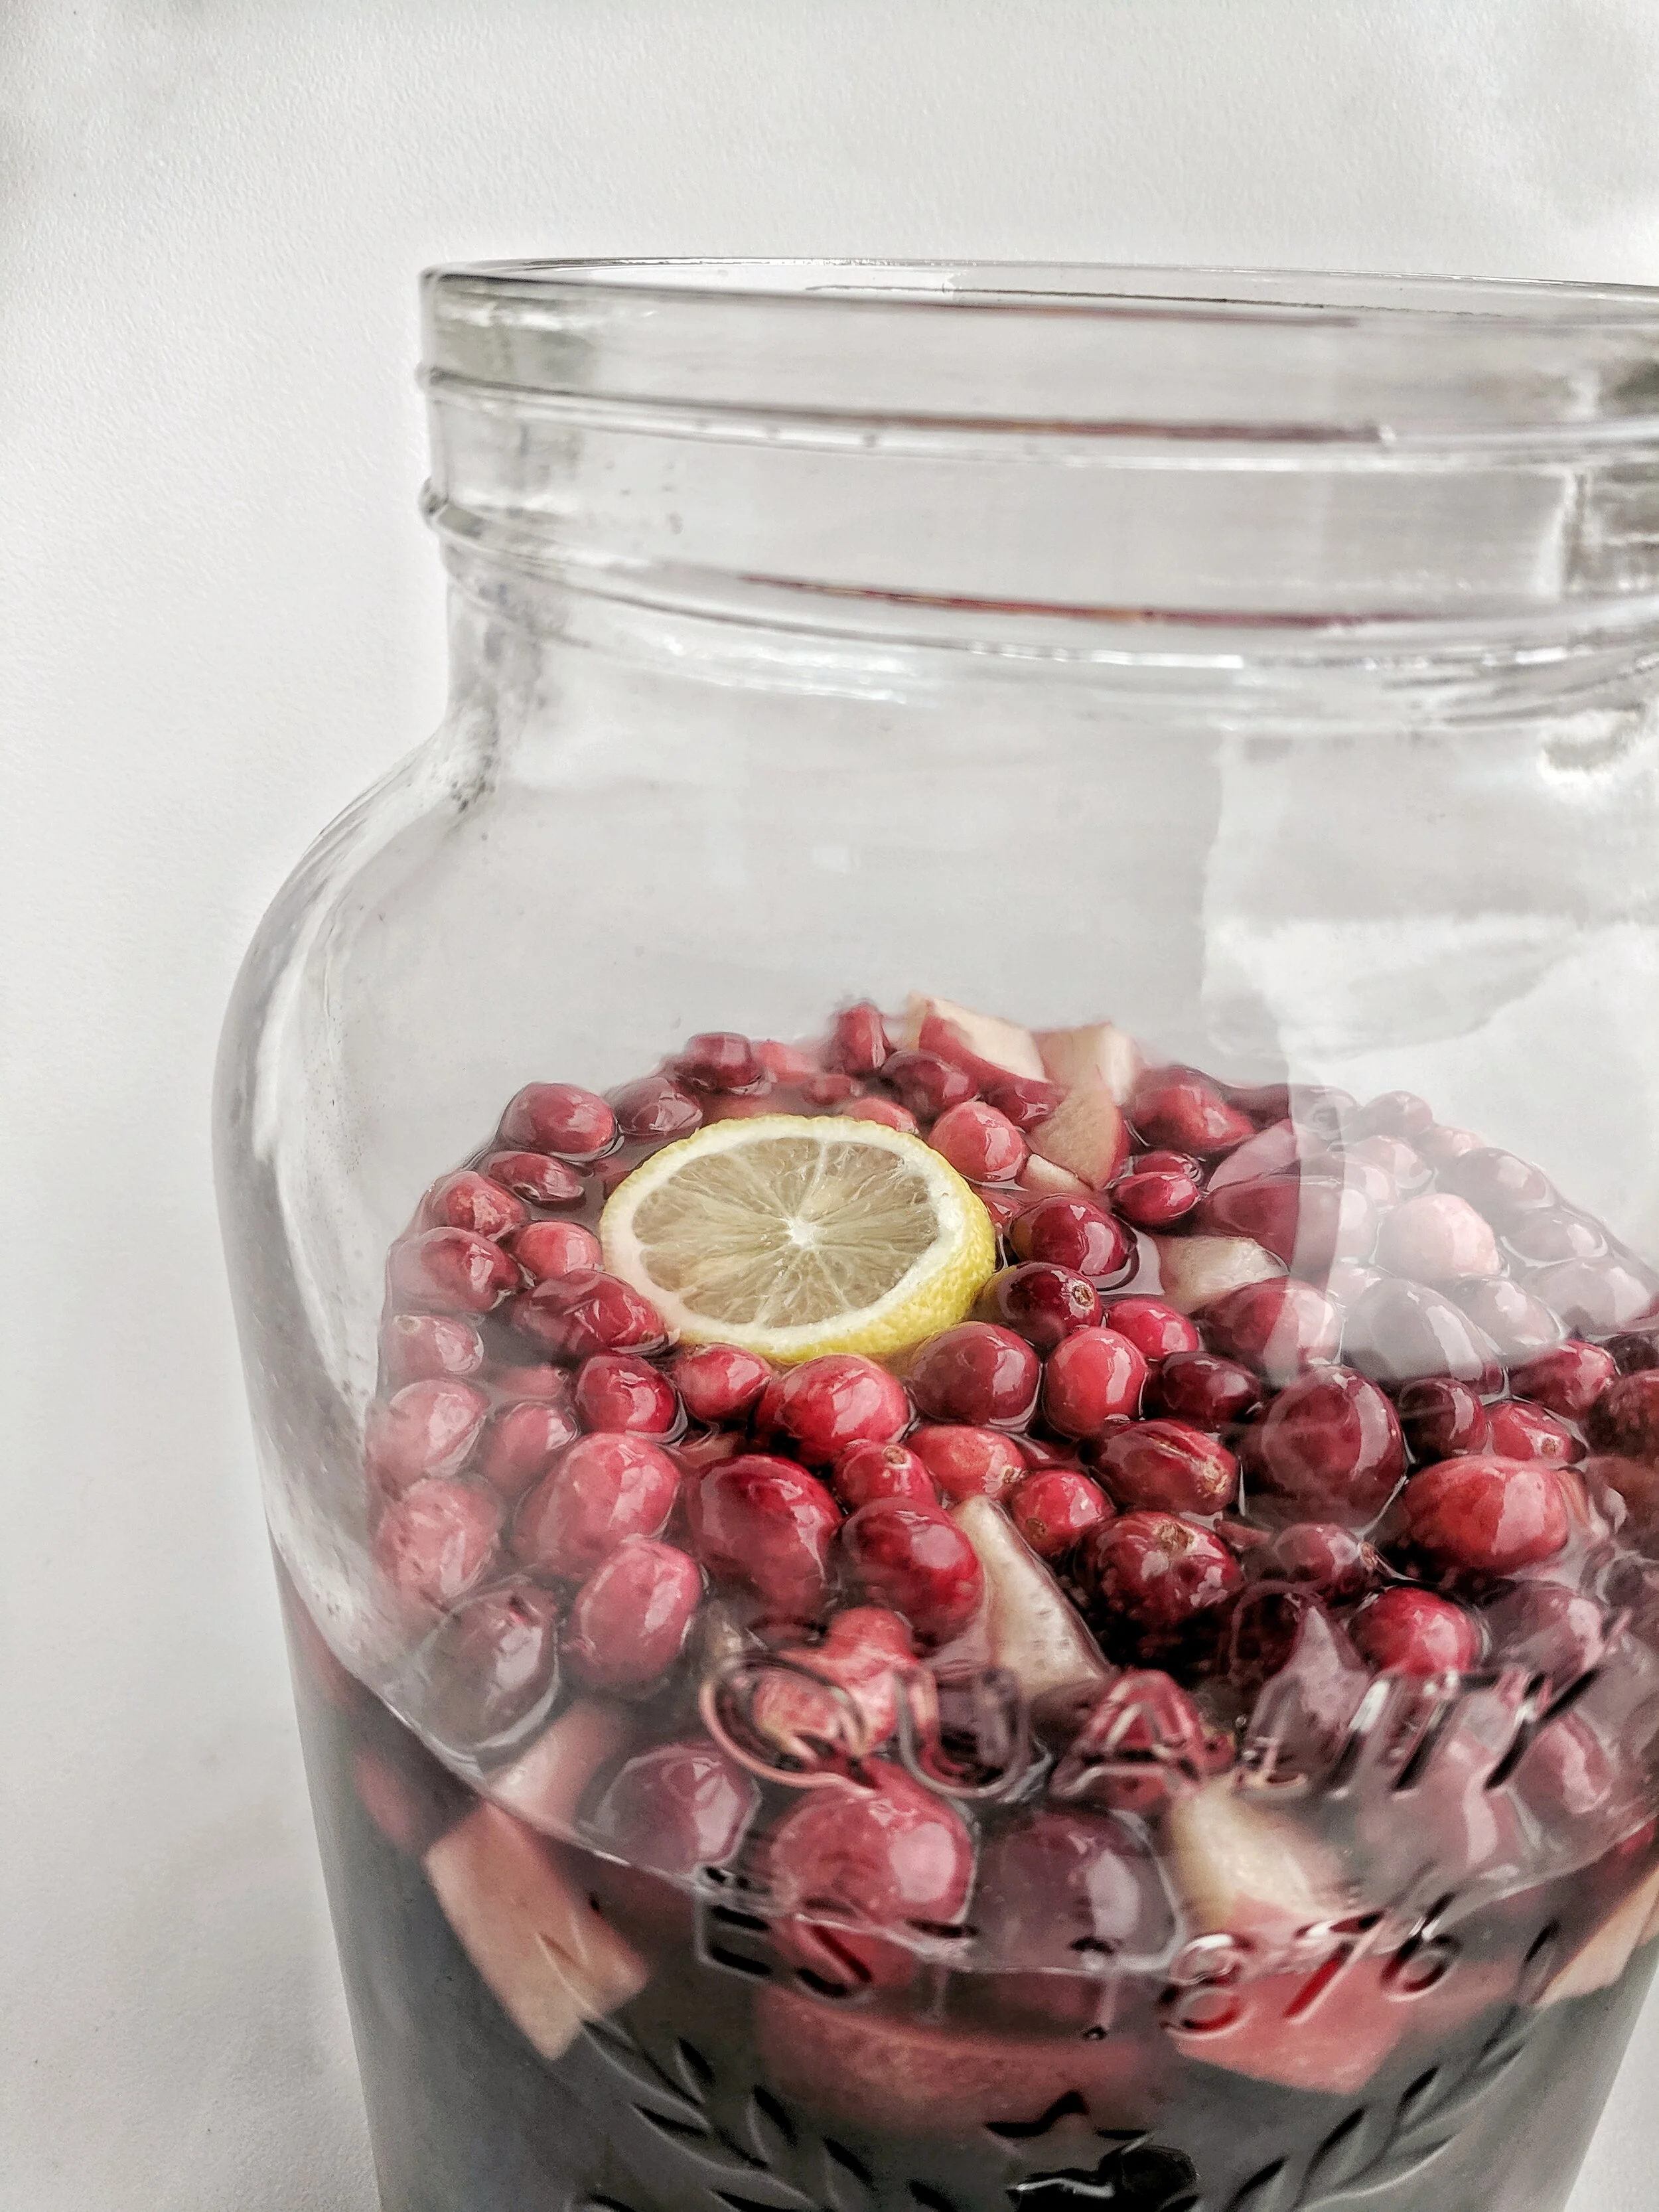
Wood shavings (*any dry, soft wood will suffice)
1 pound natural soy wax flakes
(12) 1 1/2 inch cotton wick pieces
Natural, foraged elements: juniper sprig and juniper berries
Aromatic elements: cinnamon stick, star anise
Candle Making Pour Pot (*I found a used pot from Good Will specifically for crafting)
Muffin tin (*I found a used muffin tin from Good Will specifically for crafting)
Drop cloth or large rag for work surface
Step-By-Step Instructions:
Step One
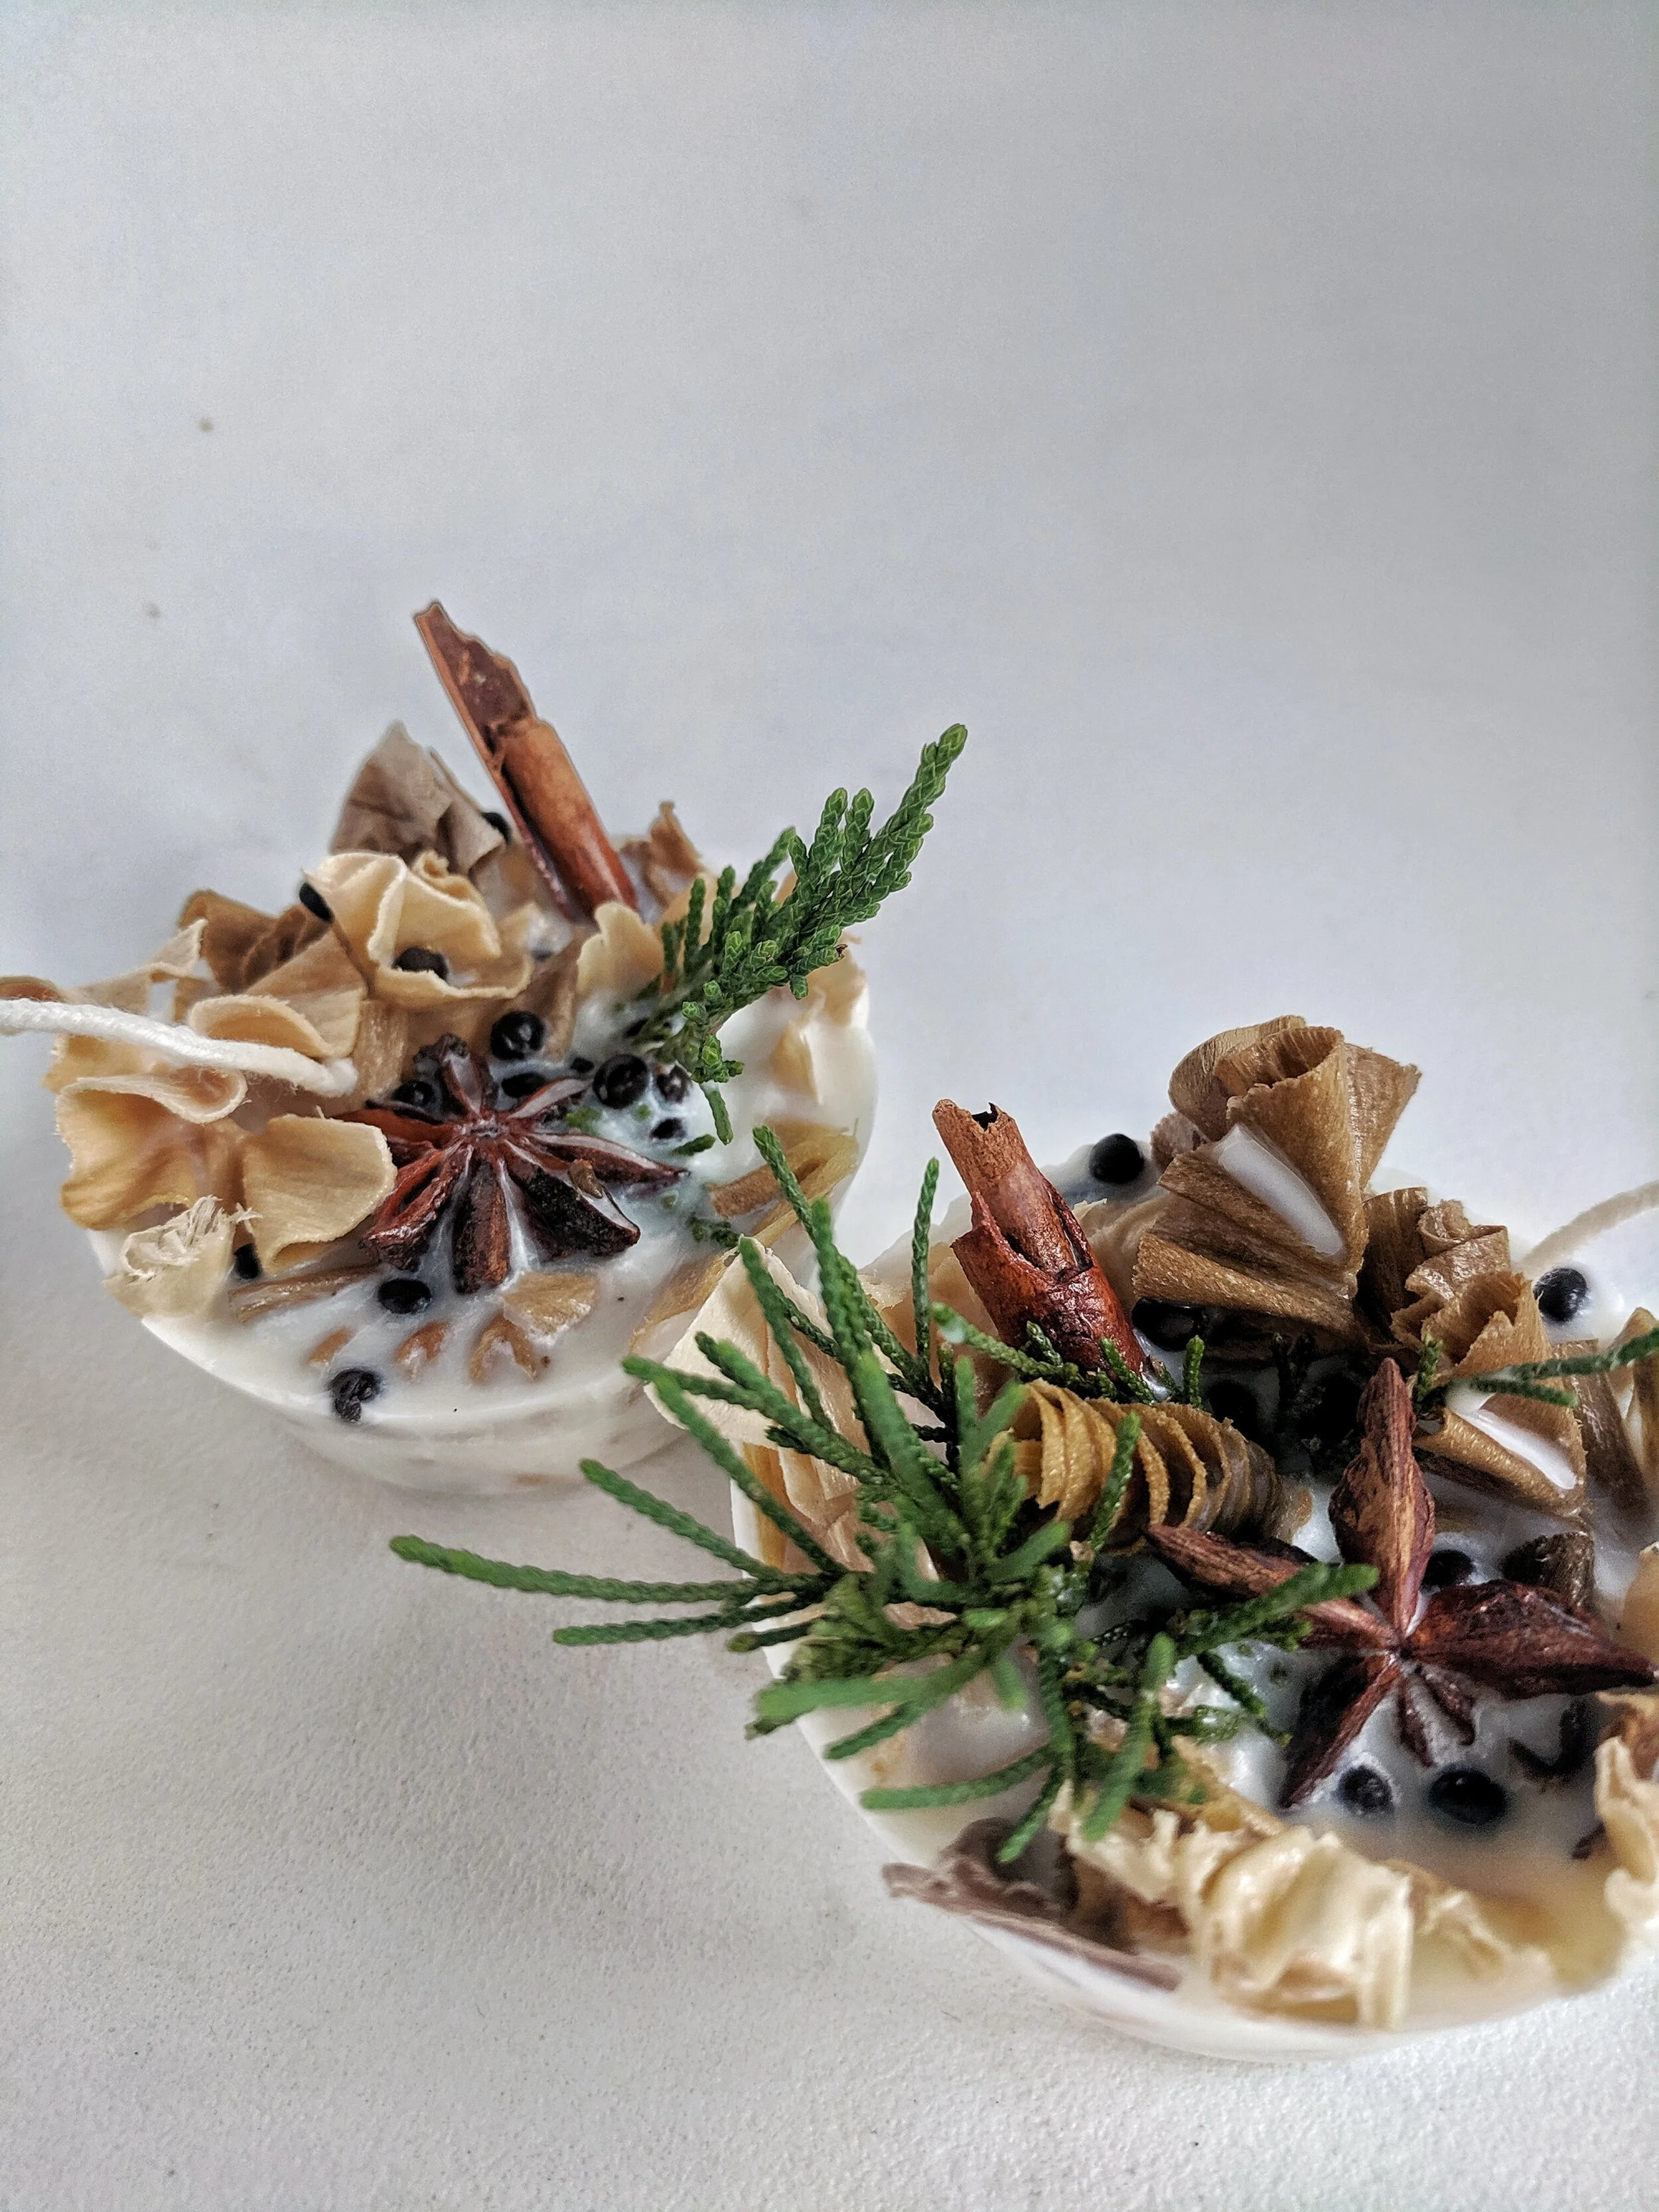
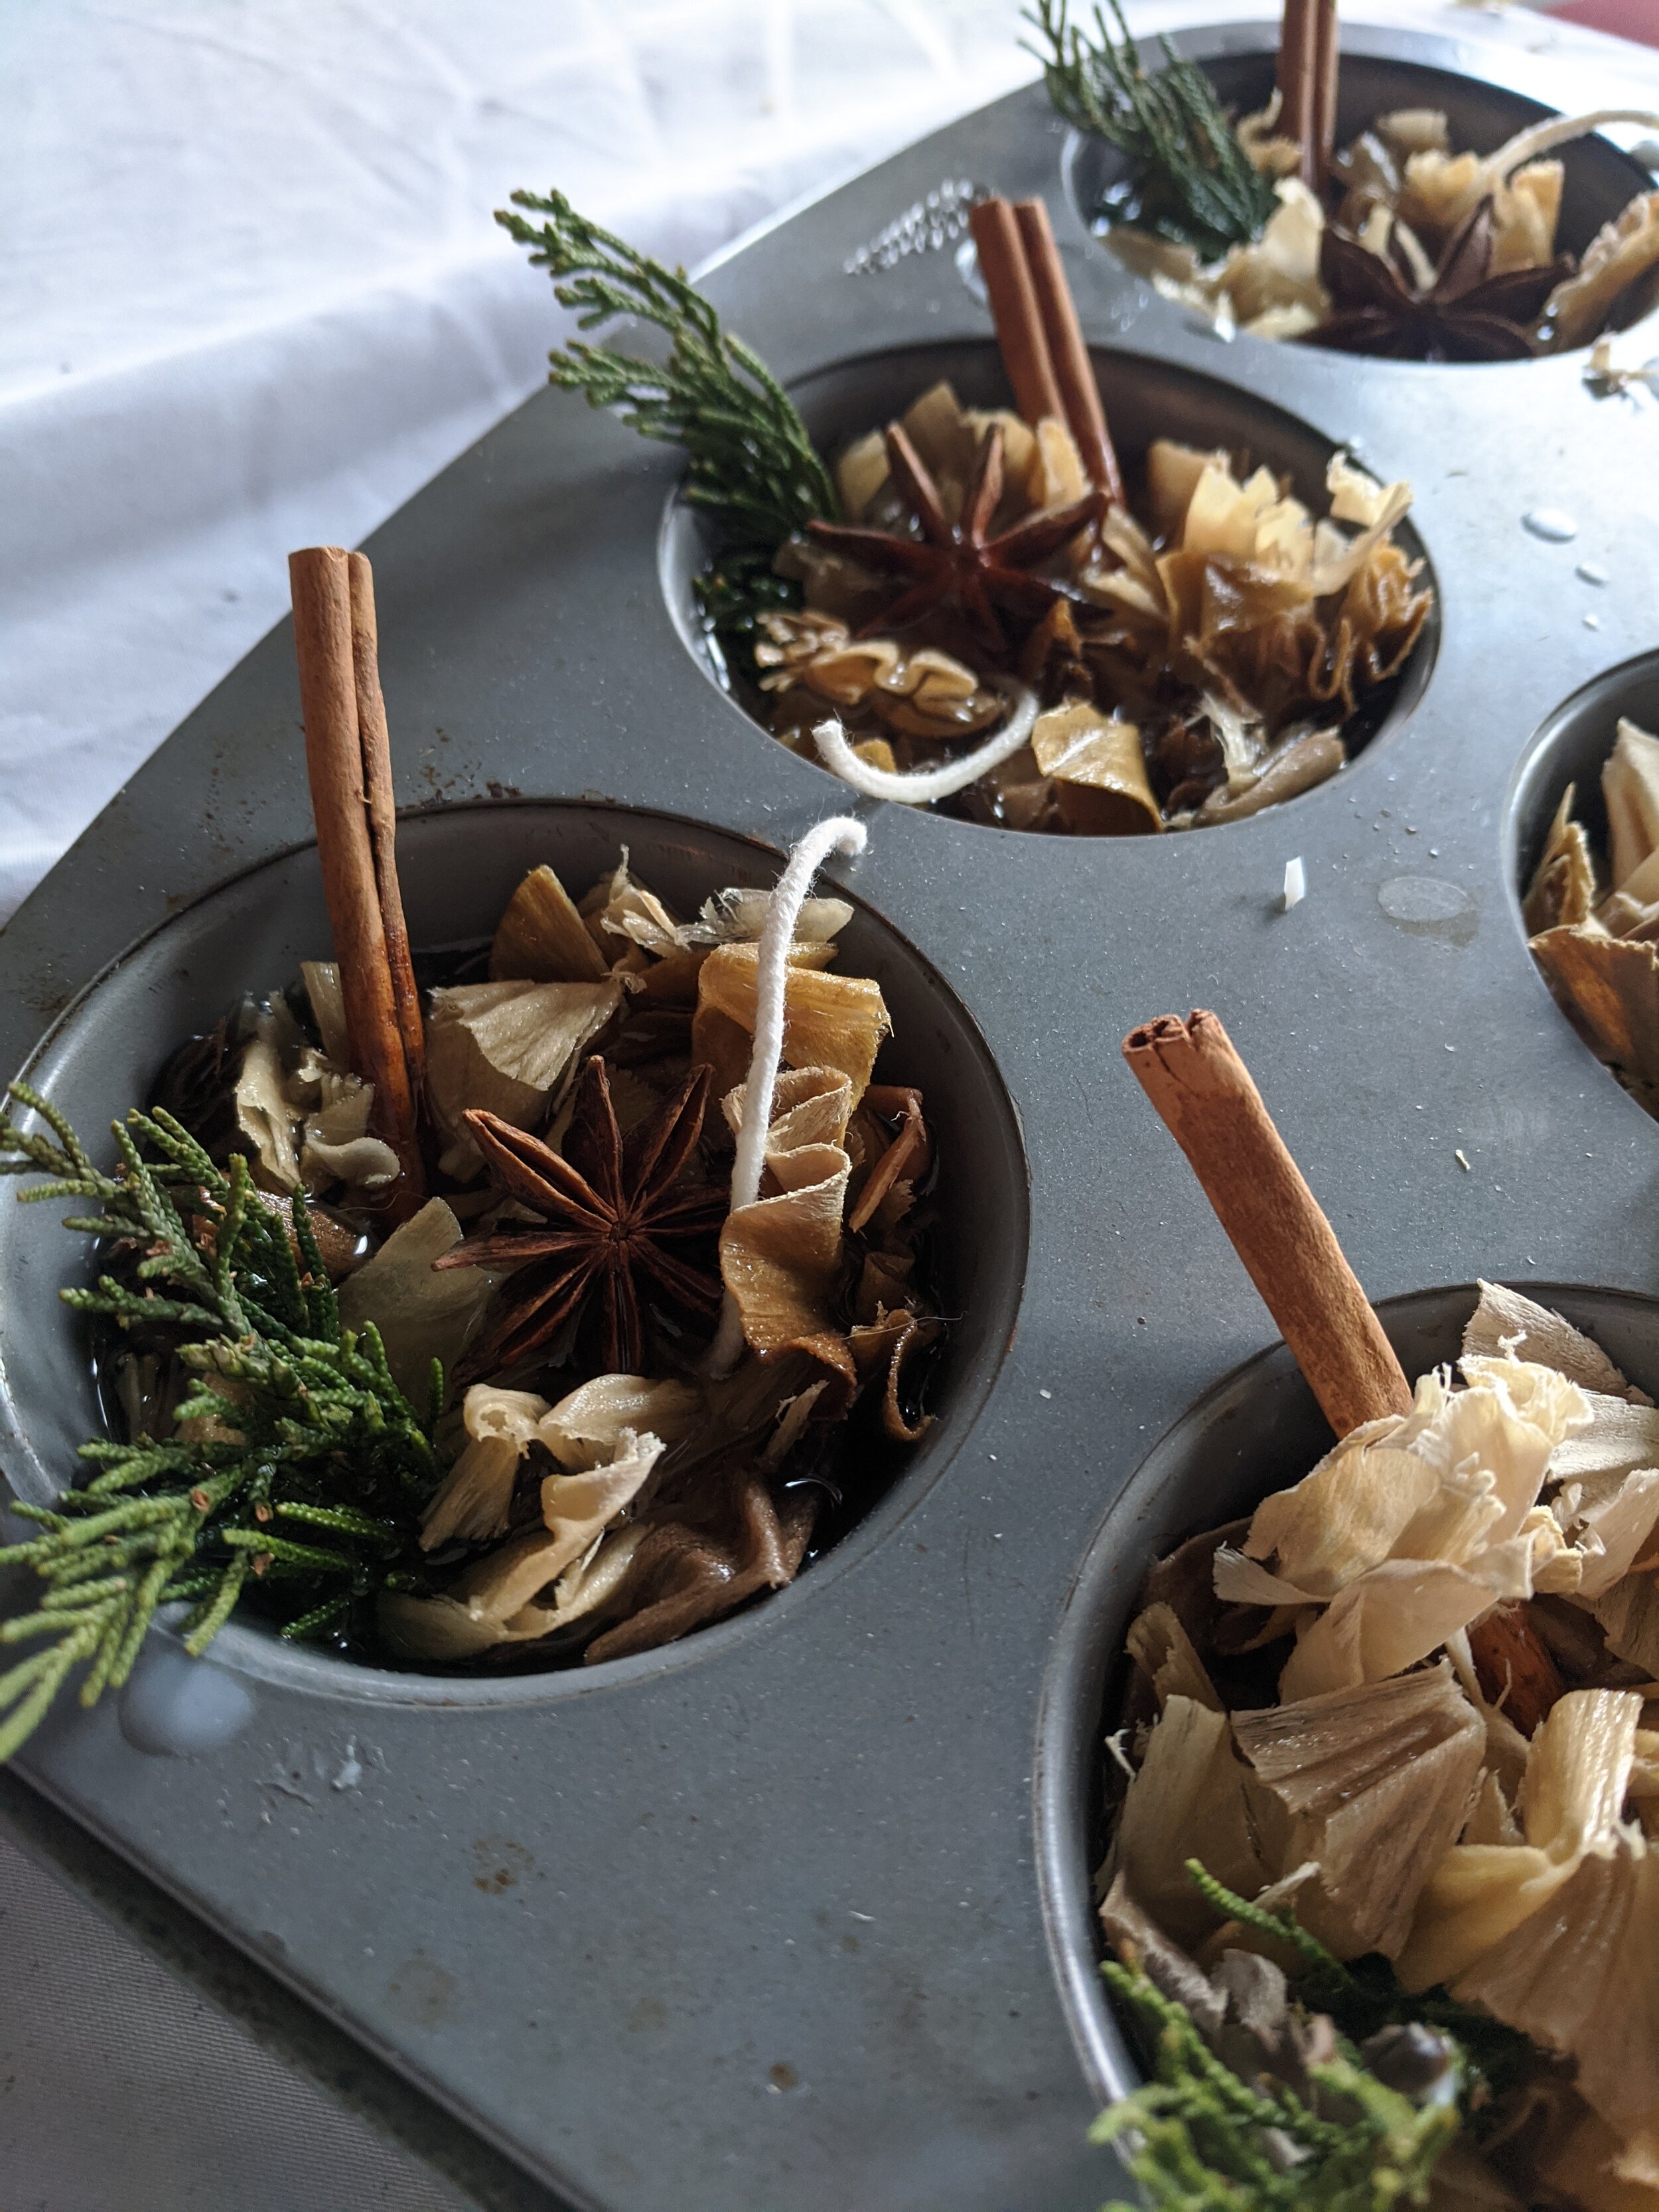
Fill your muffin tin 3/4 with wood shavings. Add cinnamon stick and juniper sprig, arranging each element to stand decoratively. Nestle one of the cotton wicks into the center of each cup.
Step Two
In a stainless steel saucepan (used only for crafts or a candle pour pot, melt the wax flakes. Protect your work surface as wax will easily drip. Pour an even amount of wax into each cup; about 3/4 full. Gently press the ingredients down so that they are soaked in the wax. Allow some elements to stick out of the wax for visual appeal.
Step Three
While the wax is still liquid, add a star anise and a few juniper berries on top of the wax. These are best added as a final step so the berries float and the star anise is not filled with wax.
Step Four
Allow the fire starters to cure; 4-5 hours, but overnight is best. Place the muffin tin inside the freezer for 15 minutes. This will cause the wax to contract and will make them easy to pop out of the tins.
Step Five
Package your fire starters for gifting or store them in an air tight container for future use. If you are gifting, include a little tag with the following information:
To Use: Simply place the fire starter at the base of a traditional fireplace or camp fire, and light the wick.
Caution: These should not be used as candles and are not recommended in gas or wood burning stoves.


Interested in other DIY projects? Check out one of these for more inspiration: