Post and Rail Fence DIY Tutorial
When we purchased Content from foreclosure in 2014, our priorities were on the interior of the house. Making the living spaces, well, livable was all we had time and money for.


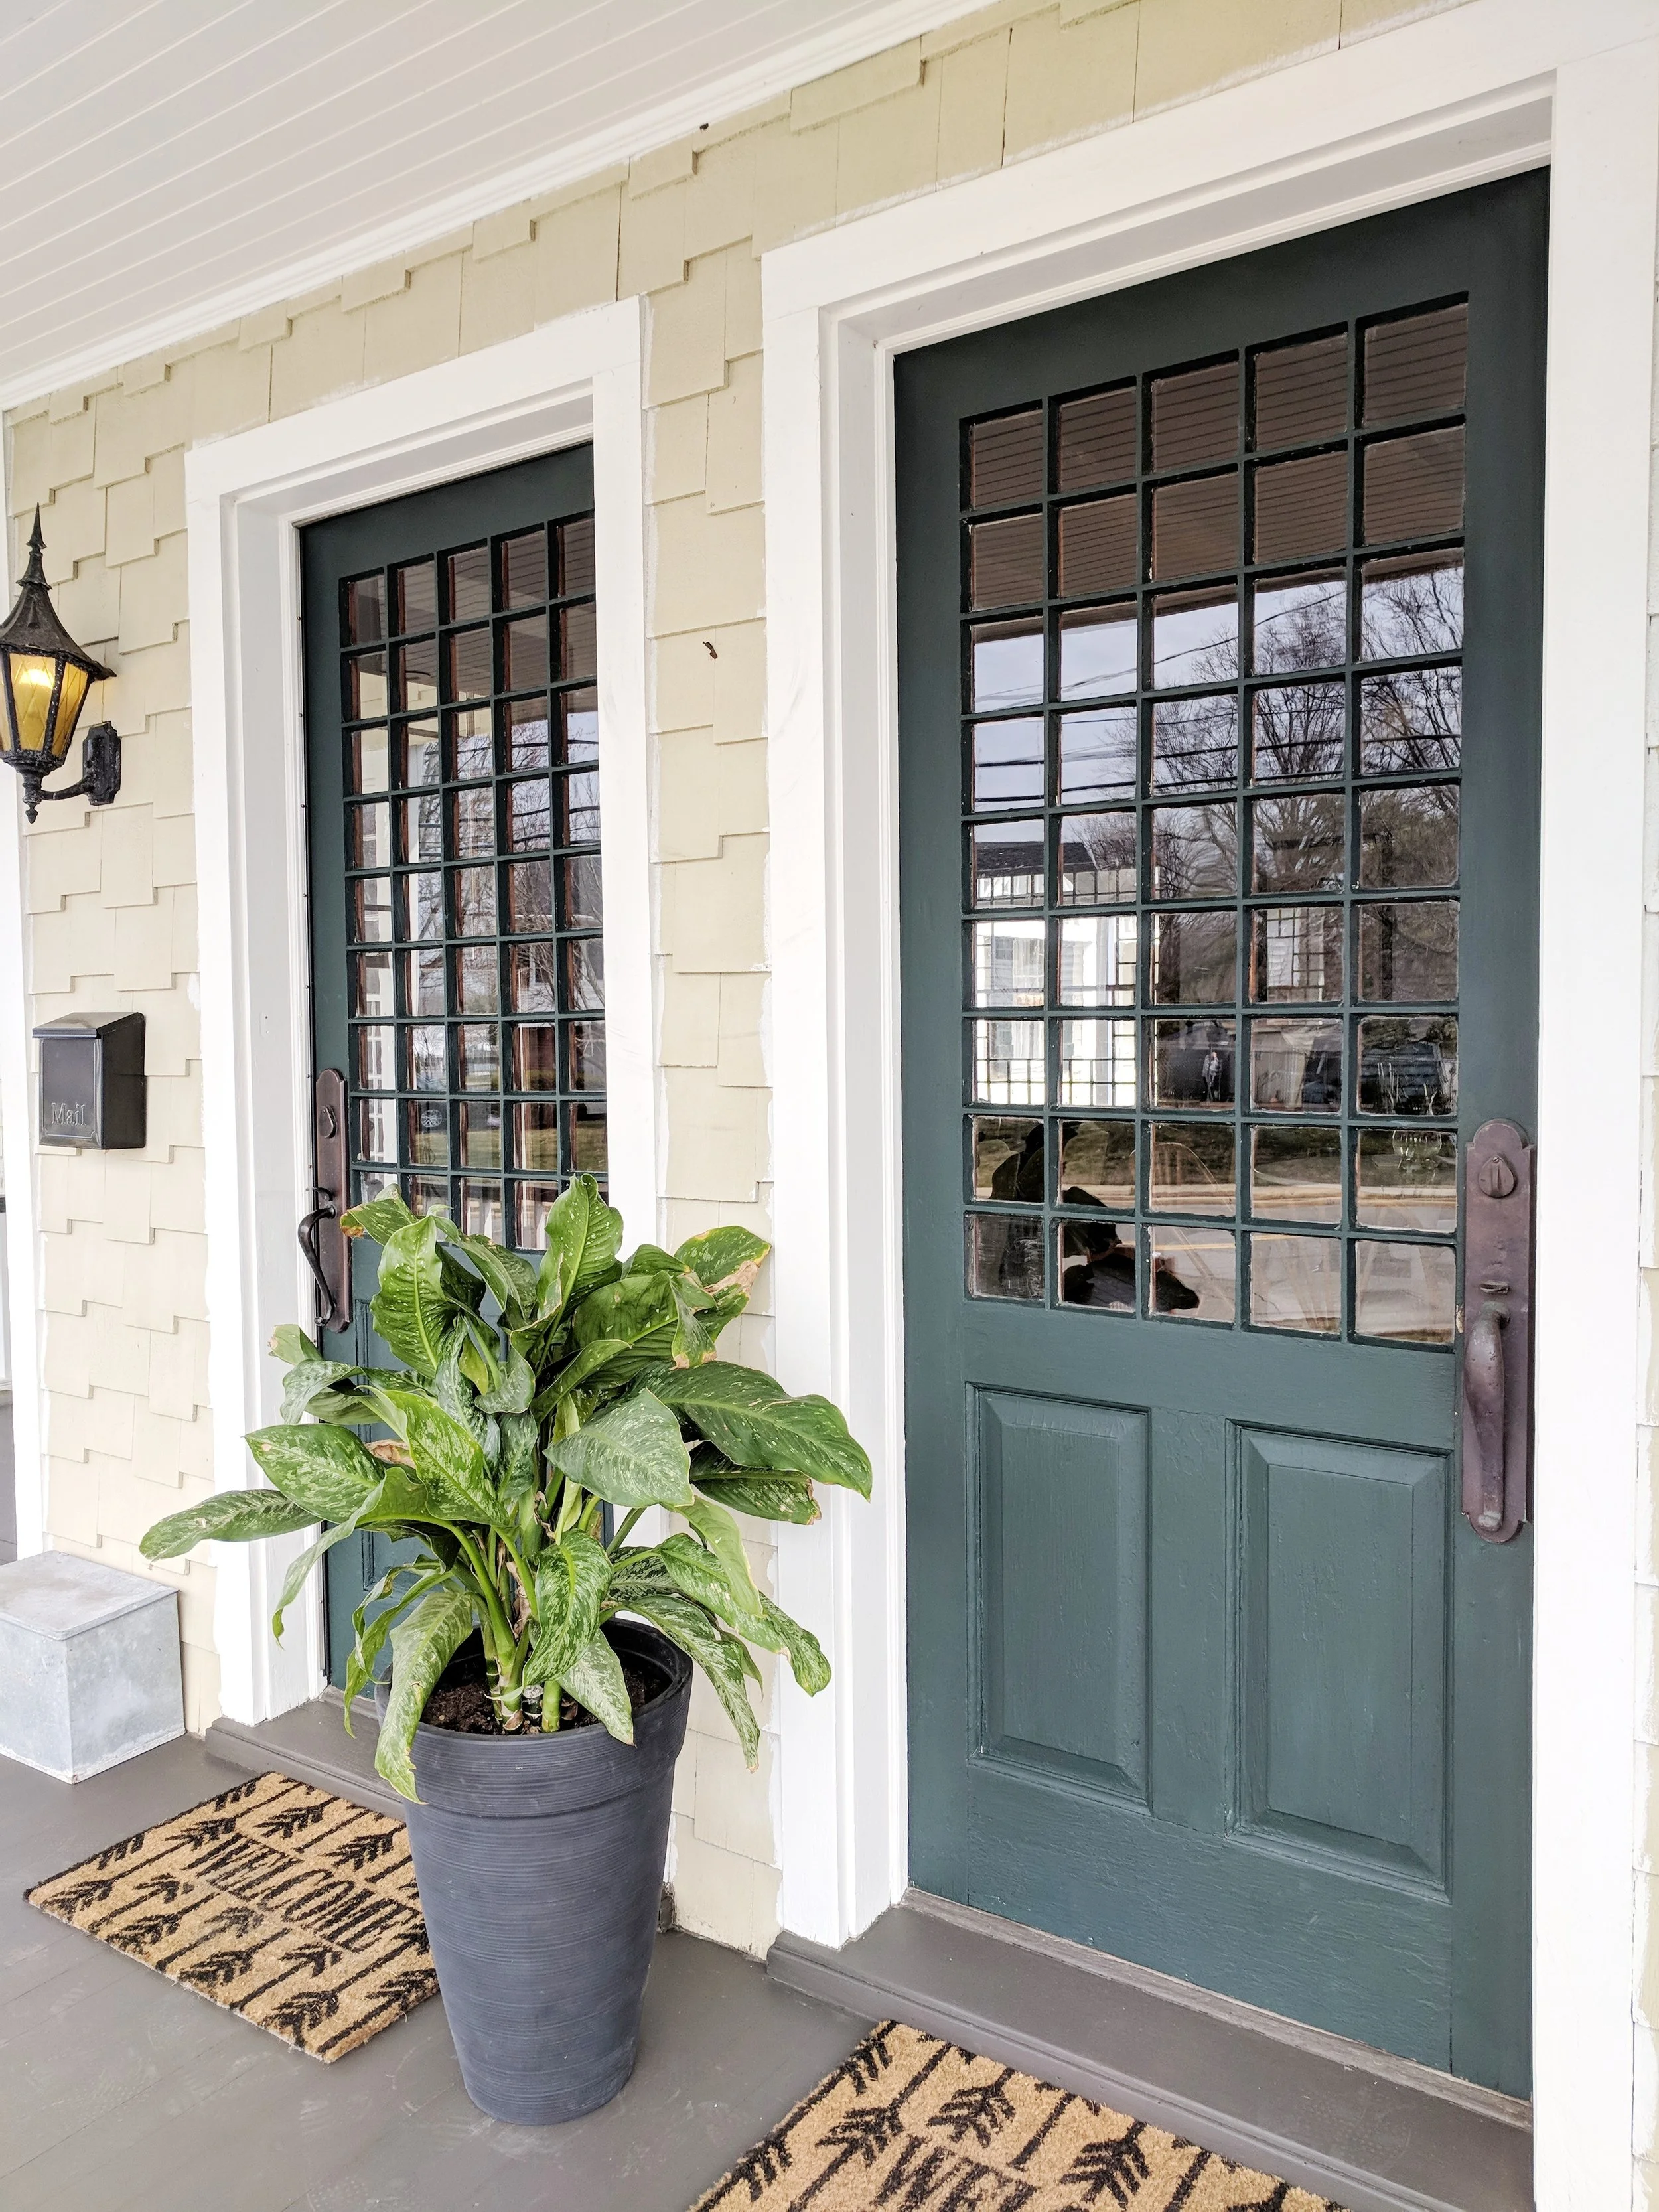
Here’s the finished product of our HUGE front porch renovation
Now that we're a few years into home ownership, we've slowly budgeted and planned for some exterior projects.
Mainly, we have a lot of yard space, and not a lot of direction or focus with what you do with it.
So, last year we decided to plan for a fence installation in spring of 2019, and now, here we are.
The goal of the fence installation was foremost to break up the yard into a new, usable zone. Until now, the side yard just felt like an endless grassy knoll to the street. And though pretty, seemed like a waste of our property taxes (which are SUPER high in NJ). We wanted to get our monies worth!

We looked to the internet for inspiration, and kept coming back to a classic post and rail fence, sometimes referred to as a horse fence. The design is simple, matched the cottage style of Content and would keep our overall investment manageable.
The goal of the fence was never privacy, per say. Ultimately, we wanted a structural (“hardscaping”) element that would anchor a garden, outdoor furniture and landscaping. Making the grassy knoll feel inviting and making the view from our guest rooms aesthetically pleasing.
And if John had his way, it would be home to a new mini donkey. He hasn’t quit let that dream go. Stay tuned…
Here’s the steps we took to achieve our new DIY: Post and Rail Fence.

Decide On A Post and Rail Fence Layout
Our suggestion would be to use graph paper to make a “close to” scale drawing of the final post and rail layout.
Start by virtually plotting your outermost corners and divvy up the “rail run” around 8ft between the next post.

We used this helpful YouTube video and easy math in our preliminary planning to understand the best layout for our space.
8ft post spacing provides for practical installation, because the rail boards we used were 16ft in length and an 8ft spacing between each post did not produce excess waste.
Ultimately, we decided on 7ft between posts due to the gate spacing.
Gather Your Post and Rail Fence Materials
For this type of fence, you will need post and rail materials which can be easily ordered from any home improvement or local lumber store.
Obviously, the final layout you decide on will determine the overall order (plus a little extra for contingency) and expenses.
We accomplished this post and rail fence installation for approximately $750 and 3 days of DIY labor.
(15) 7’ sections including (2) swinging gates = Approximately 105’ of fencing

Post and Rail Fence Materials:
4x4x8 pressure treated (rough sawn)
1x6x16 pressure treated (rough sawn)
Concrete (quick set)
GRK 3 inch exterior screws (or any exterior rated screw approved for pressure treated lumber)
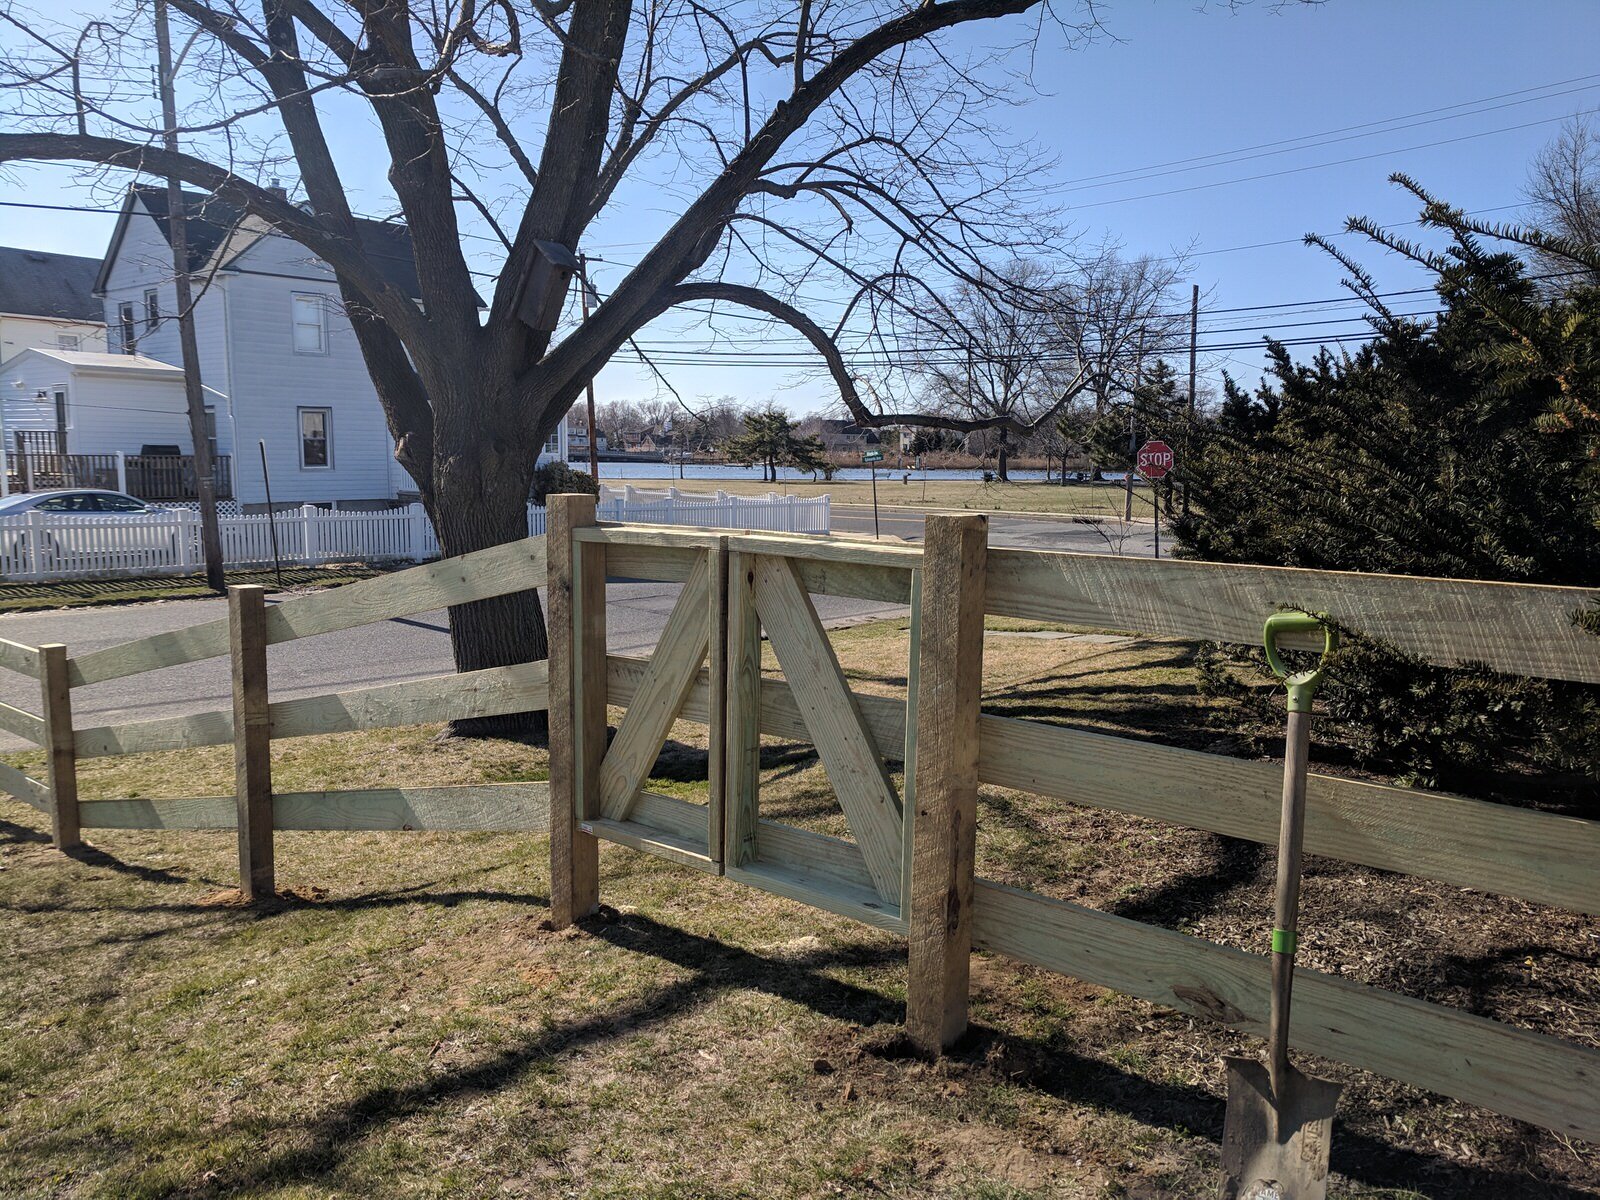
We added a double gate at the street’s edge for easy trash can and yard cleanup access. The gate is also large enough for a commercial lawn mower to access our property.

Gate Materials:
Arbor Materials:
Installation Tools:
Step #1
The first step is to dig your post holes. John recommends digging them approx 2ft -3ft deep to adequately secure them in the ground.
The rule of thumb he follows is 1/3 to 1/2 of your finished post height should be underground.
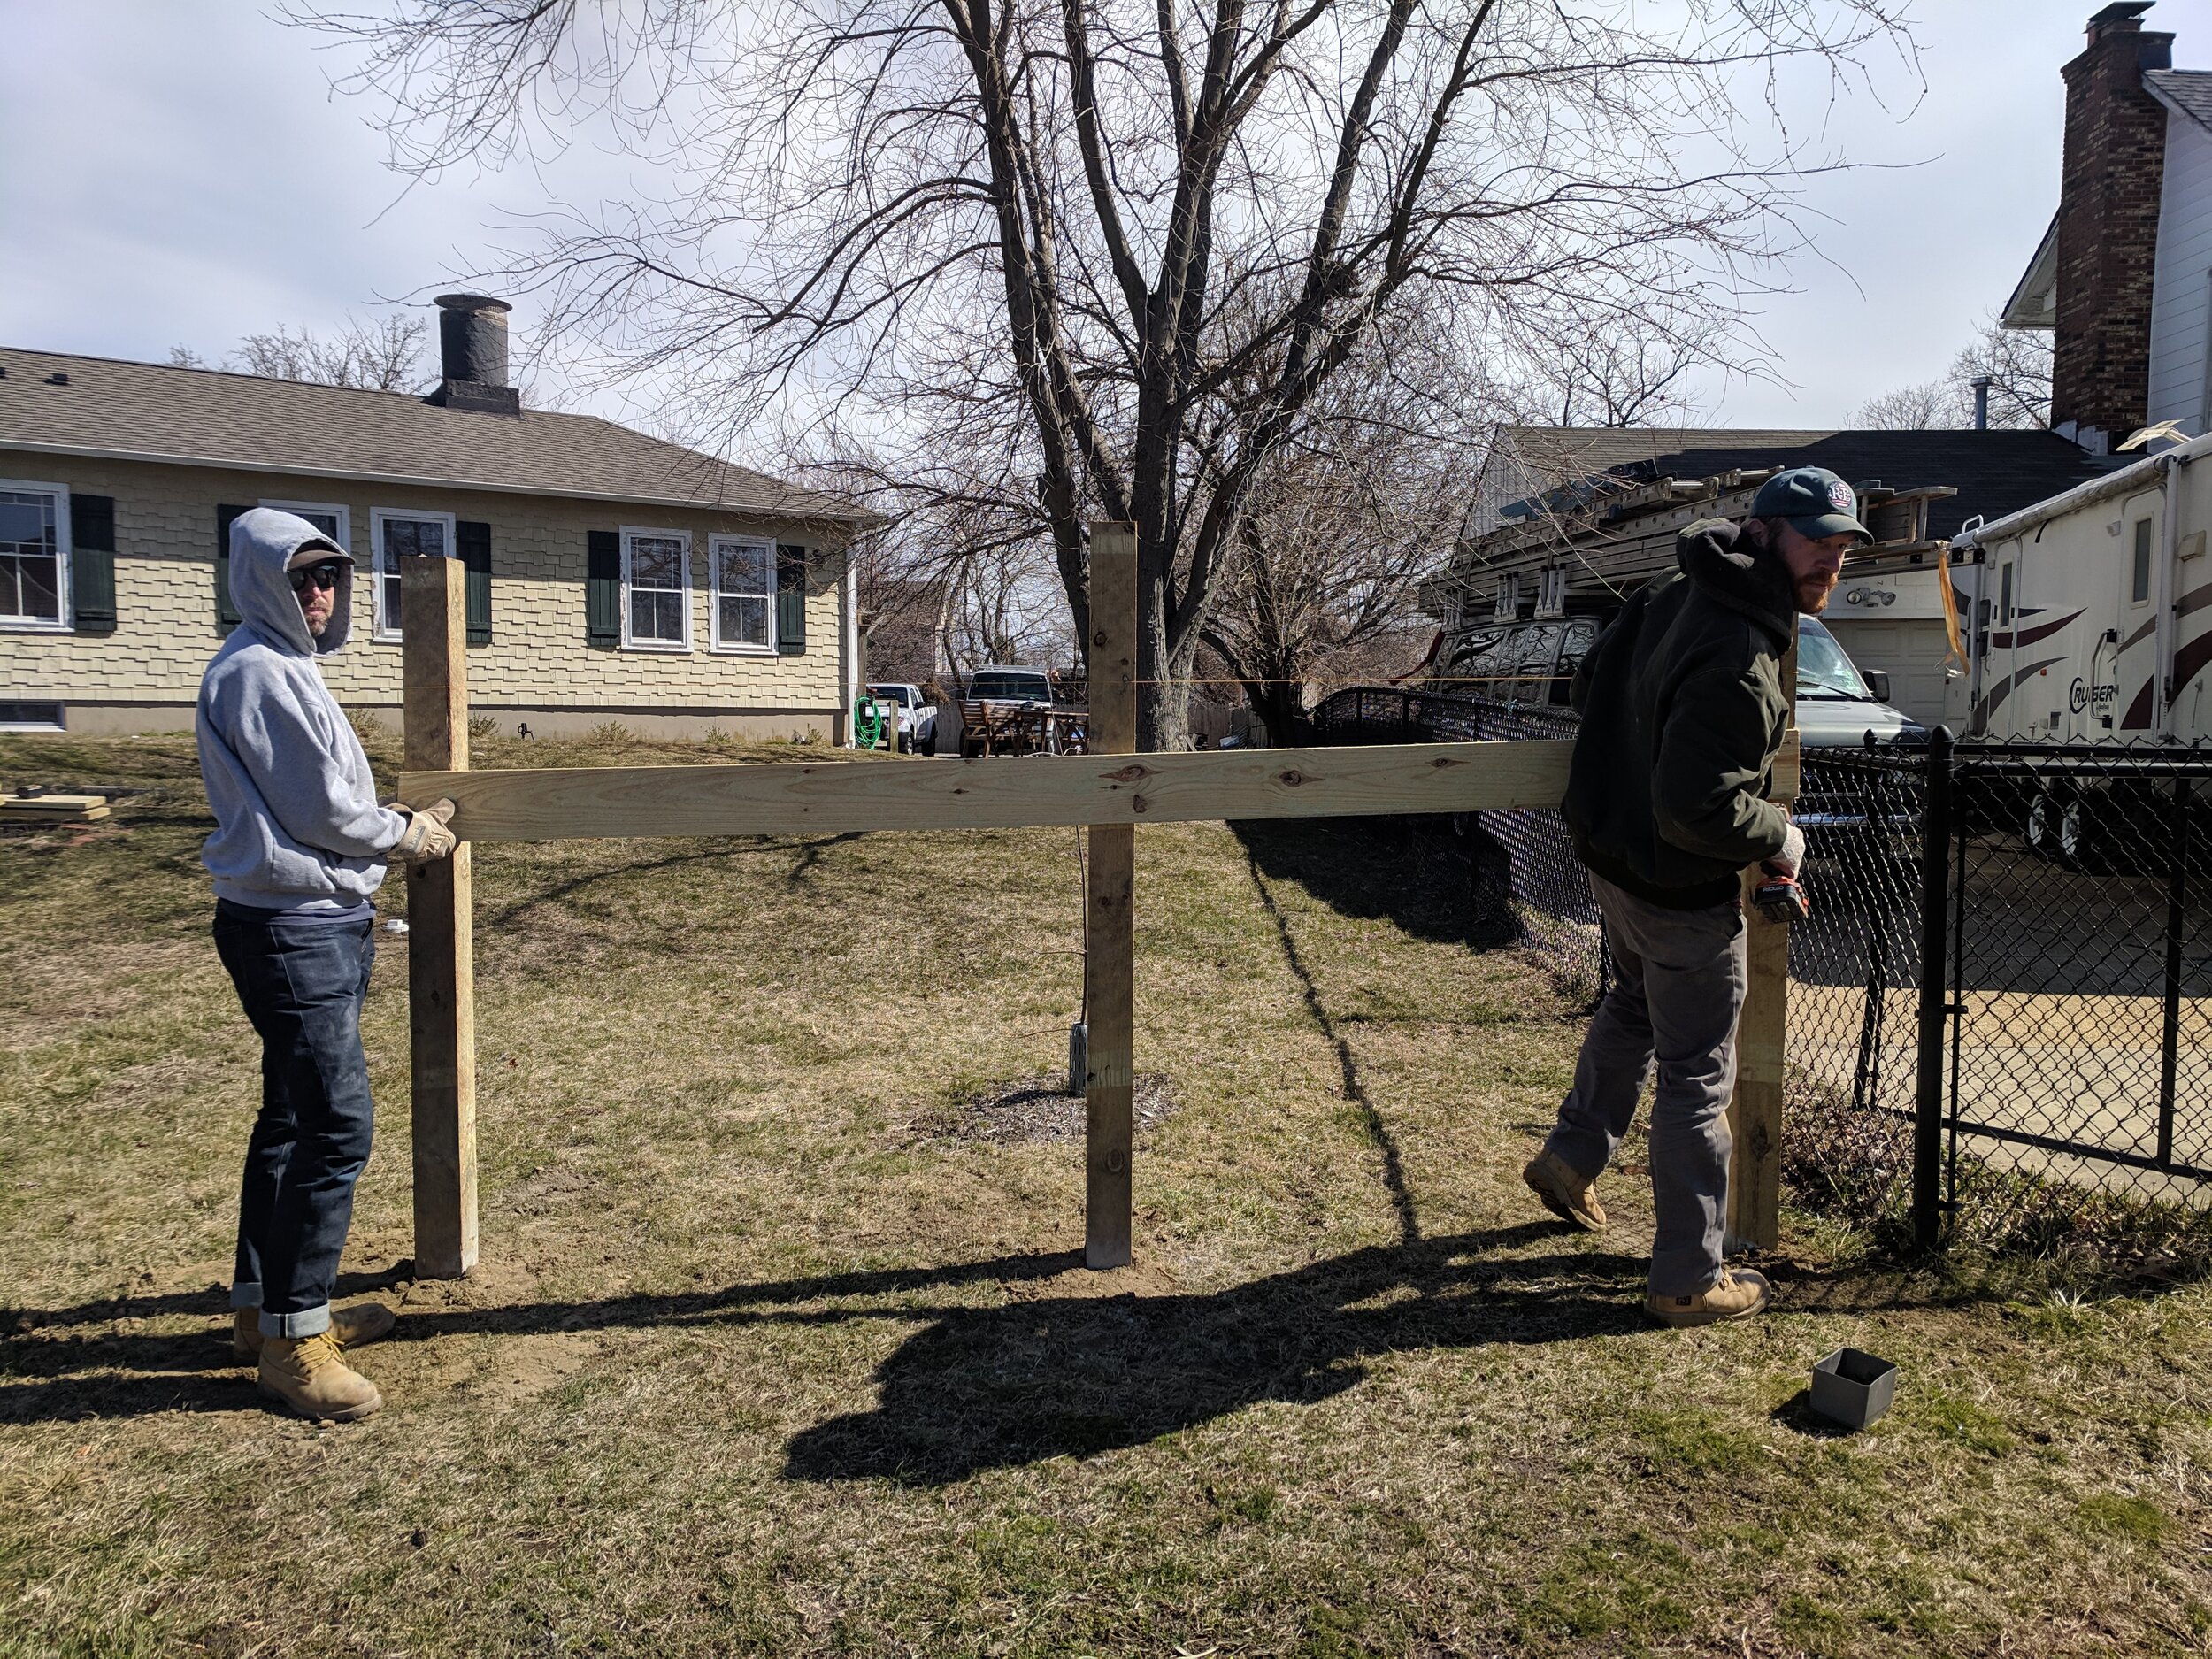
We started with our corner posts and tied a string line so we could easily map out the other posts in a straight line.

Here’s where a friend is very helpful, as one person should hold the post plum and level.
John said this post level by Irwin is the best $10 he’s ever spent!
Our number one piece of advise with this installation, is take your time to properly check your level each step of the way!
John then used quick concrete to set the poles.
Quick set concrete was a “splurge” for us. Each 50lb bag is roughly $5.50 compared to an 80lb bag of standard set time concrete which is usually around $4.50.
For this project, we used approximately (20) 50lb bags on quick set concrete. The time savings alone was well worth the upgrade!

Once the posts have set for the recommended 4-6 hours (quick set concrete for the weekend warrior win), you can install the rails.
We took a couple minutes to test fit the height spacing of the rails, on the posts, and settled on approximately 9 1/4.
During this step, remember to account for about a foot of post above the top rail. This will allow you to cut the posts to height or for any decorative detail you may choose to add to the top of the post.
Shout out to our good friend Ryan for all your help!

Our property has an incline so we adjusted the level midway up the hill so the fence would gradually progress instead of the whole run going uphill.

Post cut to height with approx 6” remaining above top rail. Post and rail fence installation DIY tutorial with gate to street.
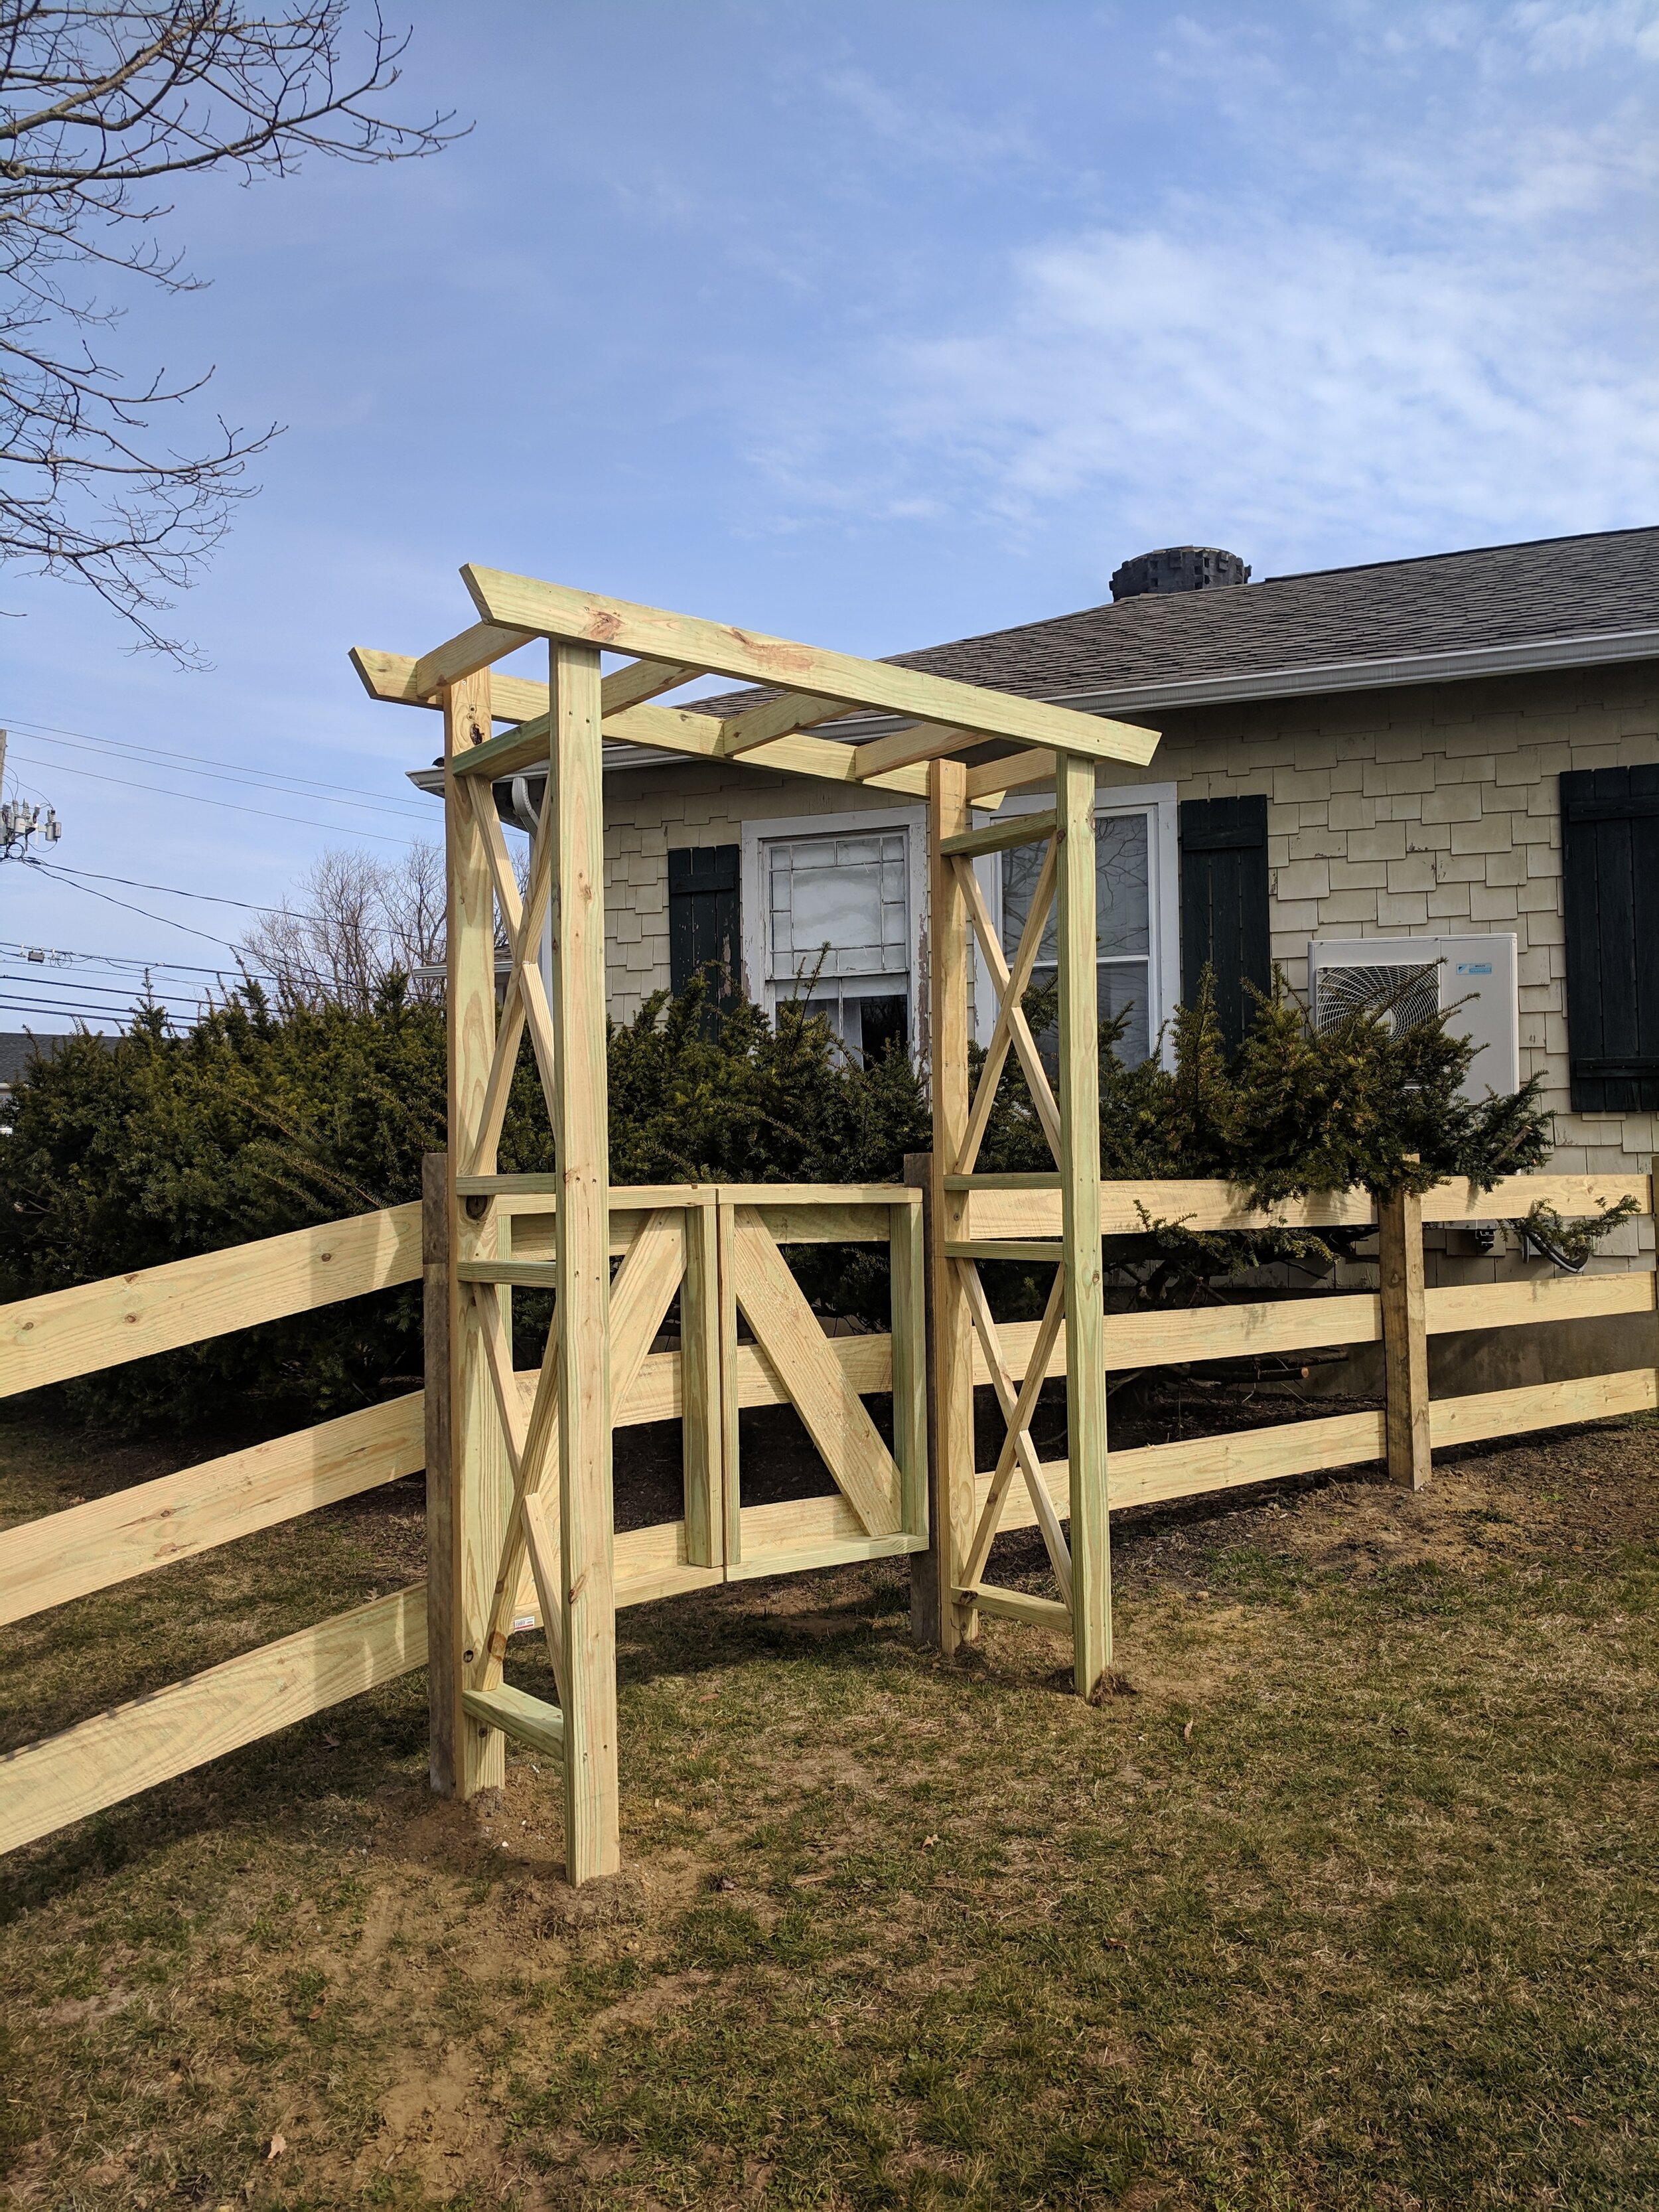
We also added an arbor and garden gate for additional interest. John repeated the “X” design he used on the front porch (see image above), to the sides of the arbor. Now both feel original to the house and cohesive.


Leftover Materials
Even though John was very careful, we had a few left over boards and a couple post scraps, so we decided to add a property marker by our driveway.
Since it is purely decorative, we angled the boards and added 4’ reflective house numbers that are easy to read from the street.
And since taking this picture, I added solar powered fence topper lights to finish off the look.