
VAN LIFE: Installation Guide of MaxxAir Ventilation Fan with Photos & Video on 2012 Ford Transit Connect Camper Van
CAMPER VAN FOR SALE
〰️
CAMPER VAN FOR SALE 〰️
One of the most nerve wracking projects of our van conversions is the installation of the ceiling ventilation fan. In it’s simplest form, the installation required cutting a giant hole in the roof of your perfectly waterproofed vehicle.
But the benefits of a ceiling fan far outweigh the challenges, so we wanted to share an in depth look at our version of this process.
BENEFITS OF A VENTILATION FAN
Essentially, any vehicle converted into a camper van starts as a tin can (or a shell vehicle stripped of its fabric liner).
In our conversions, the dashboard HVAC systems provide heating and cooling, while driving, but are not functional while in camp.
Unlike a home, vehicles are not primarily constructed with the notion of people living and sleeping under its roof. Through the opening of windows and doors, “natural ventilation” is a common method of allowing the exchange of indoor and outdoor air.
Natural ventilation is unpredictable and uncontrollable, and while camping the elements (pressure, wind, rain, temperature, bugs) pose additional challenges.
The addition of a dual operating ceiling ventilation fan allows for the operator to control the intake and exhaust of air pressure within the van; bringing in fresh air and removing musky air.
VENTILATION FAN
Let’s start with the fan itself. This is our third time purchasing a Maxx Air Ventilation MaxxFan Deluxe. The Maxx Air line of products is one of the industry leaders in RV ventilation.
We continue to install the Deluxe model because of the following features:
built in rain cover
10 speed intake and exhaust
thermostat control
900 CFM
well built, low profile and sleek design
very quite while running
When a ventilation fan is used in combination with natural ventilation, you can create circulation and optimize comfort levels while sleeping.
We use the Maxx Air ventilation fan in conjunction with our custom, front-door window screens by Skeeter Beeter.
MATERIALS
Ford Transit Connect Roof Vent Adapter (for first generation 2002-2013)
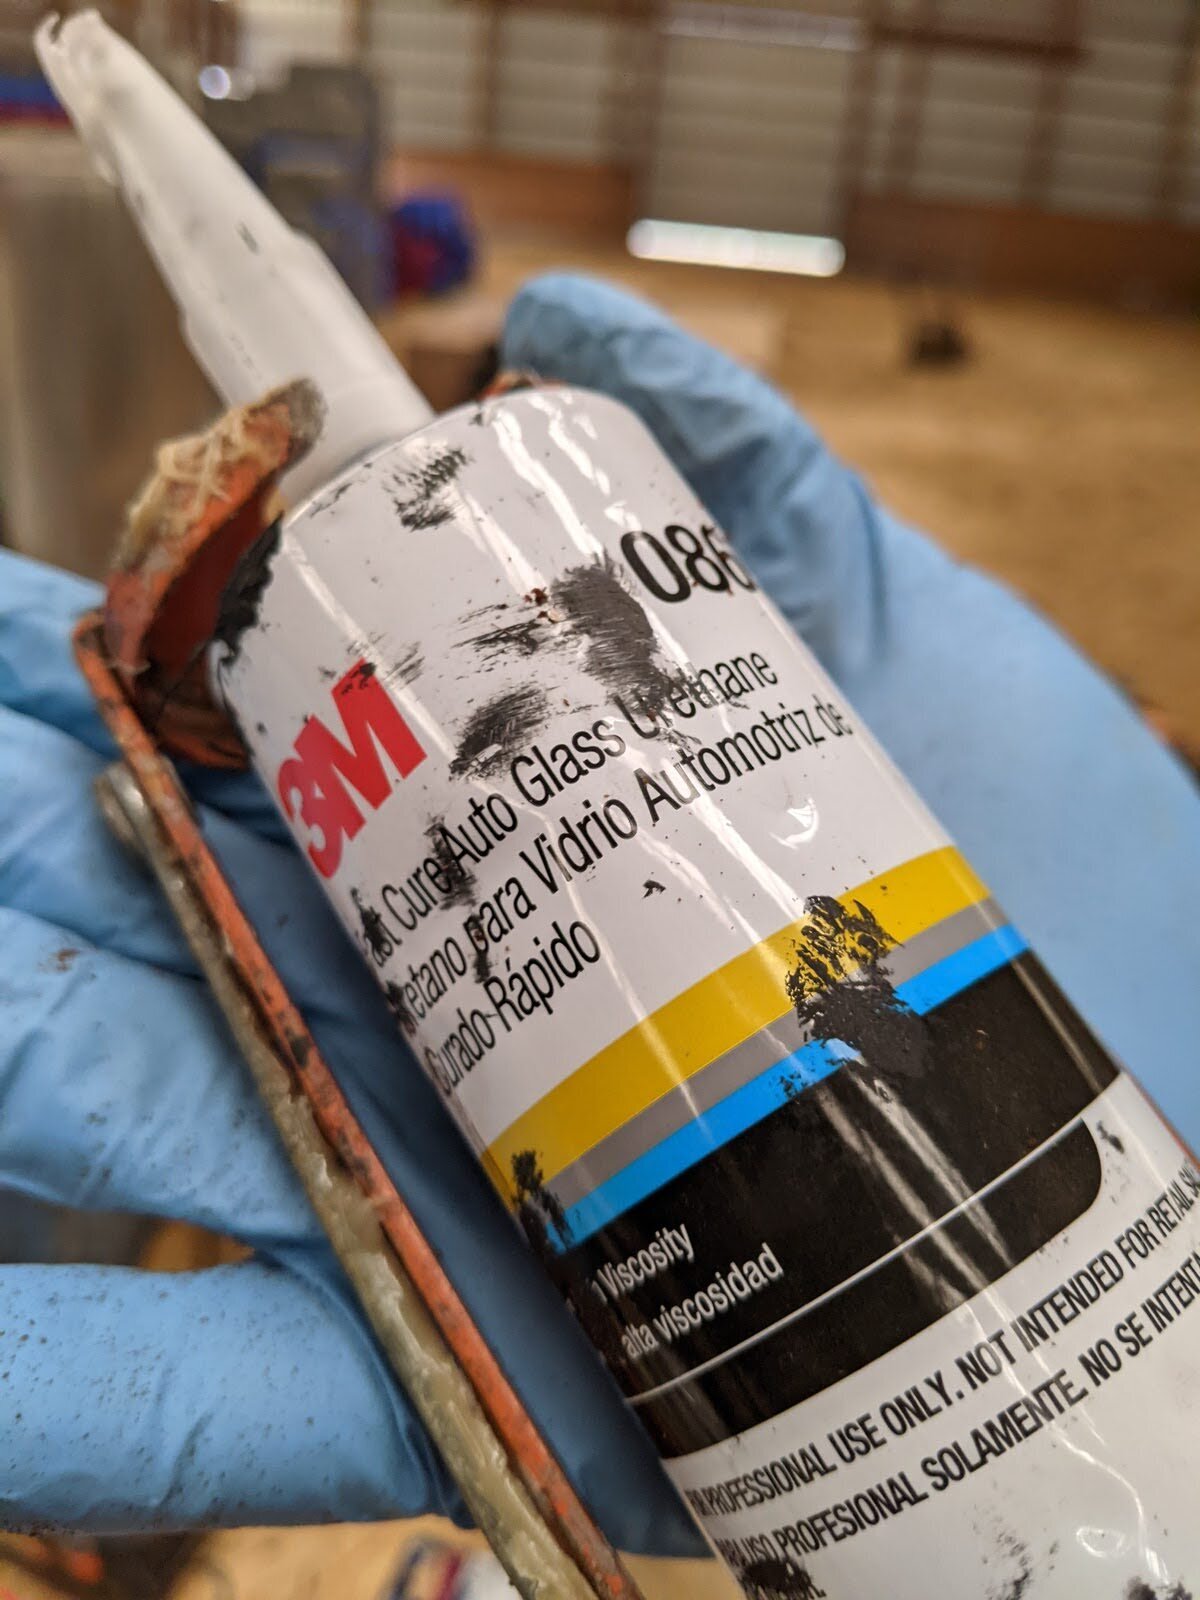
3M Fast Cure Auto Glass Urethane
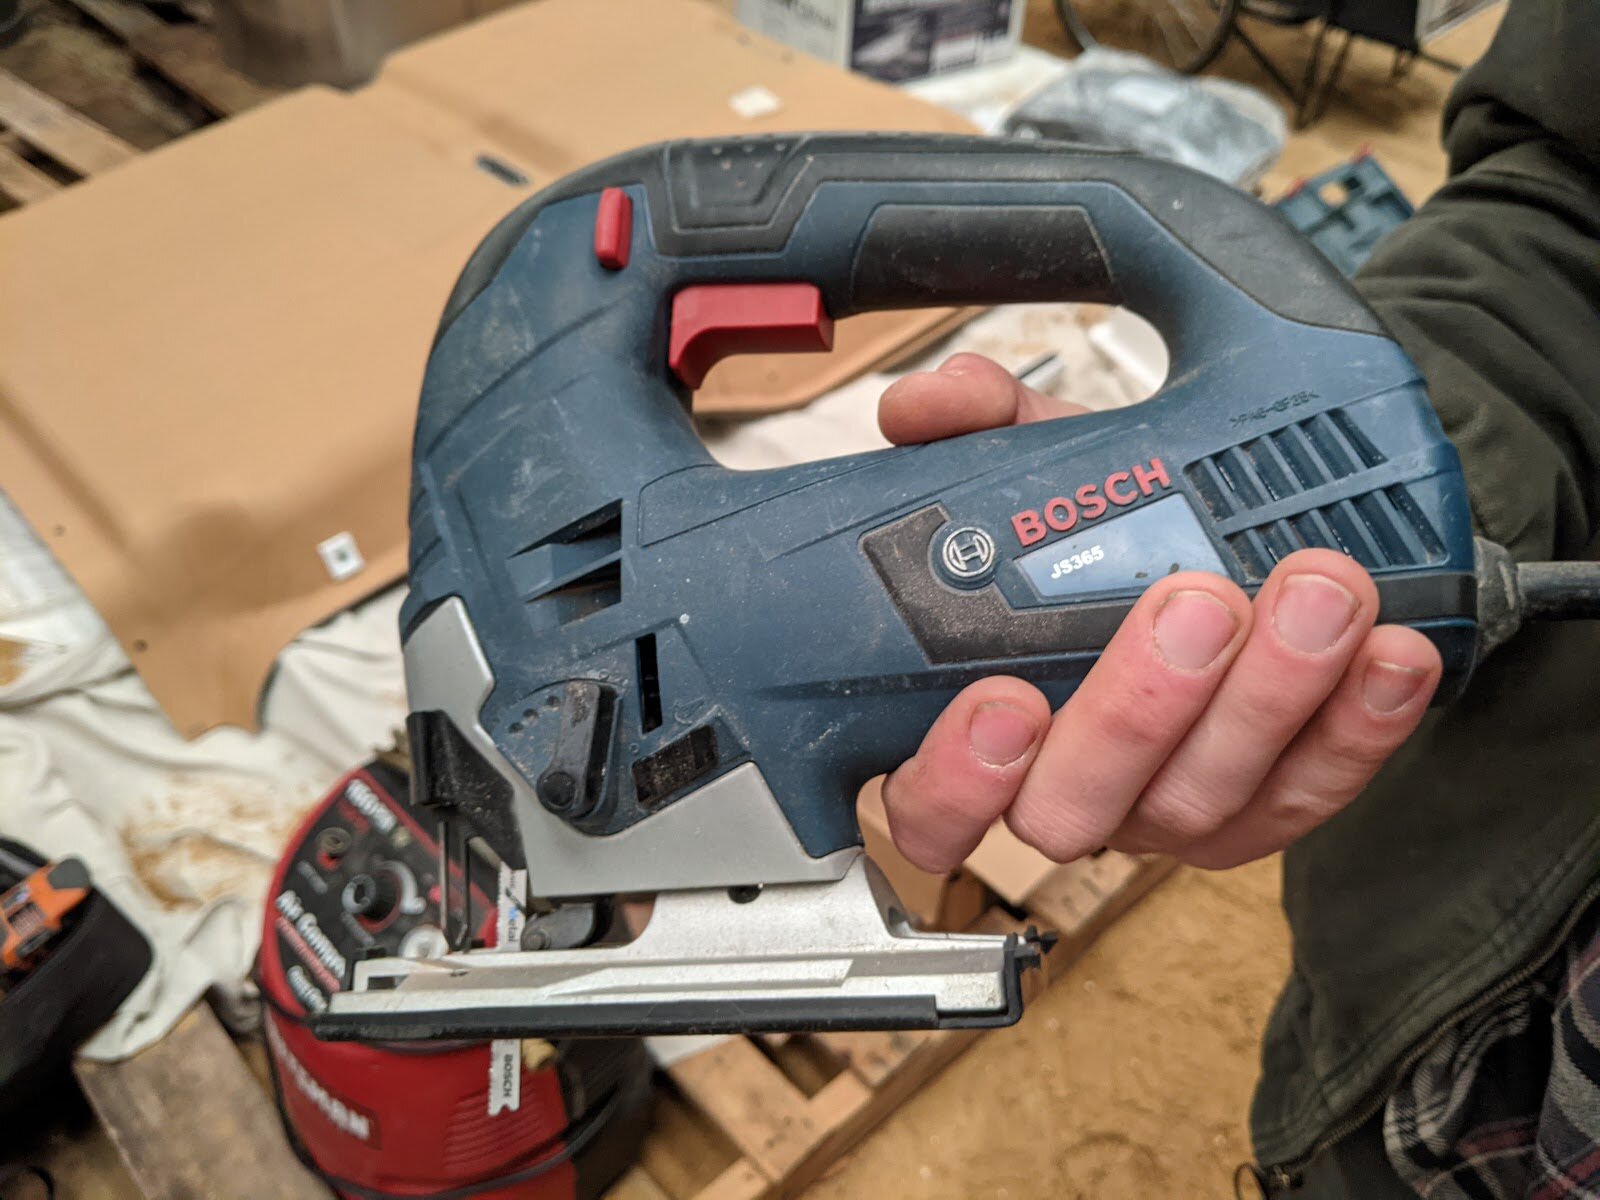
TOOLS
Drill
INSTALLATION
Step 1: Cut the Roof Opening
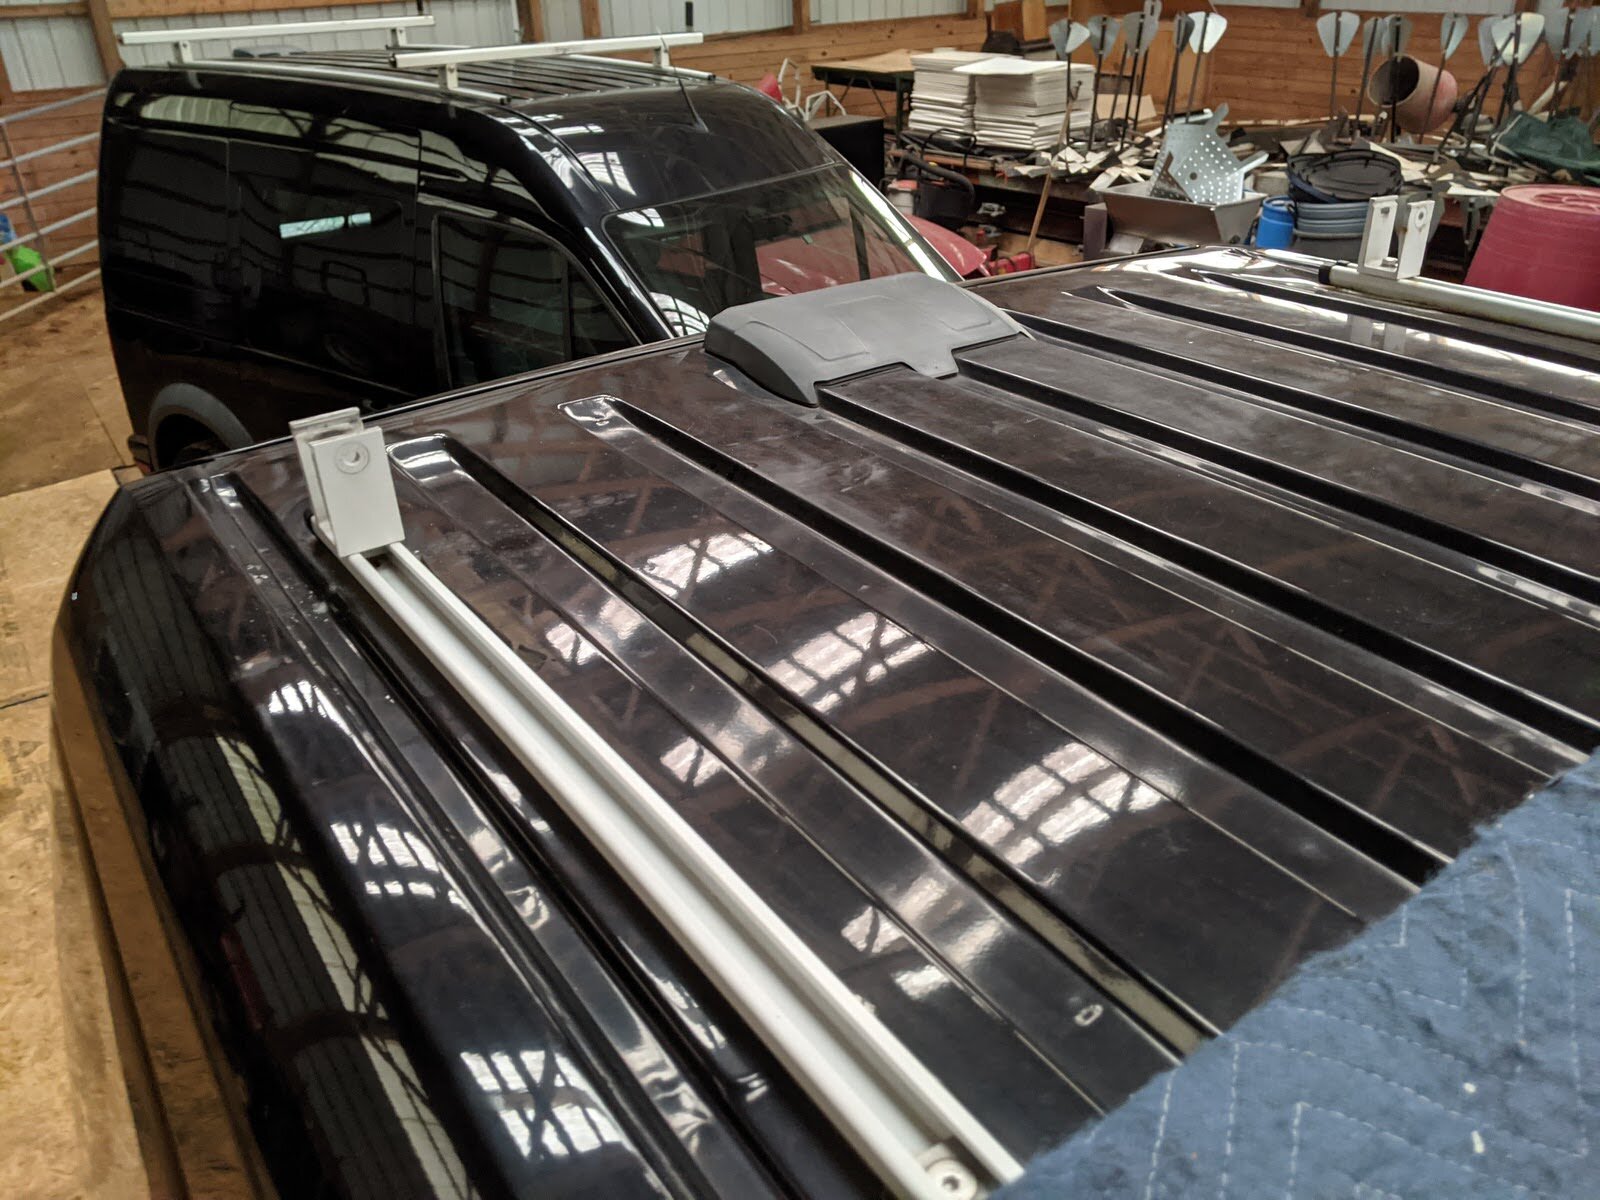
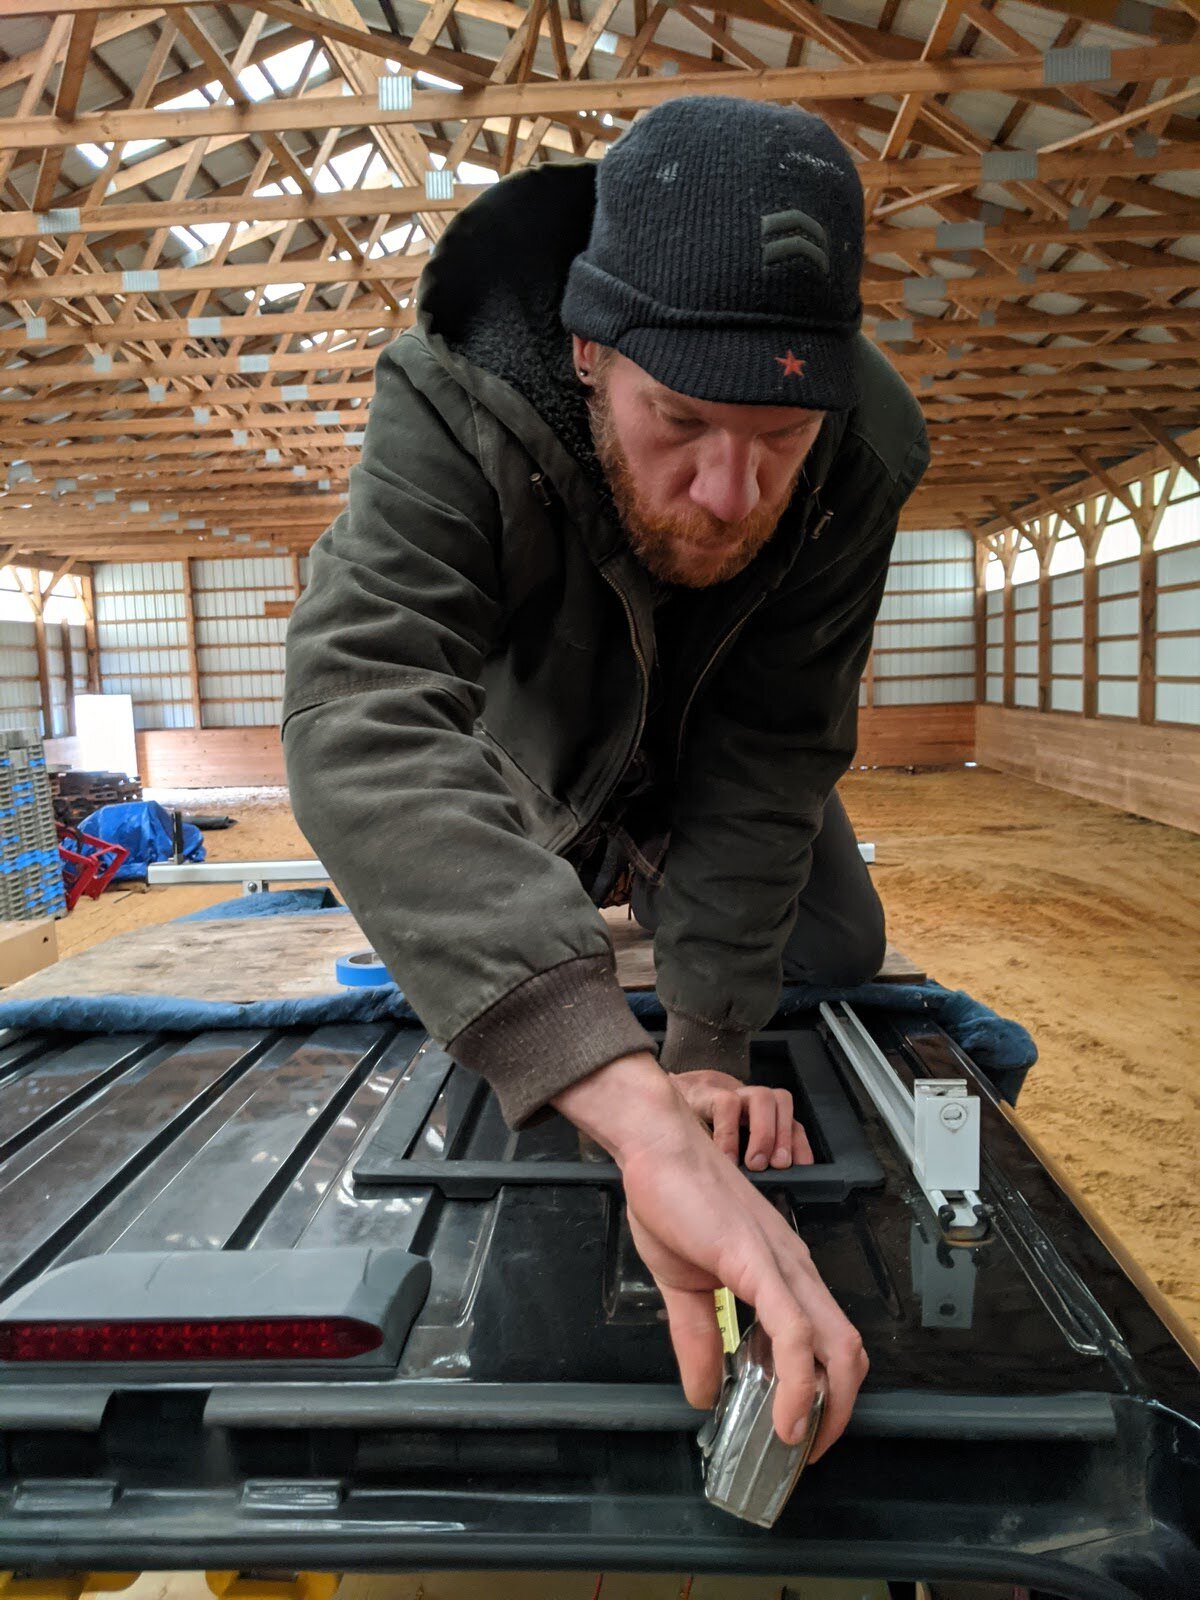
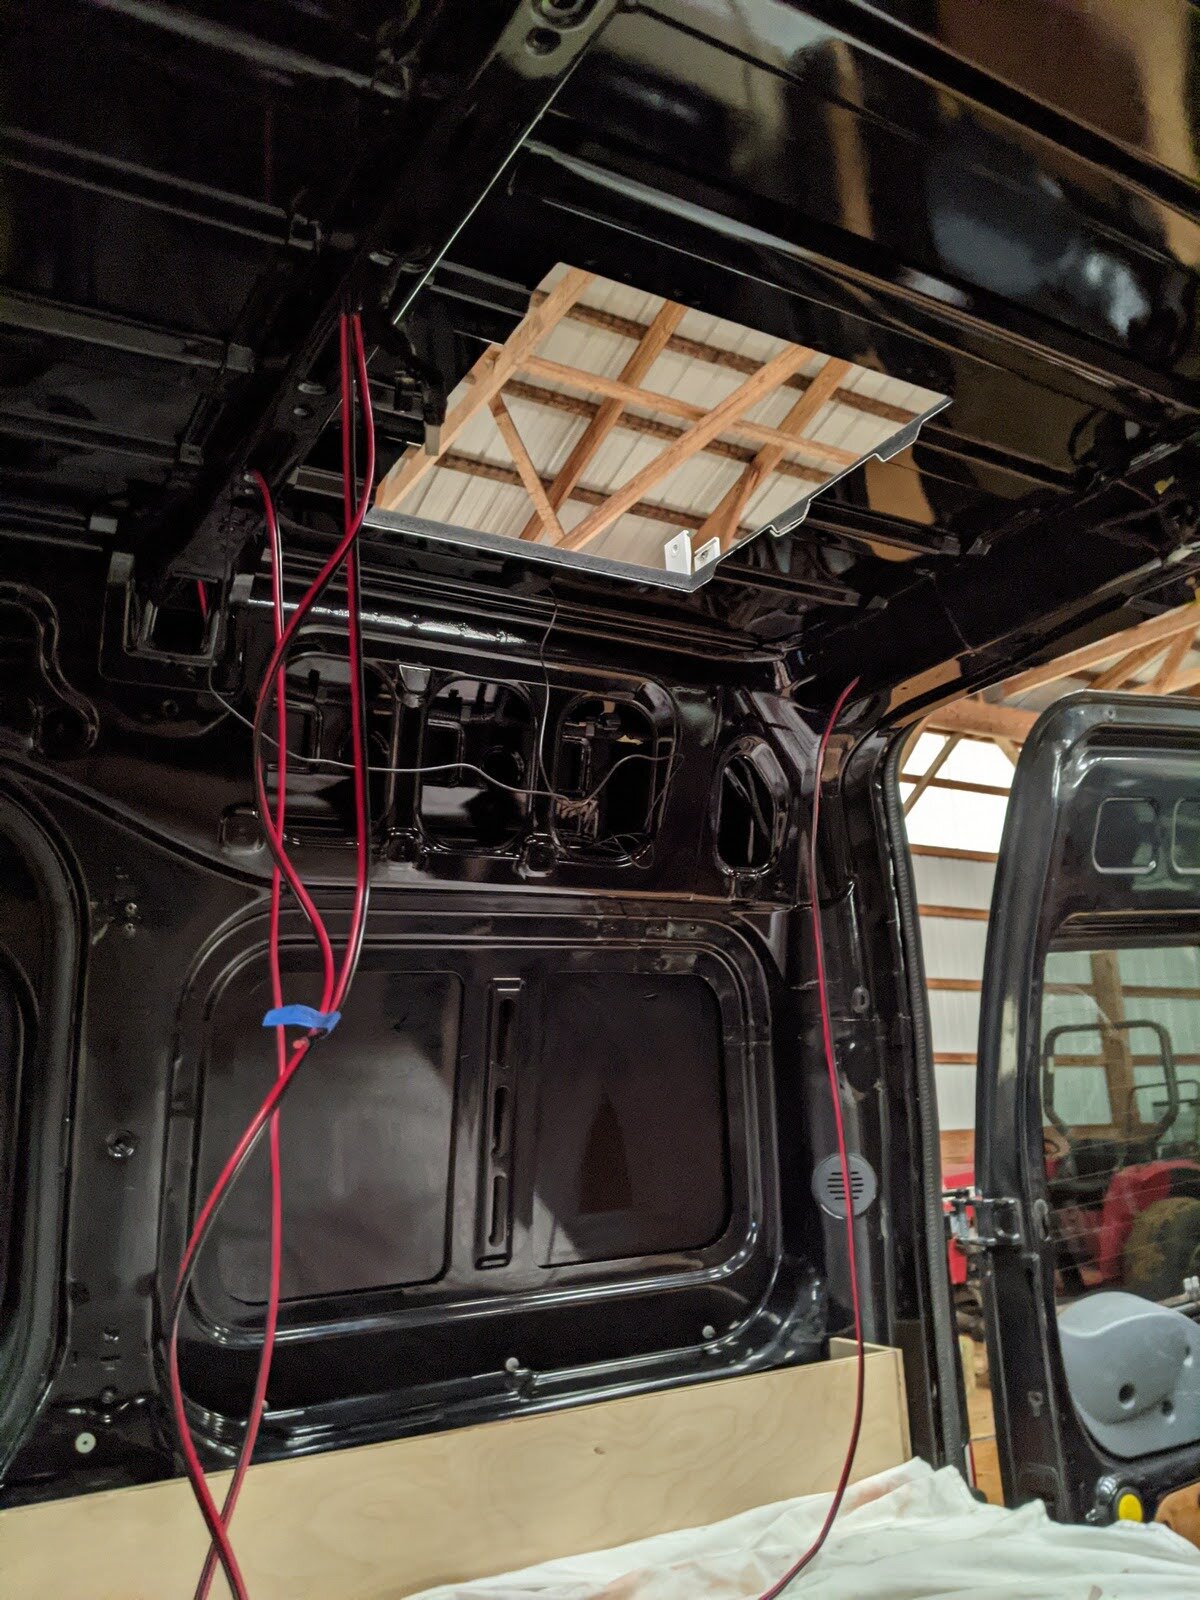
Start by measuring and determining the final position of the vent fan on the roof, ensuring the clearance of the mounting ring, pop top and final trim kit on the interior of the ceiling.
The after market adapter is needed to ensure a waterproof seal, accommodating the roof grooves of the first generation Ford Transit Connect roof. Note the adapter grooves which are designed to lay into the roof grooves.
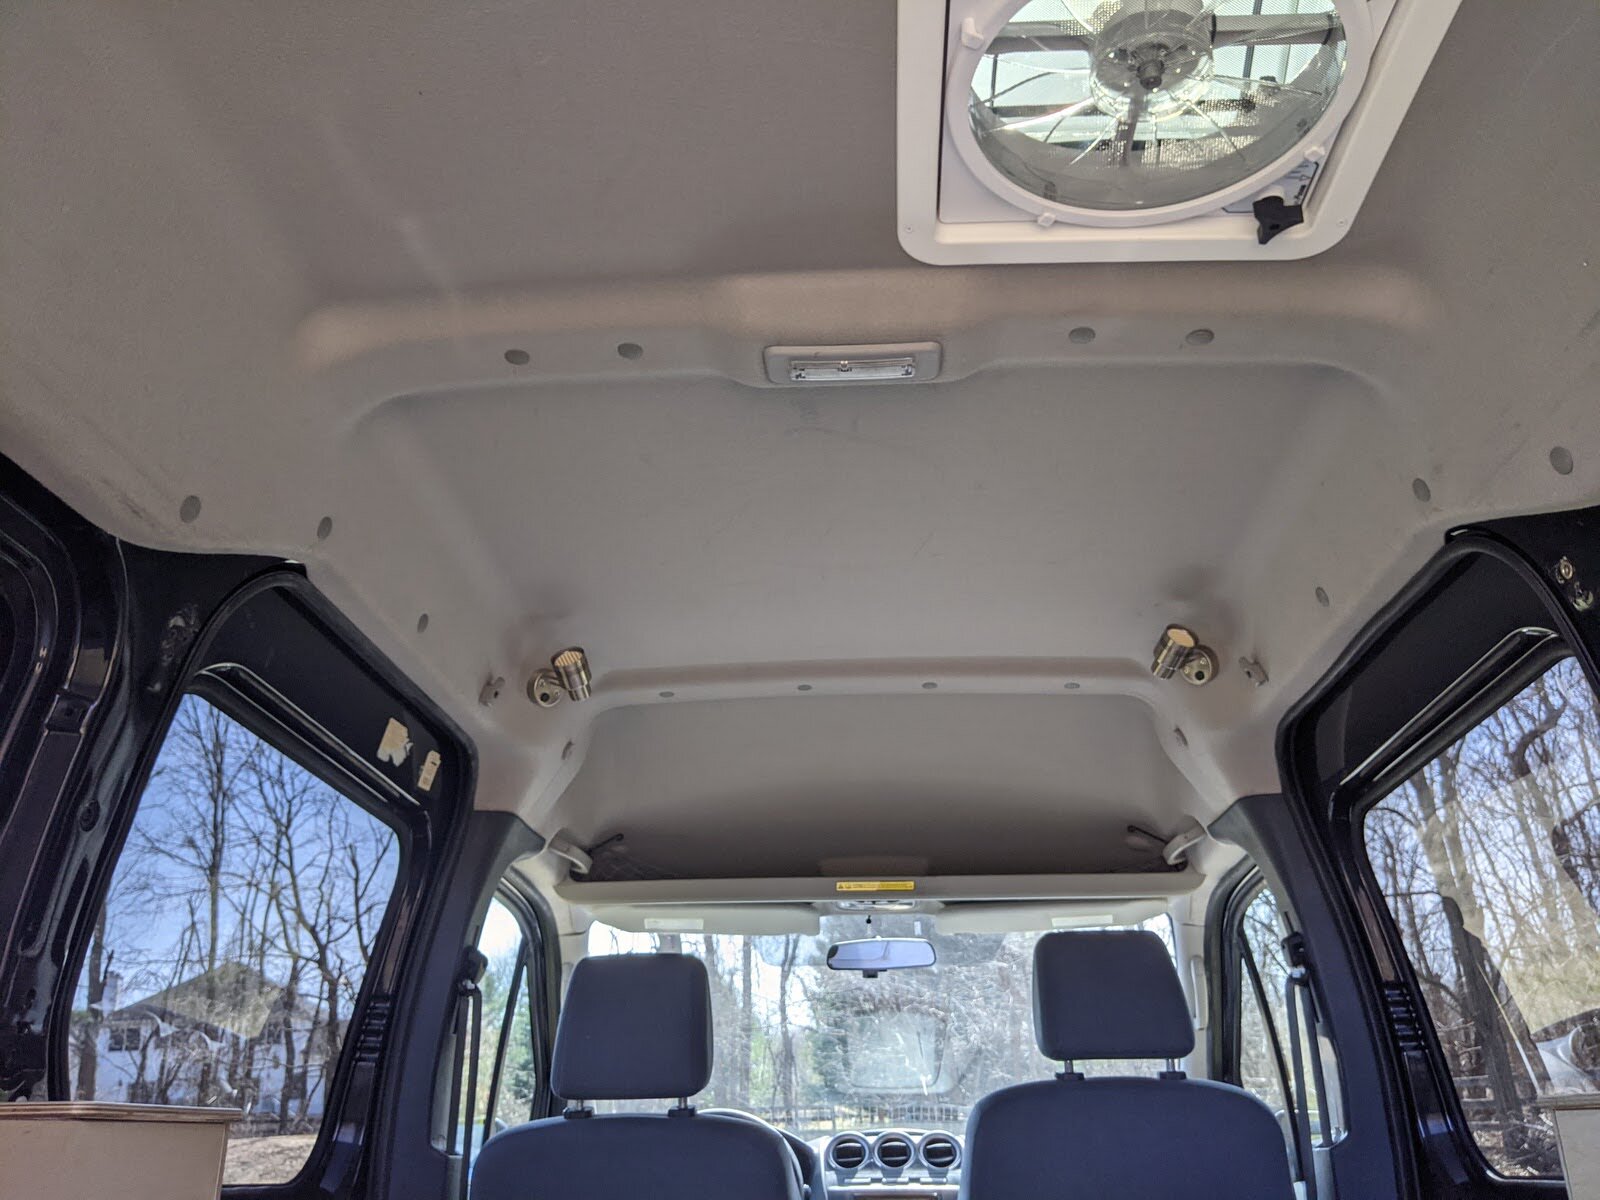
In the Ford Transit, ensure the fan will sit plum by positioning the fan away from the ceiling cross bar and interior light fixture (see after image taken from inside the vehicle).
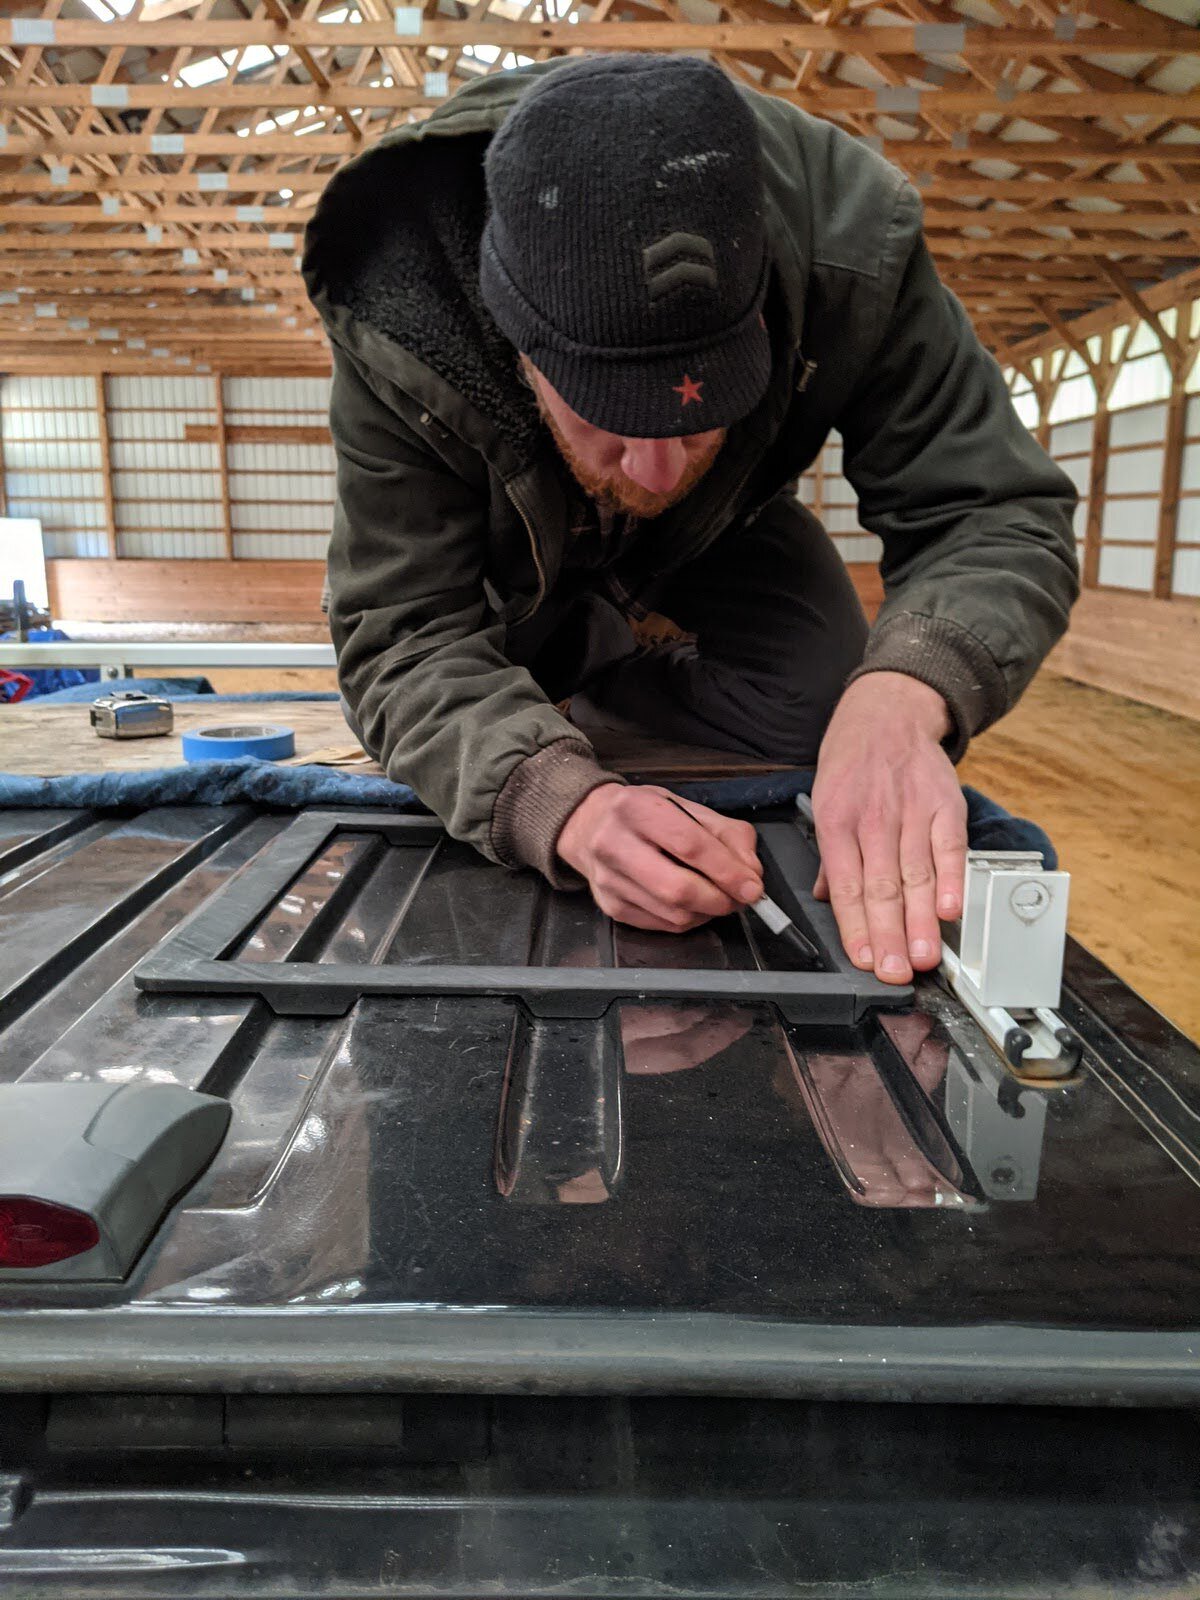
Using the adapter as a template, trace the interior of the opening and further define with masking tape.
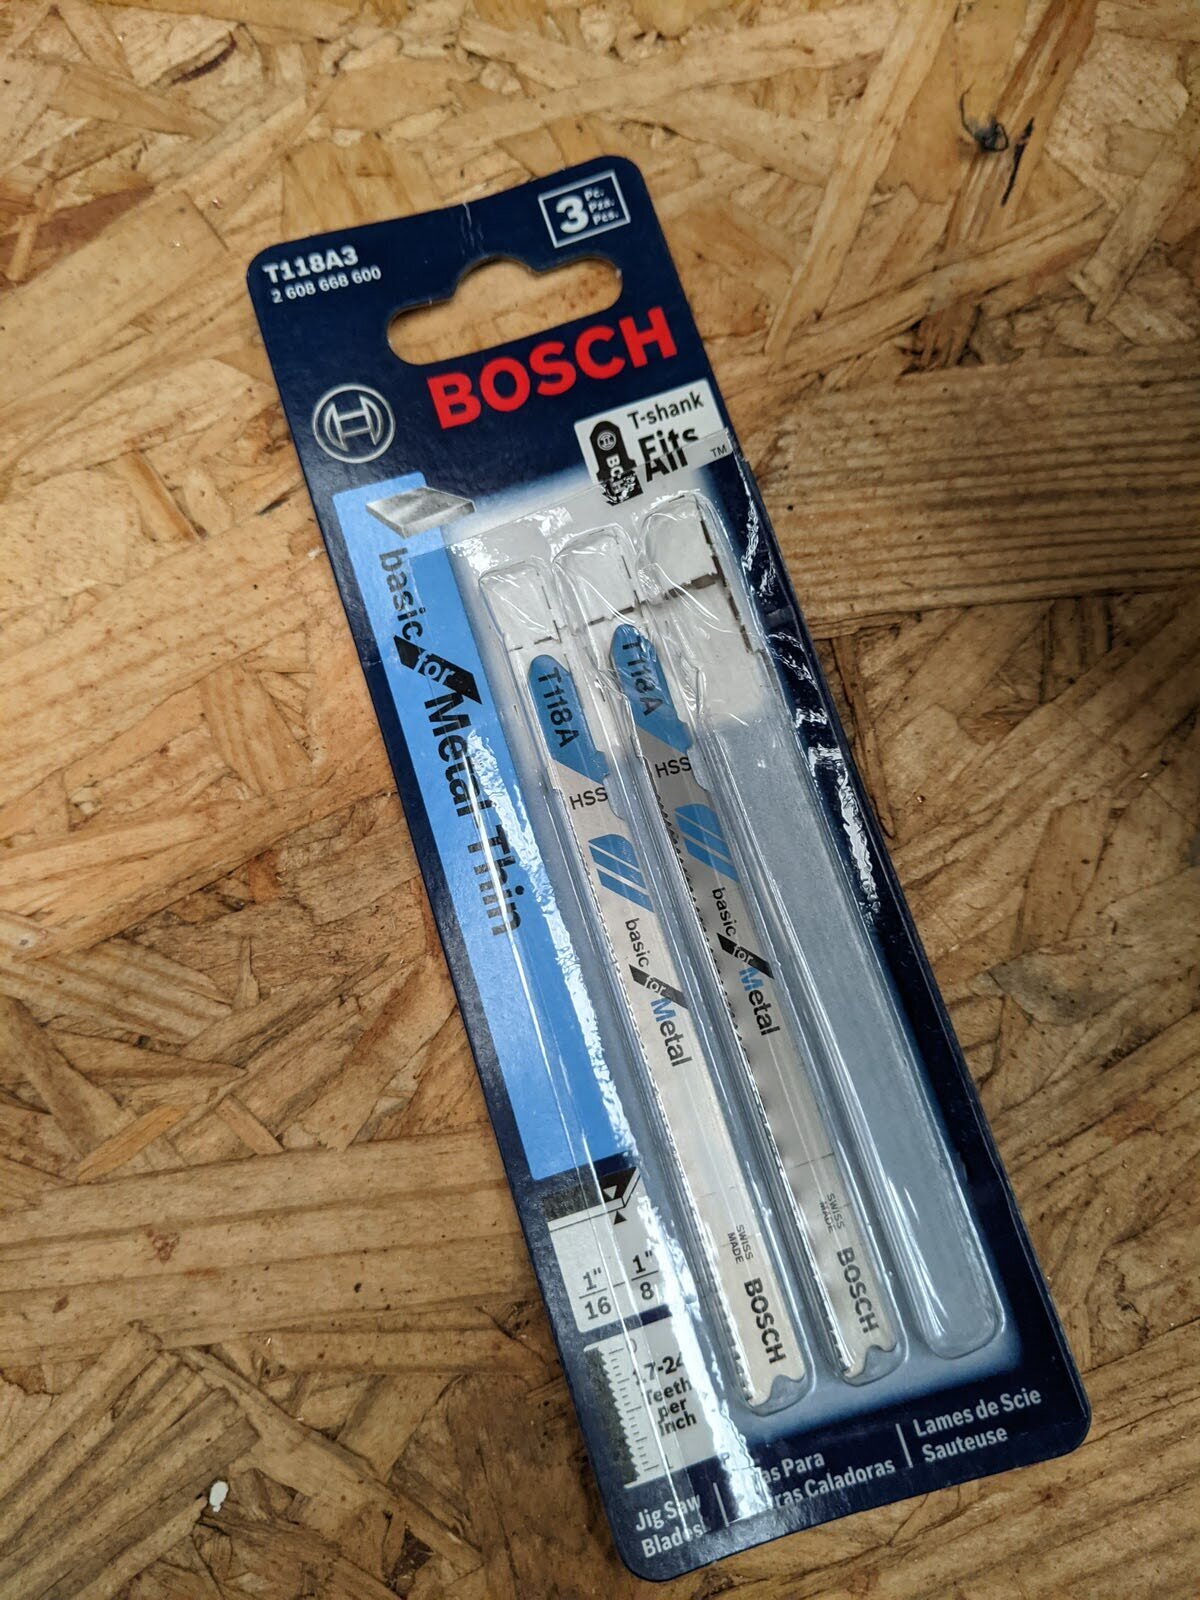
*Safety glasses recommended. With the opening marked, pierce the roof with a drill and step bit, just inside the cut line, to create an opening for the metal jig saw blade.
Using the jig saw, cut the 14”x14” opening along marked line. Finish by filing the edges of the cut to remove any extra sharp edges.
Step 2: Prep & Install Roof Vent Adapter Ring / Waterproof
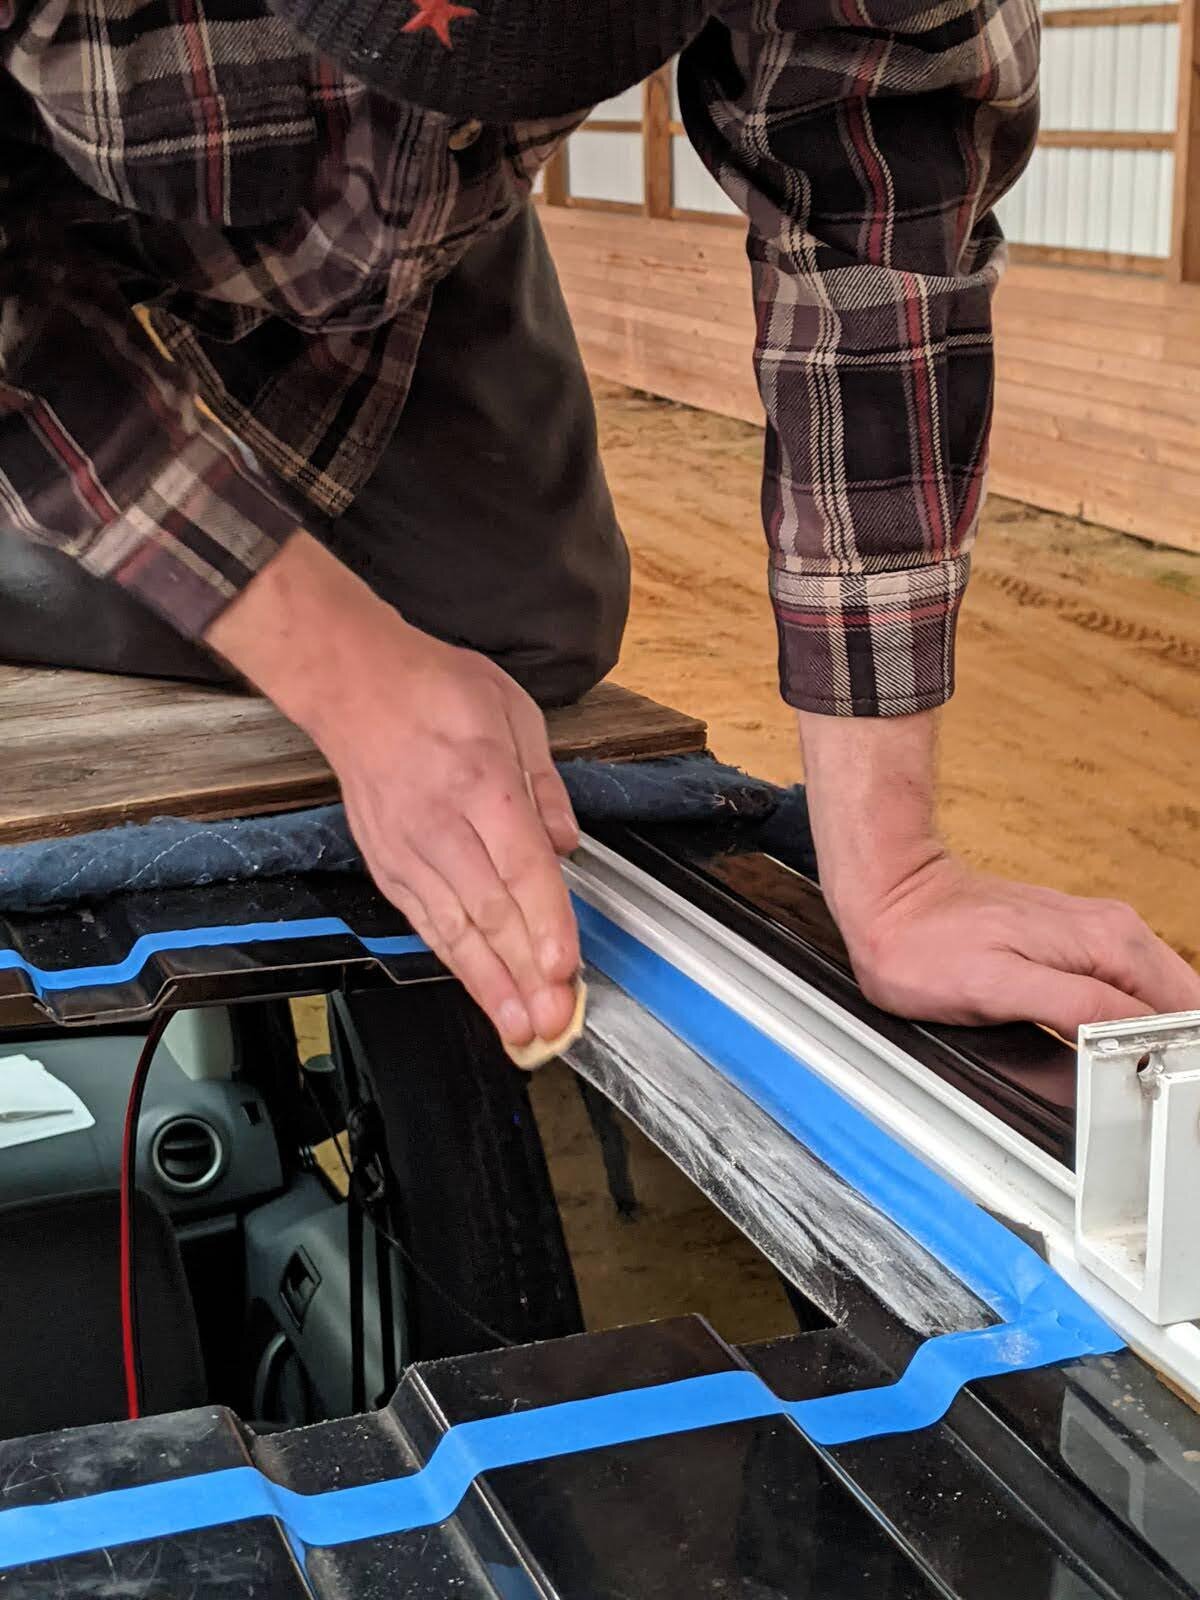
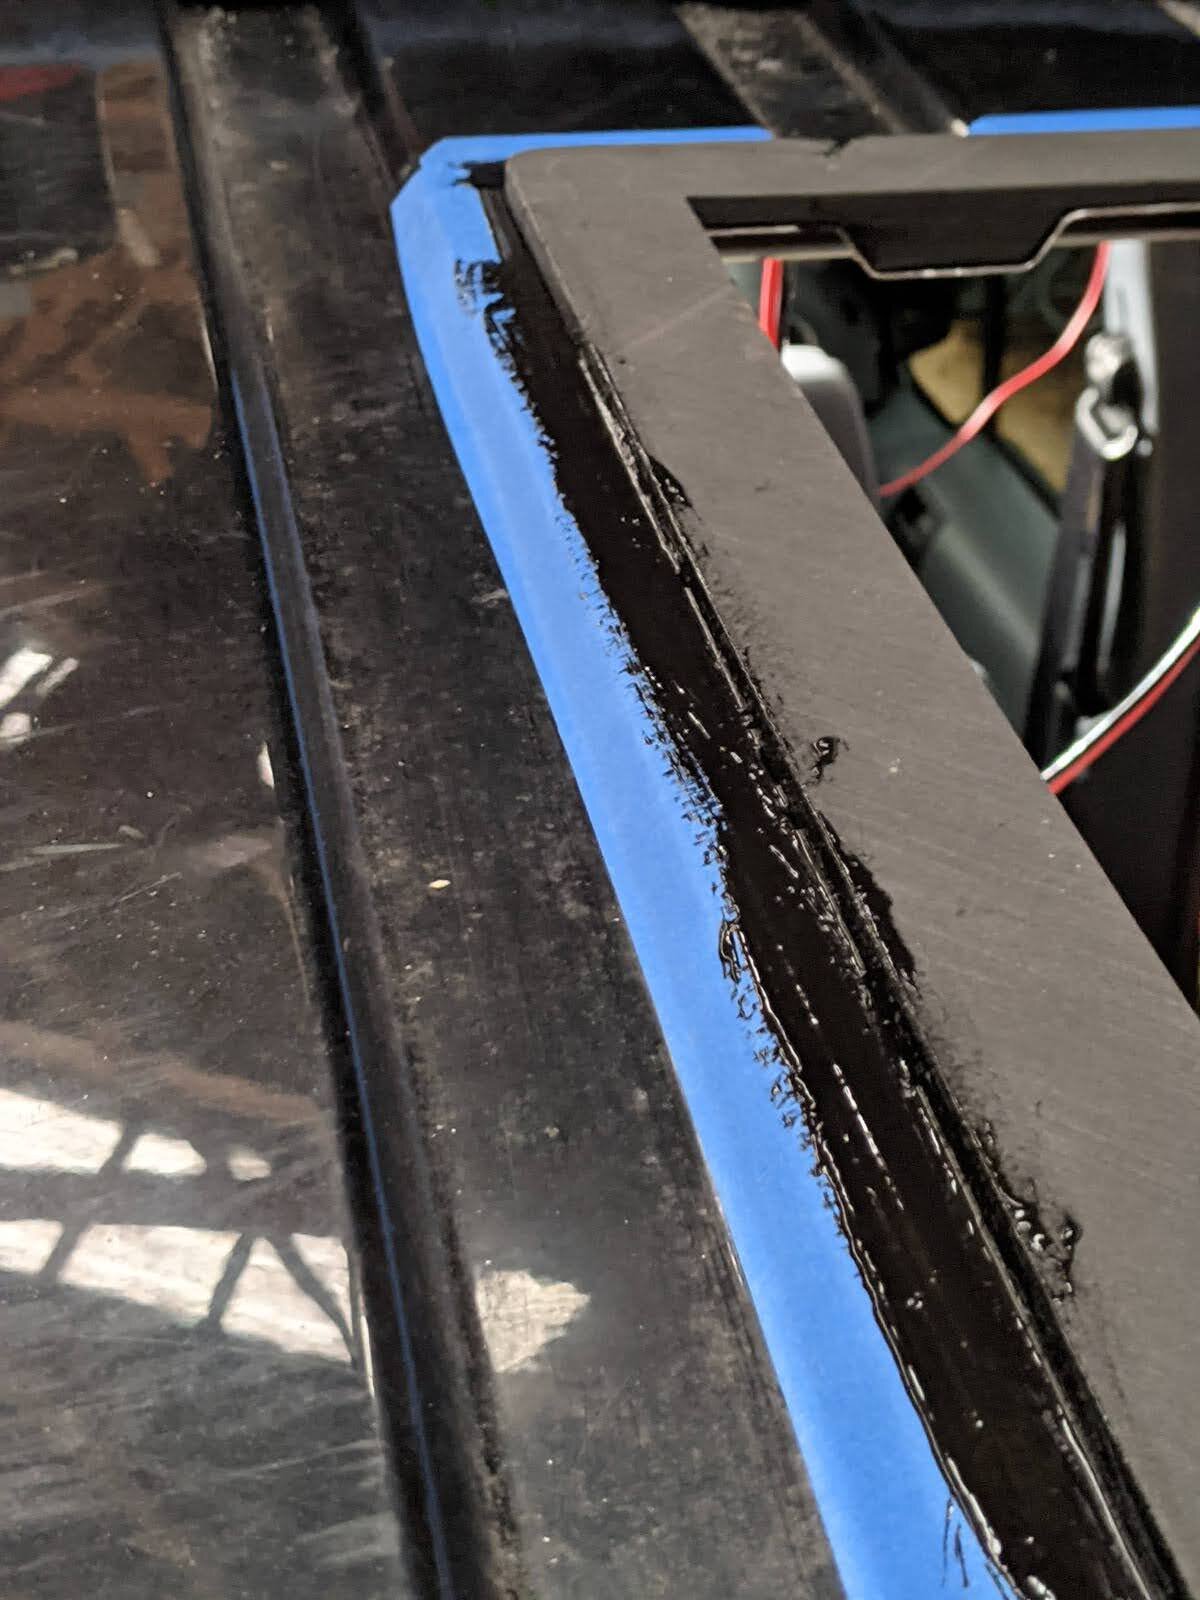
With the opening cut, prep the surface of the roof with a new perimeter of blue tape (about 1 inch beyond the opening edge and scour the surface with a scotch-brite pad. Finish by cleaning the area with isopropyl alcohol.
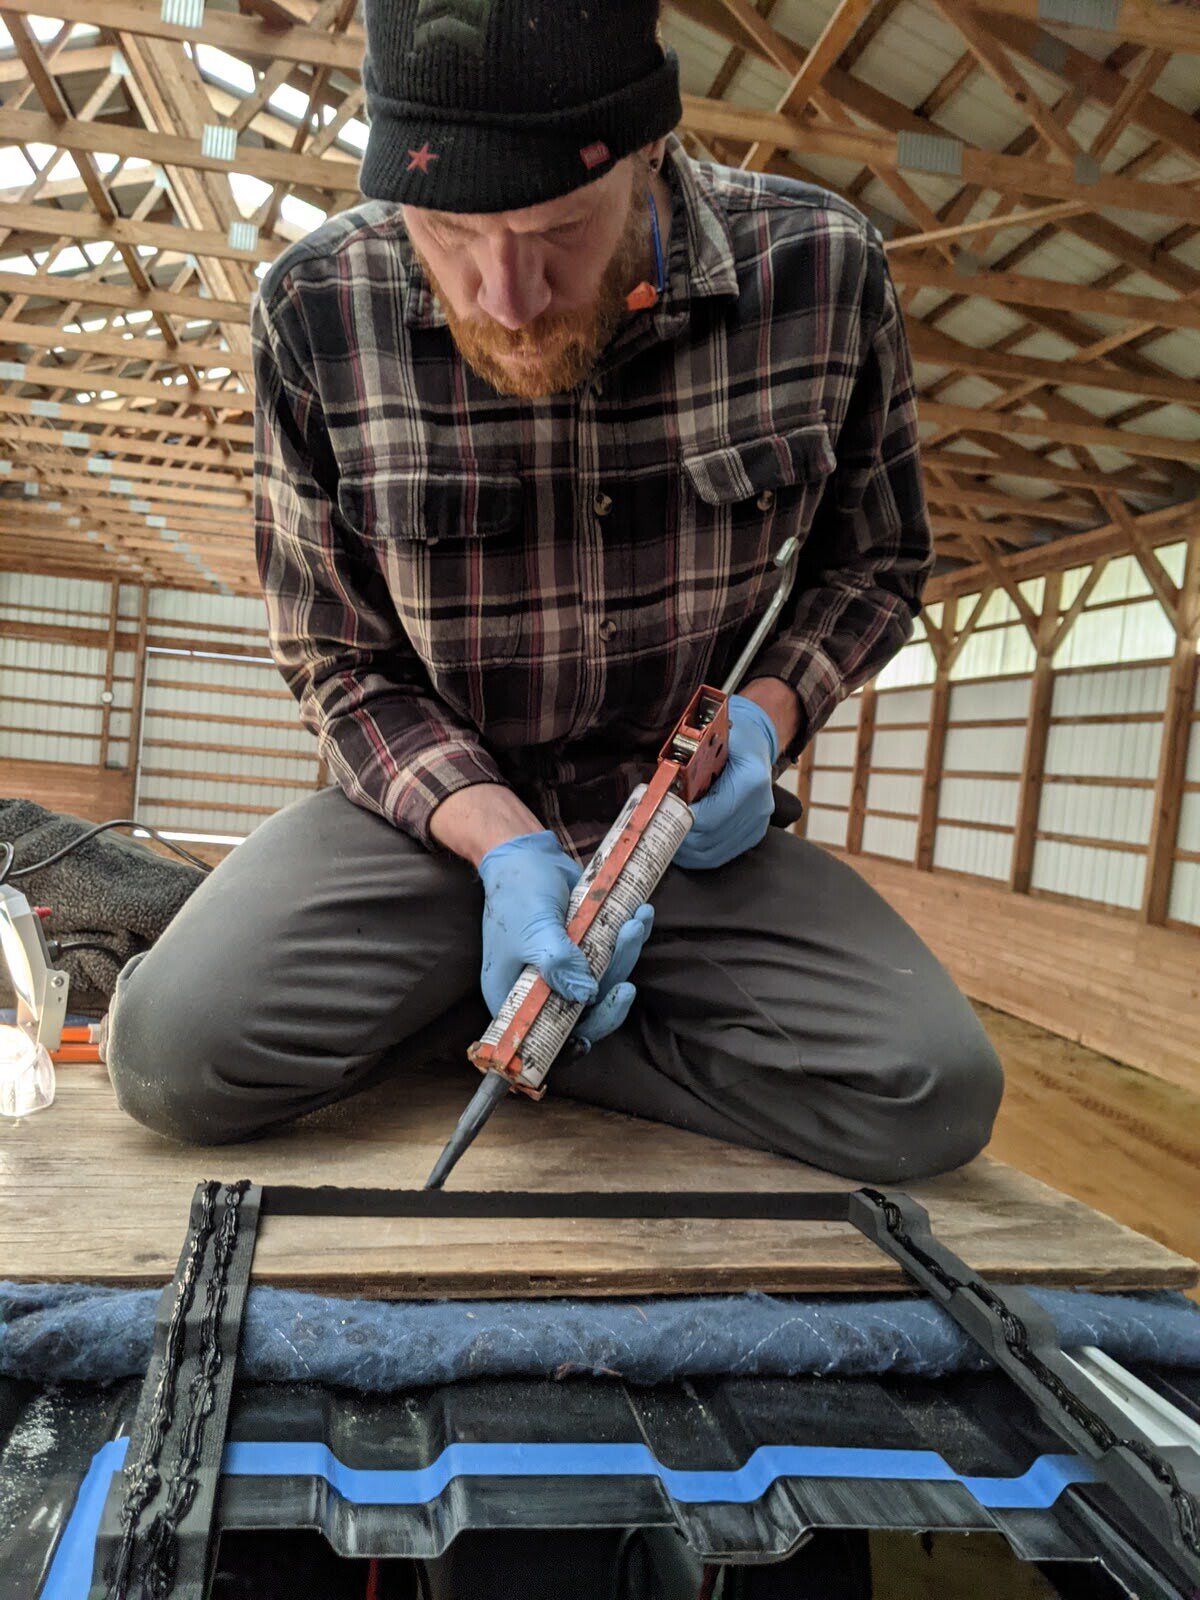
Using the 3M fast cure urethan, create 2-3 beads of adhesive along the bottom face of the adapter. Flip the adapter over, and fit into opening. Press firmly along all edges.
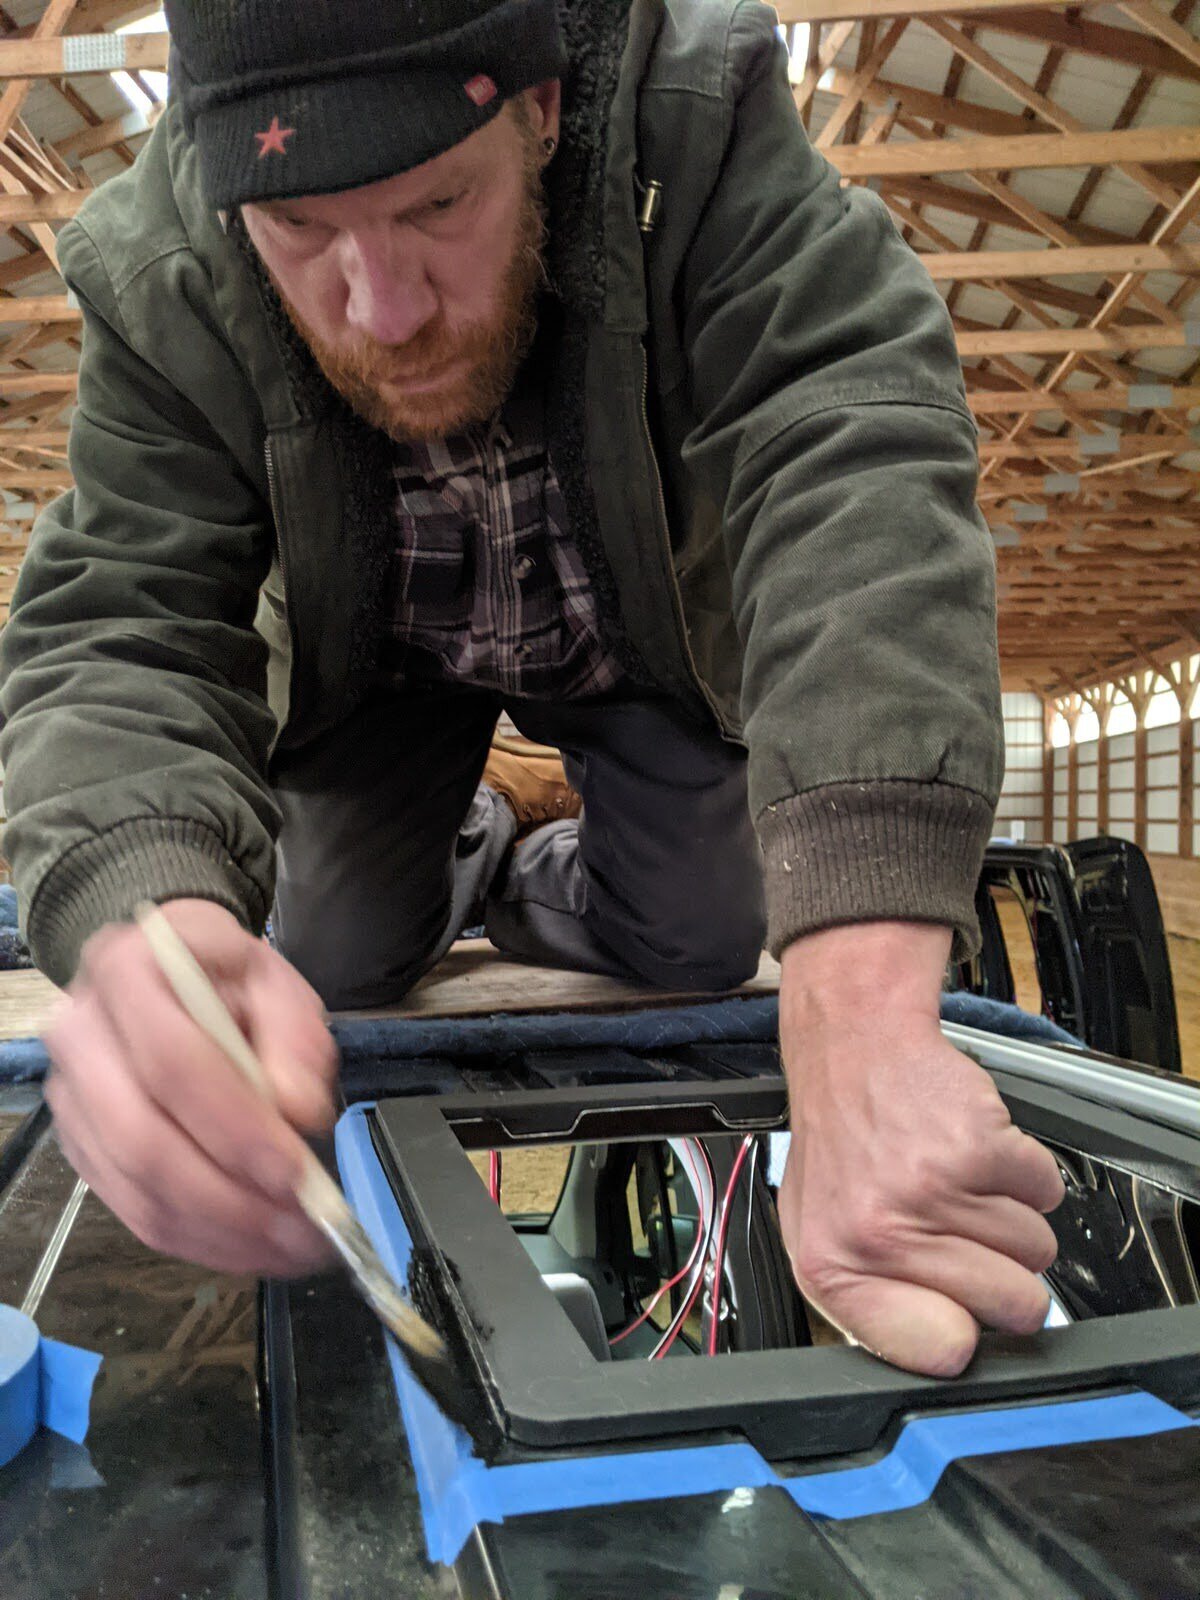
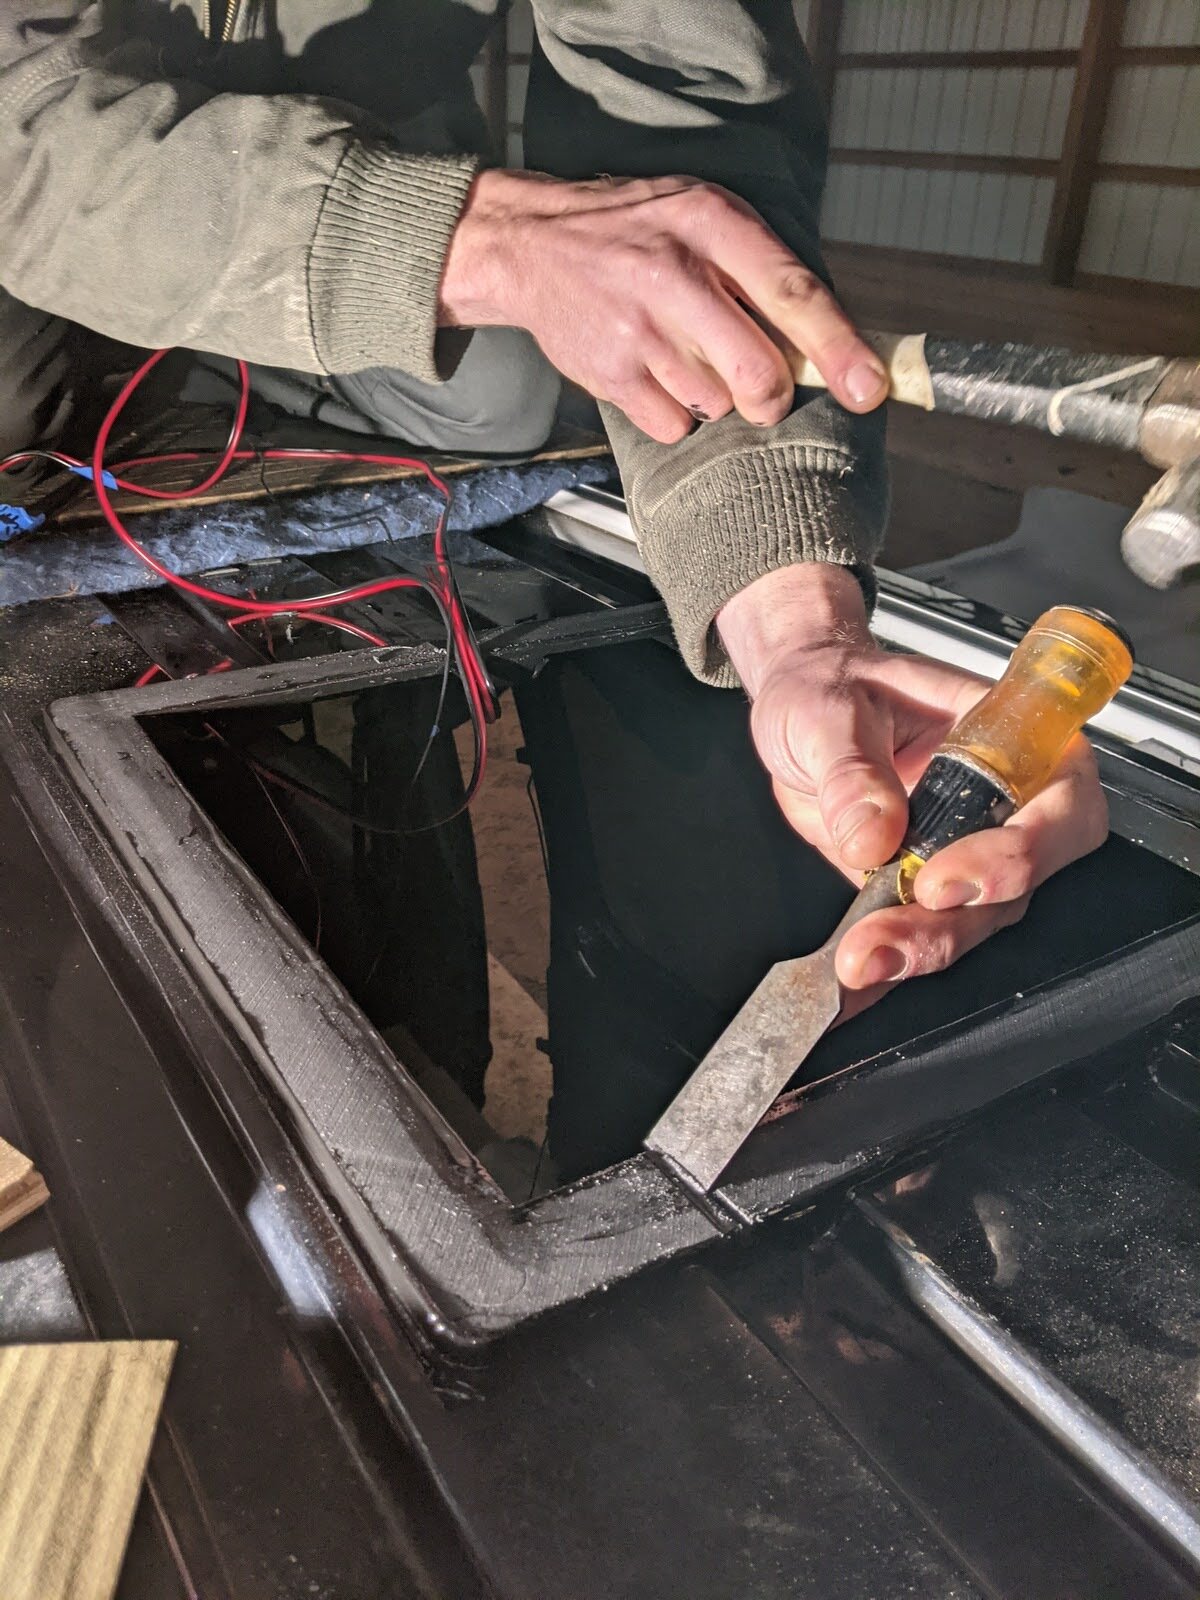
** In our build, we used the adapter ring as the entry/exit point of our exterior lights. We used a chisel to cut a channel for these wires to sit in.
Using the masking tape as an edge, further waterproof the adapter edge with a disposable paint brush and apply an even coat of flex seal liquid. Allow to set for 15 minutes and remove tape.
Allow Flex Seal to cure/dry for 24 hours.


Step 3: Mount Ventilation Fan
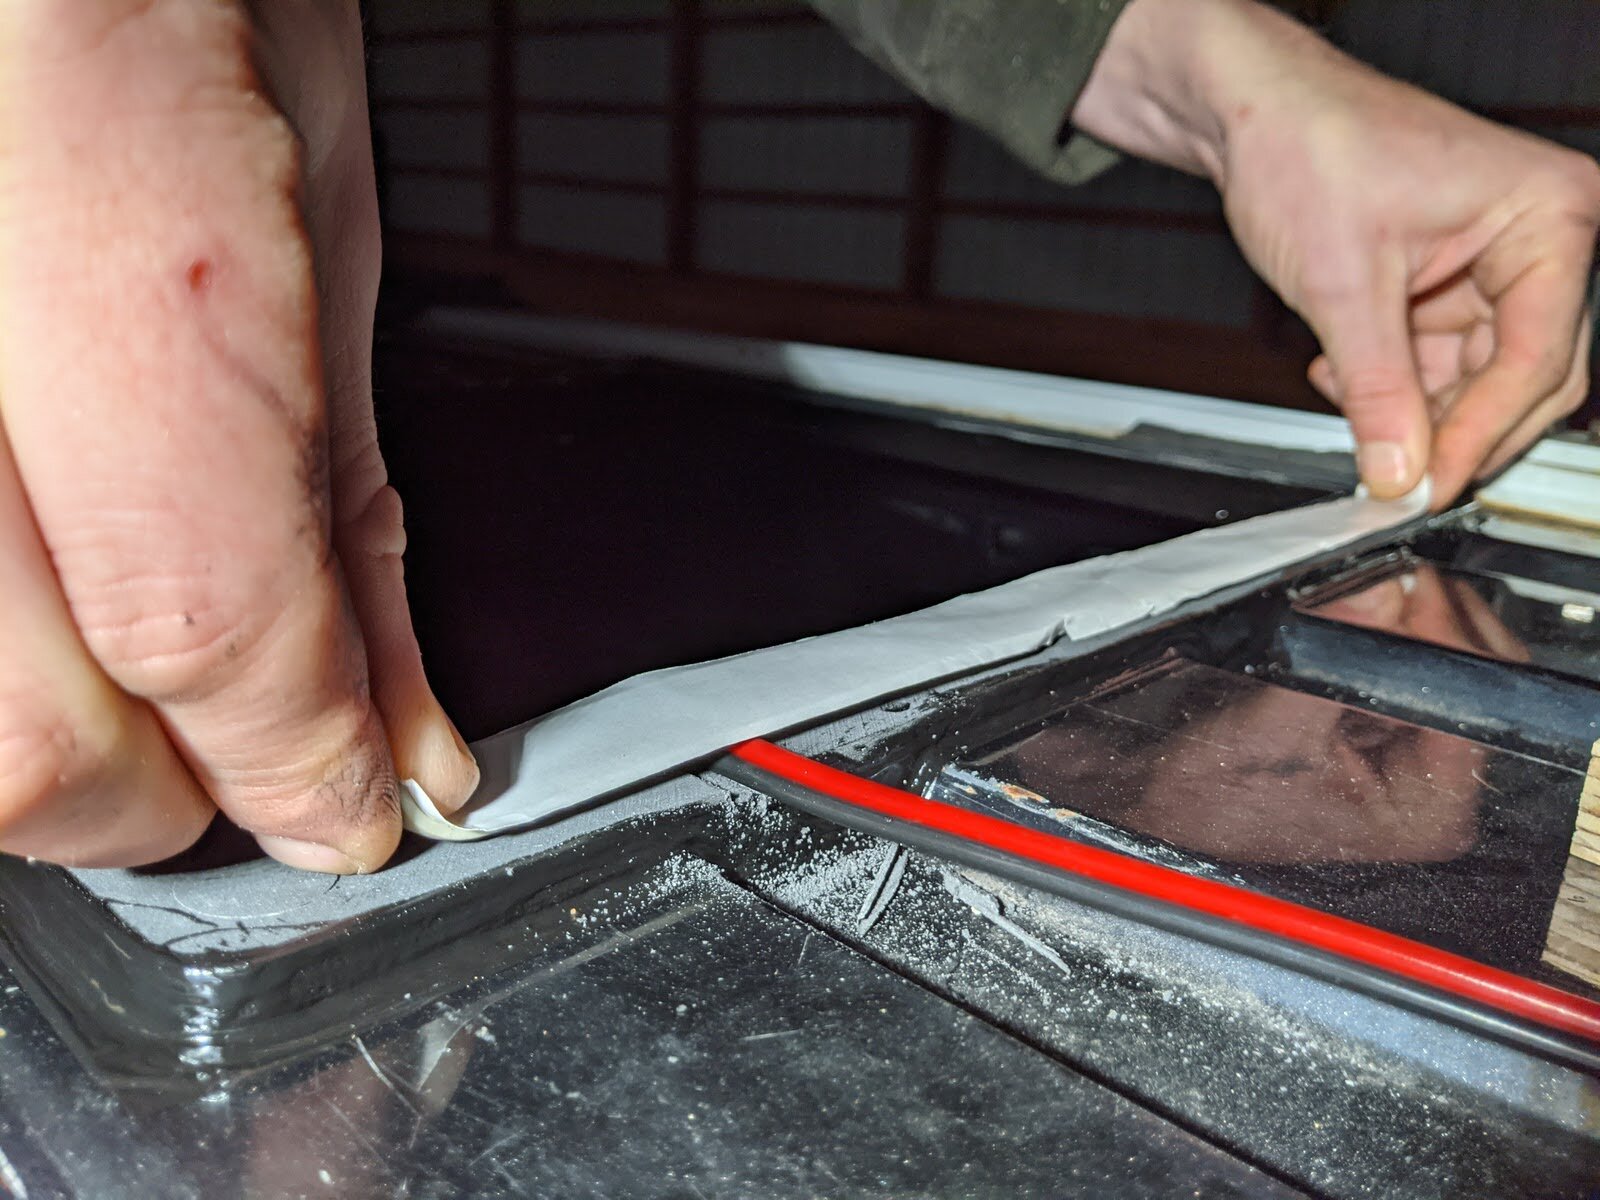
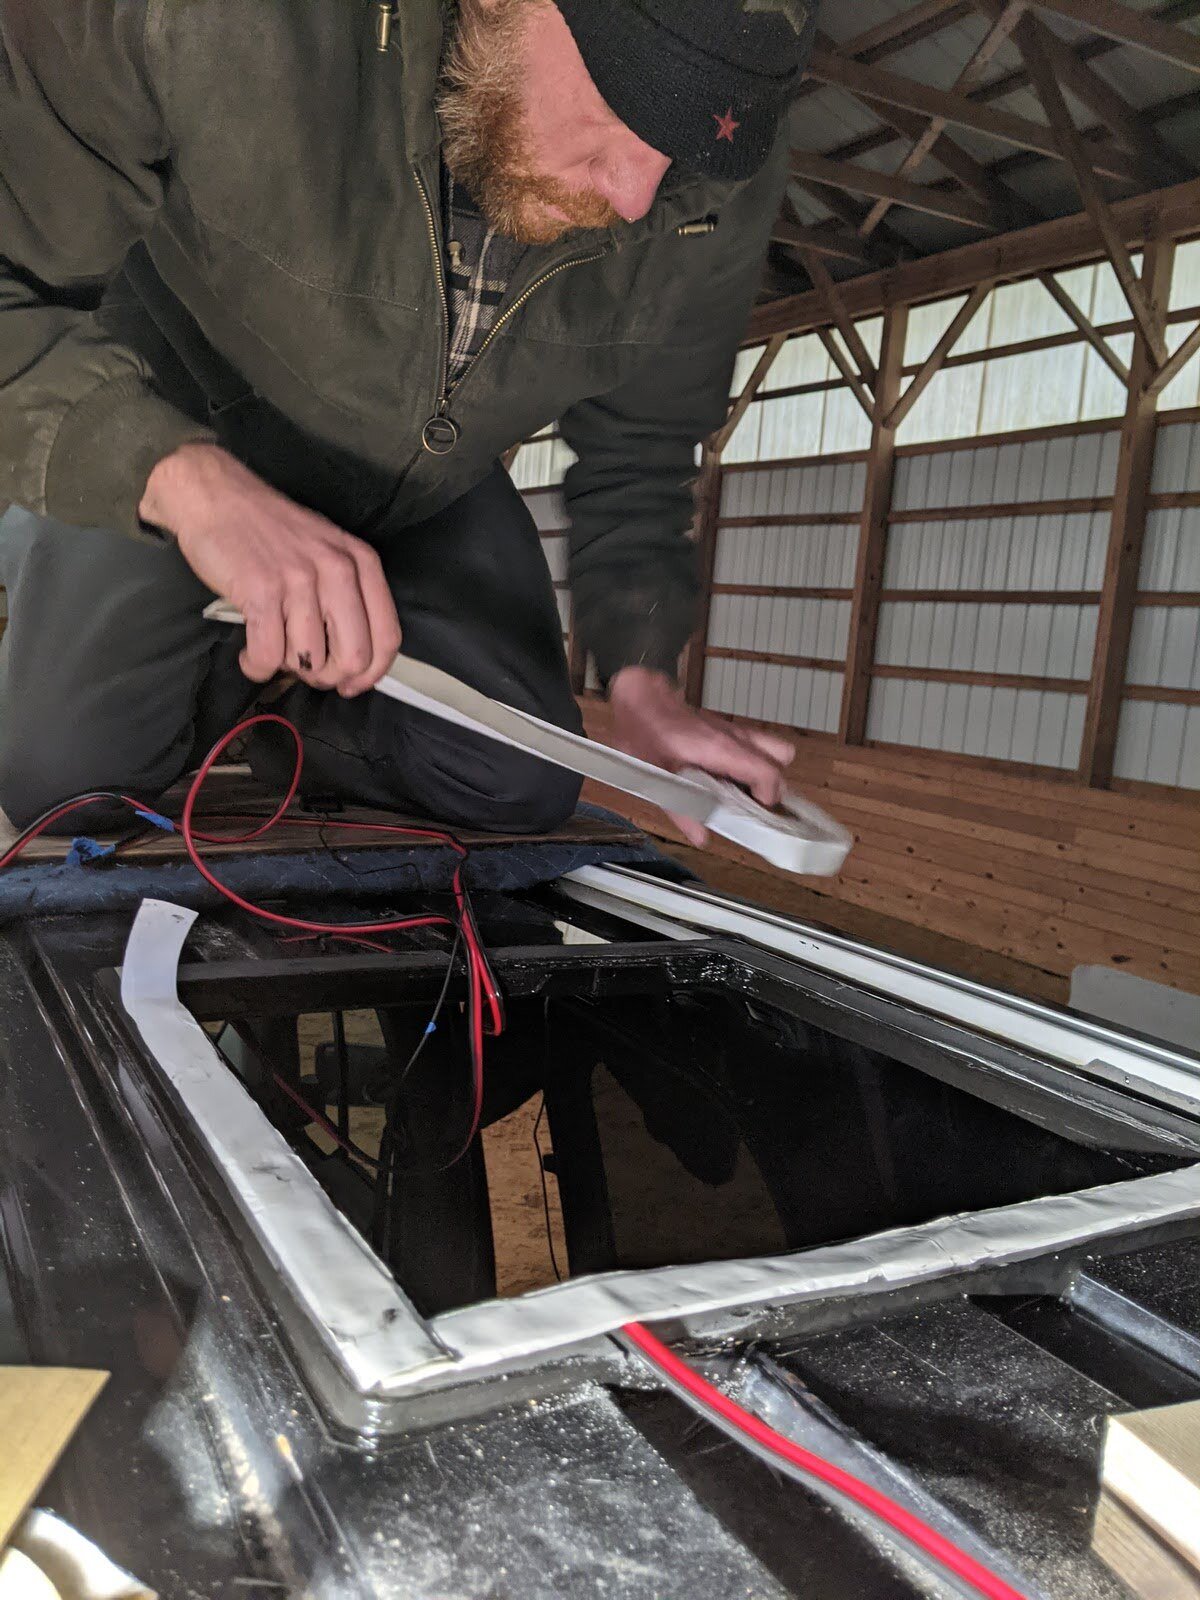
Apply butyl tape (removing the backing paper) to all four sides of the adapter, overlapping the corners to create a sealed surface. The butyl tape should be positioned in the center of the adapter, so the fan mounting screws pierce the tape on install.
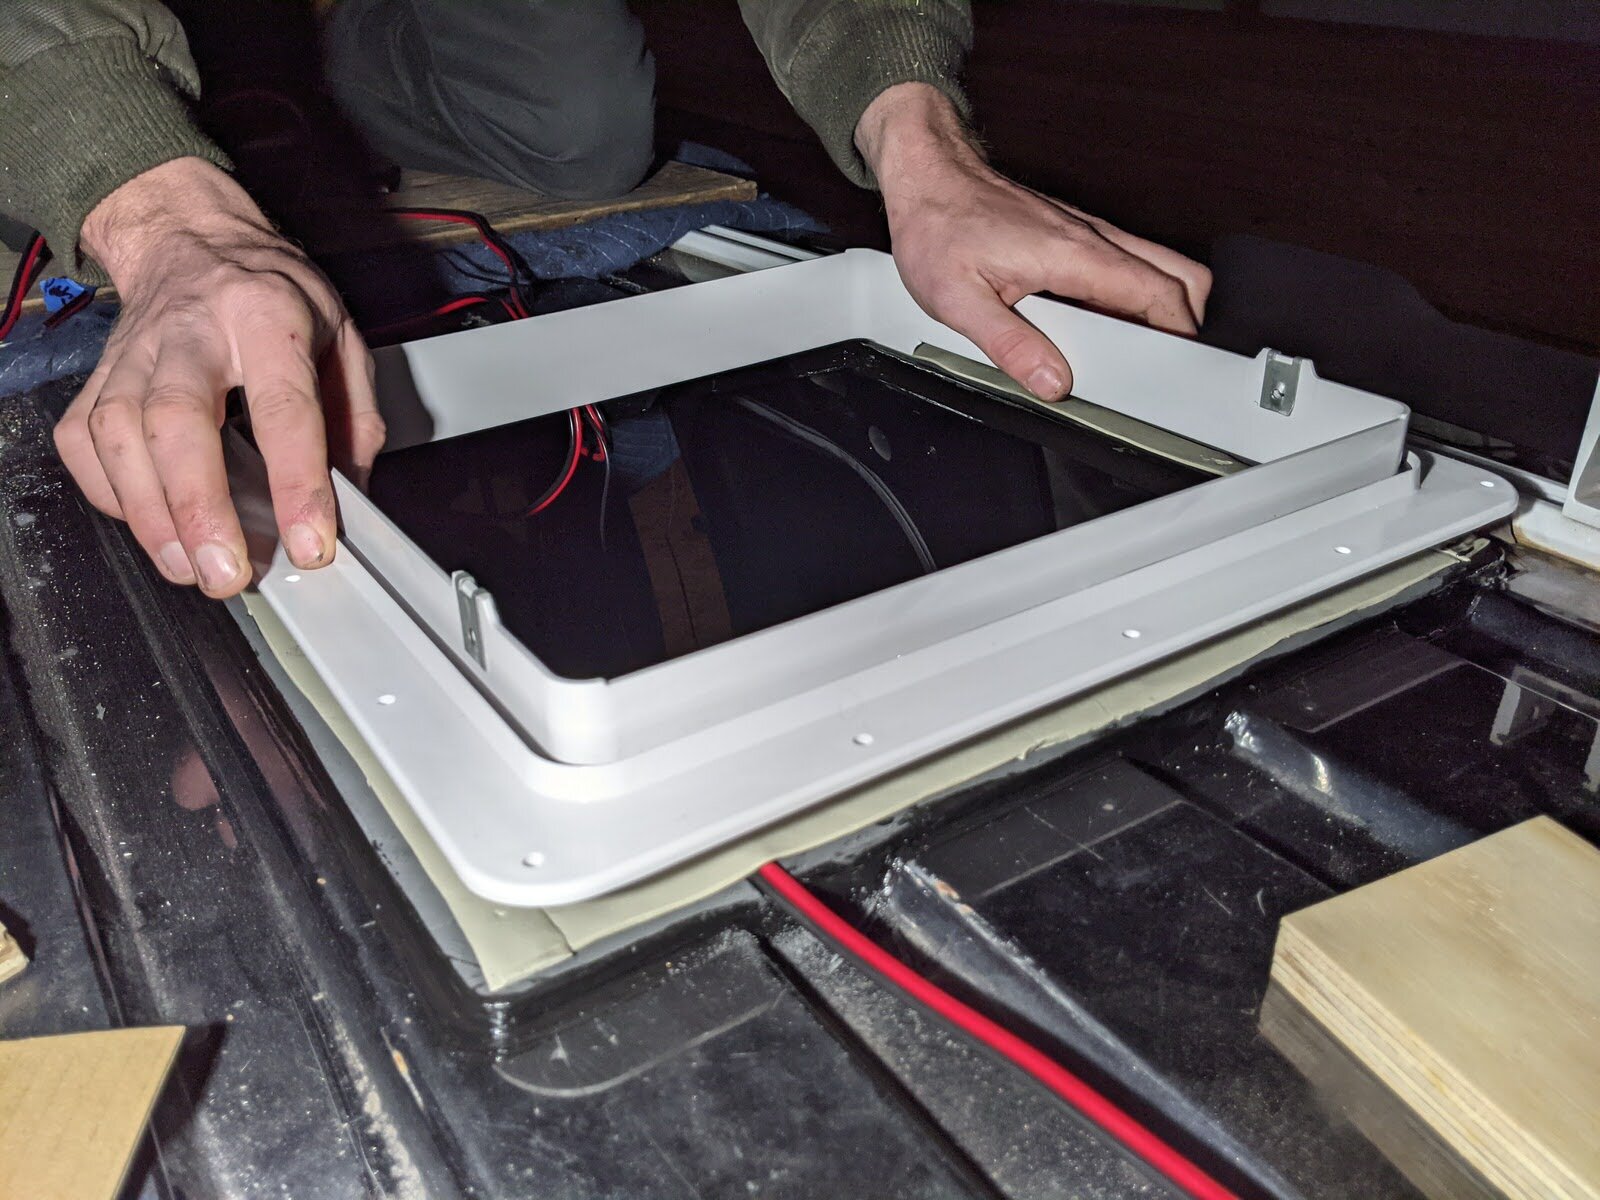
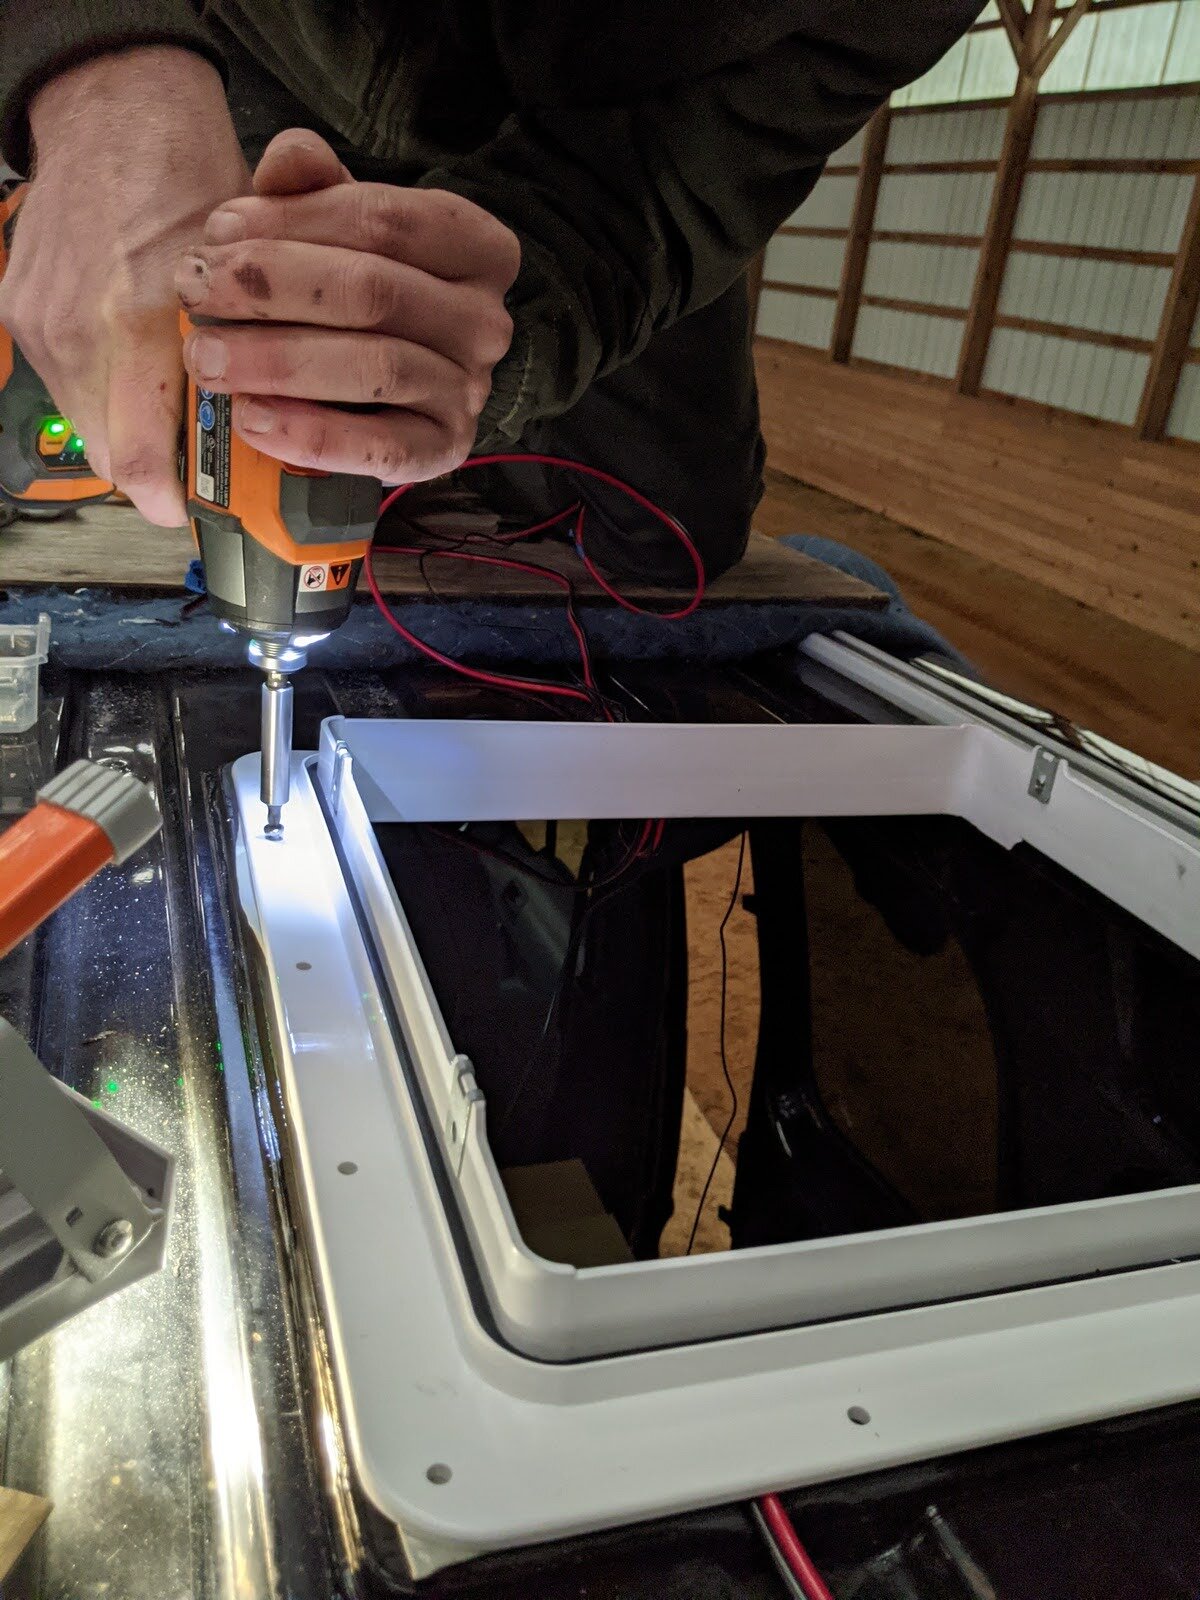
Position fan mounting ring, secure with provided screws.
Install the ventilation fan, allowing electrical wires to fall into the opening, secure with screws.
Reinstall the vehicle liner, and install the interior trim kit as the final step.
What do you think? Will you be installing a ventilation fan in your camper van conversion? Let us know your thoughts or questions below in the comment section.
Happy Camping!