CAMPER VAN FOR SALE
〰️
CAMPER VAN FOR SALE 〰️
It’s been a BUSY 2-weeks since we introduced you to our 2010 Ford Transit camper van retrofit which you can read about here.
In an effort to show you our progress (before leaving in 4 DAYS!!!), we’ve broken down the conversion into 3, easy-to-chew phases: Electrical, Storage and Comfort.
✅ If you’re short on time, you can jump to the materials and products we used to complete Dolly’s conversion, check out the full list here.
✅ Ready to DIY a camper van conversion, just like Dolly? Click here to purchase our full build and electrical plans.
First and foremost, we had the van checked by our local mechanic. Only some minor hoses and gaskets needed service; which cost about $250.
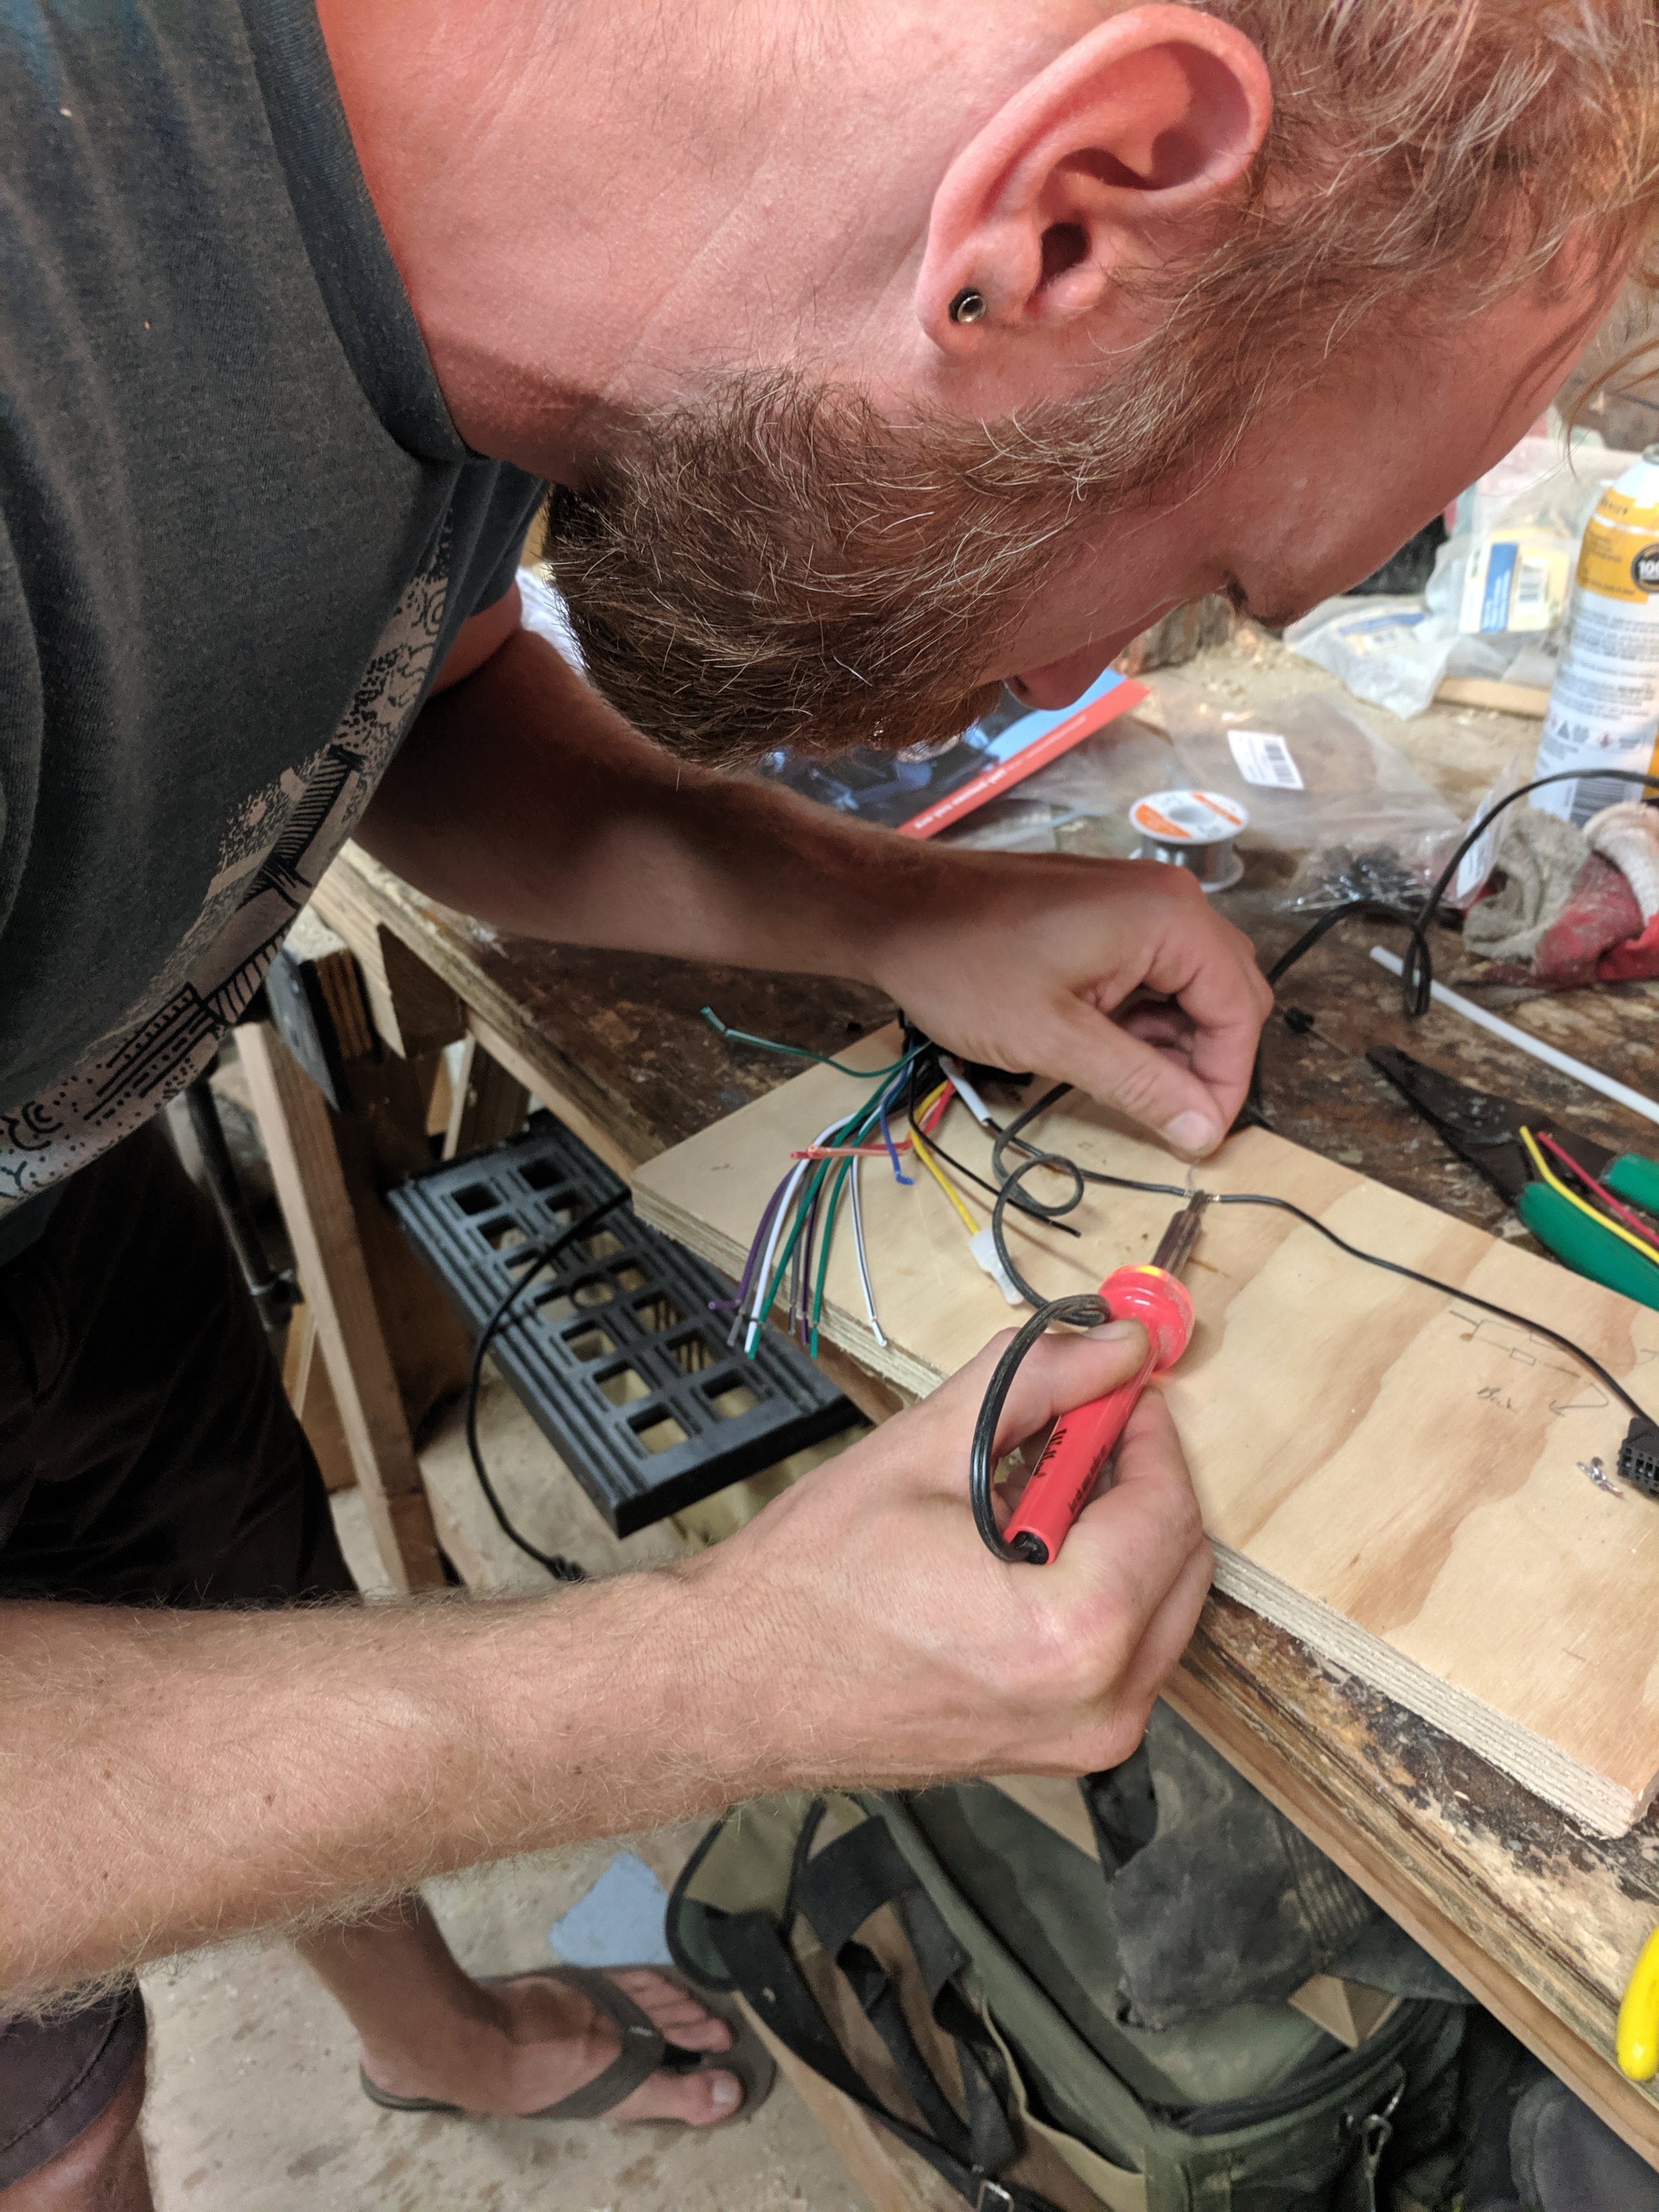
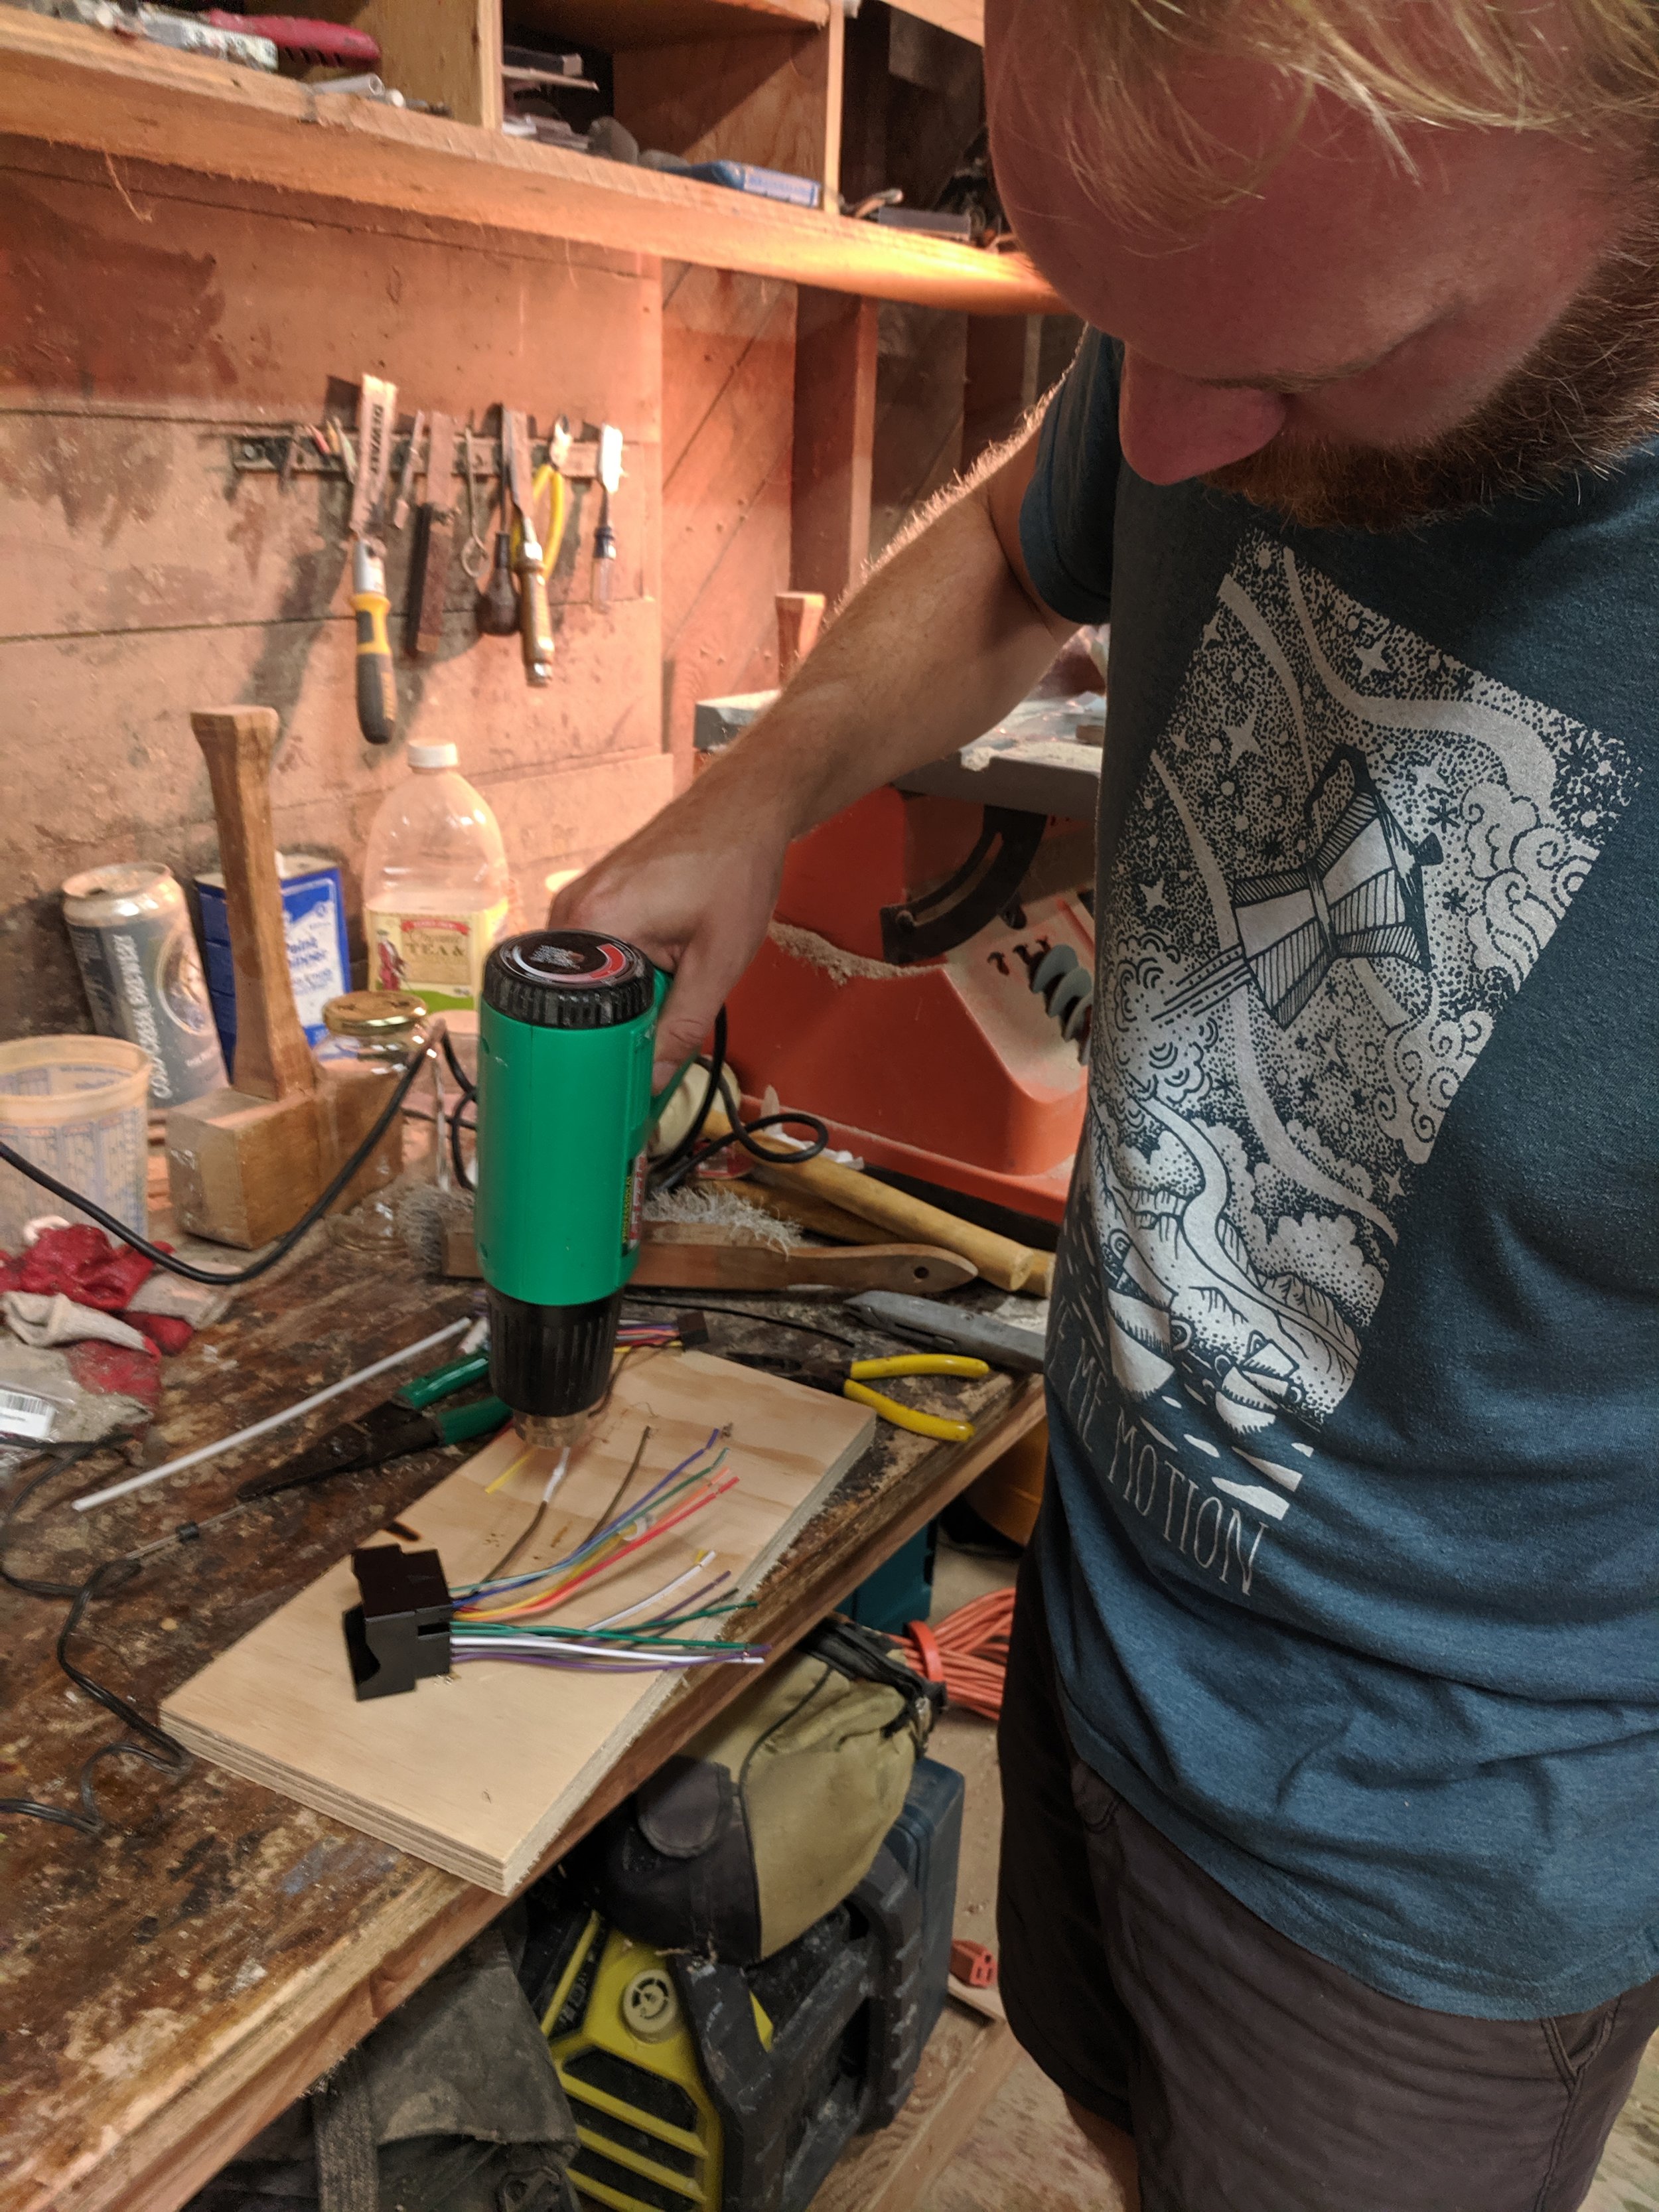
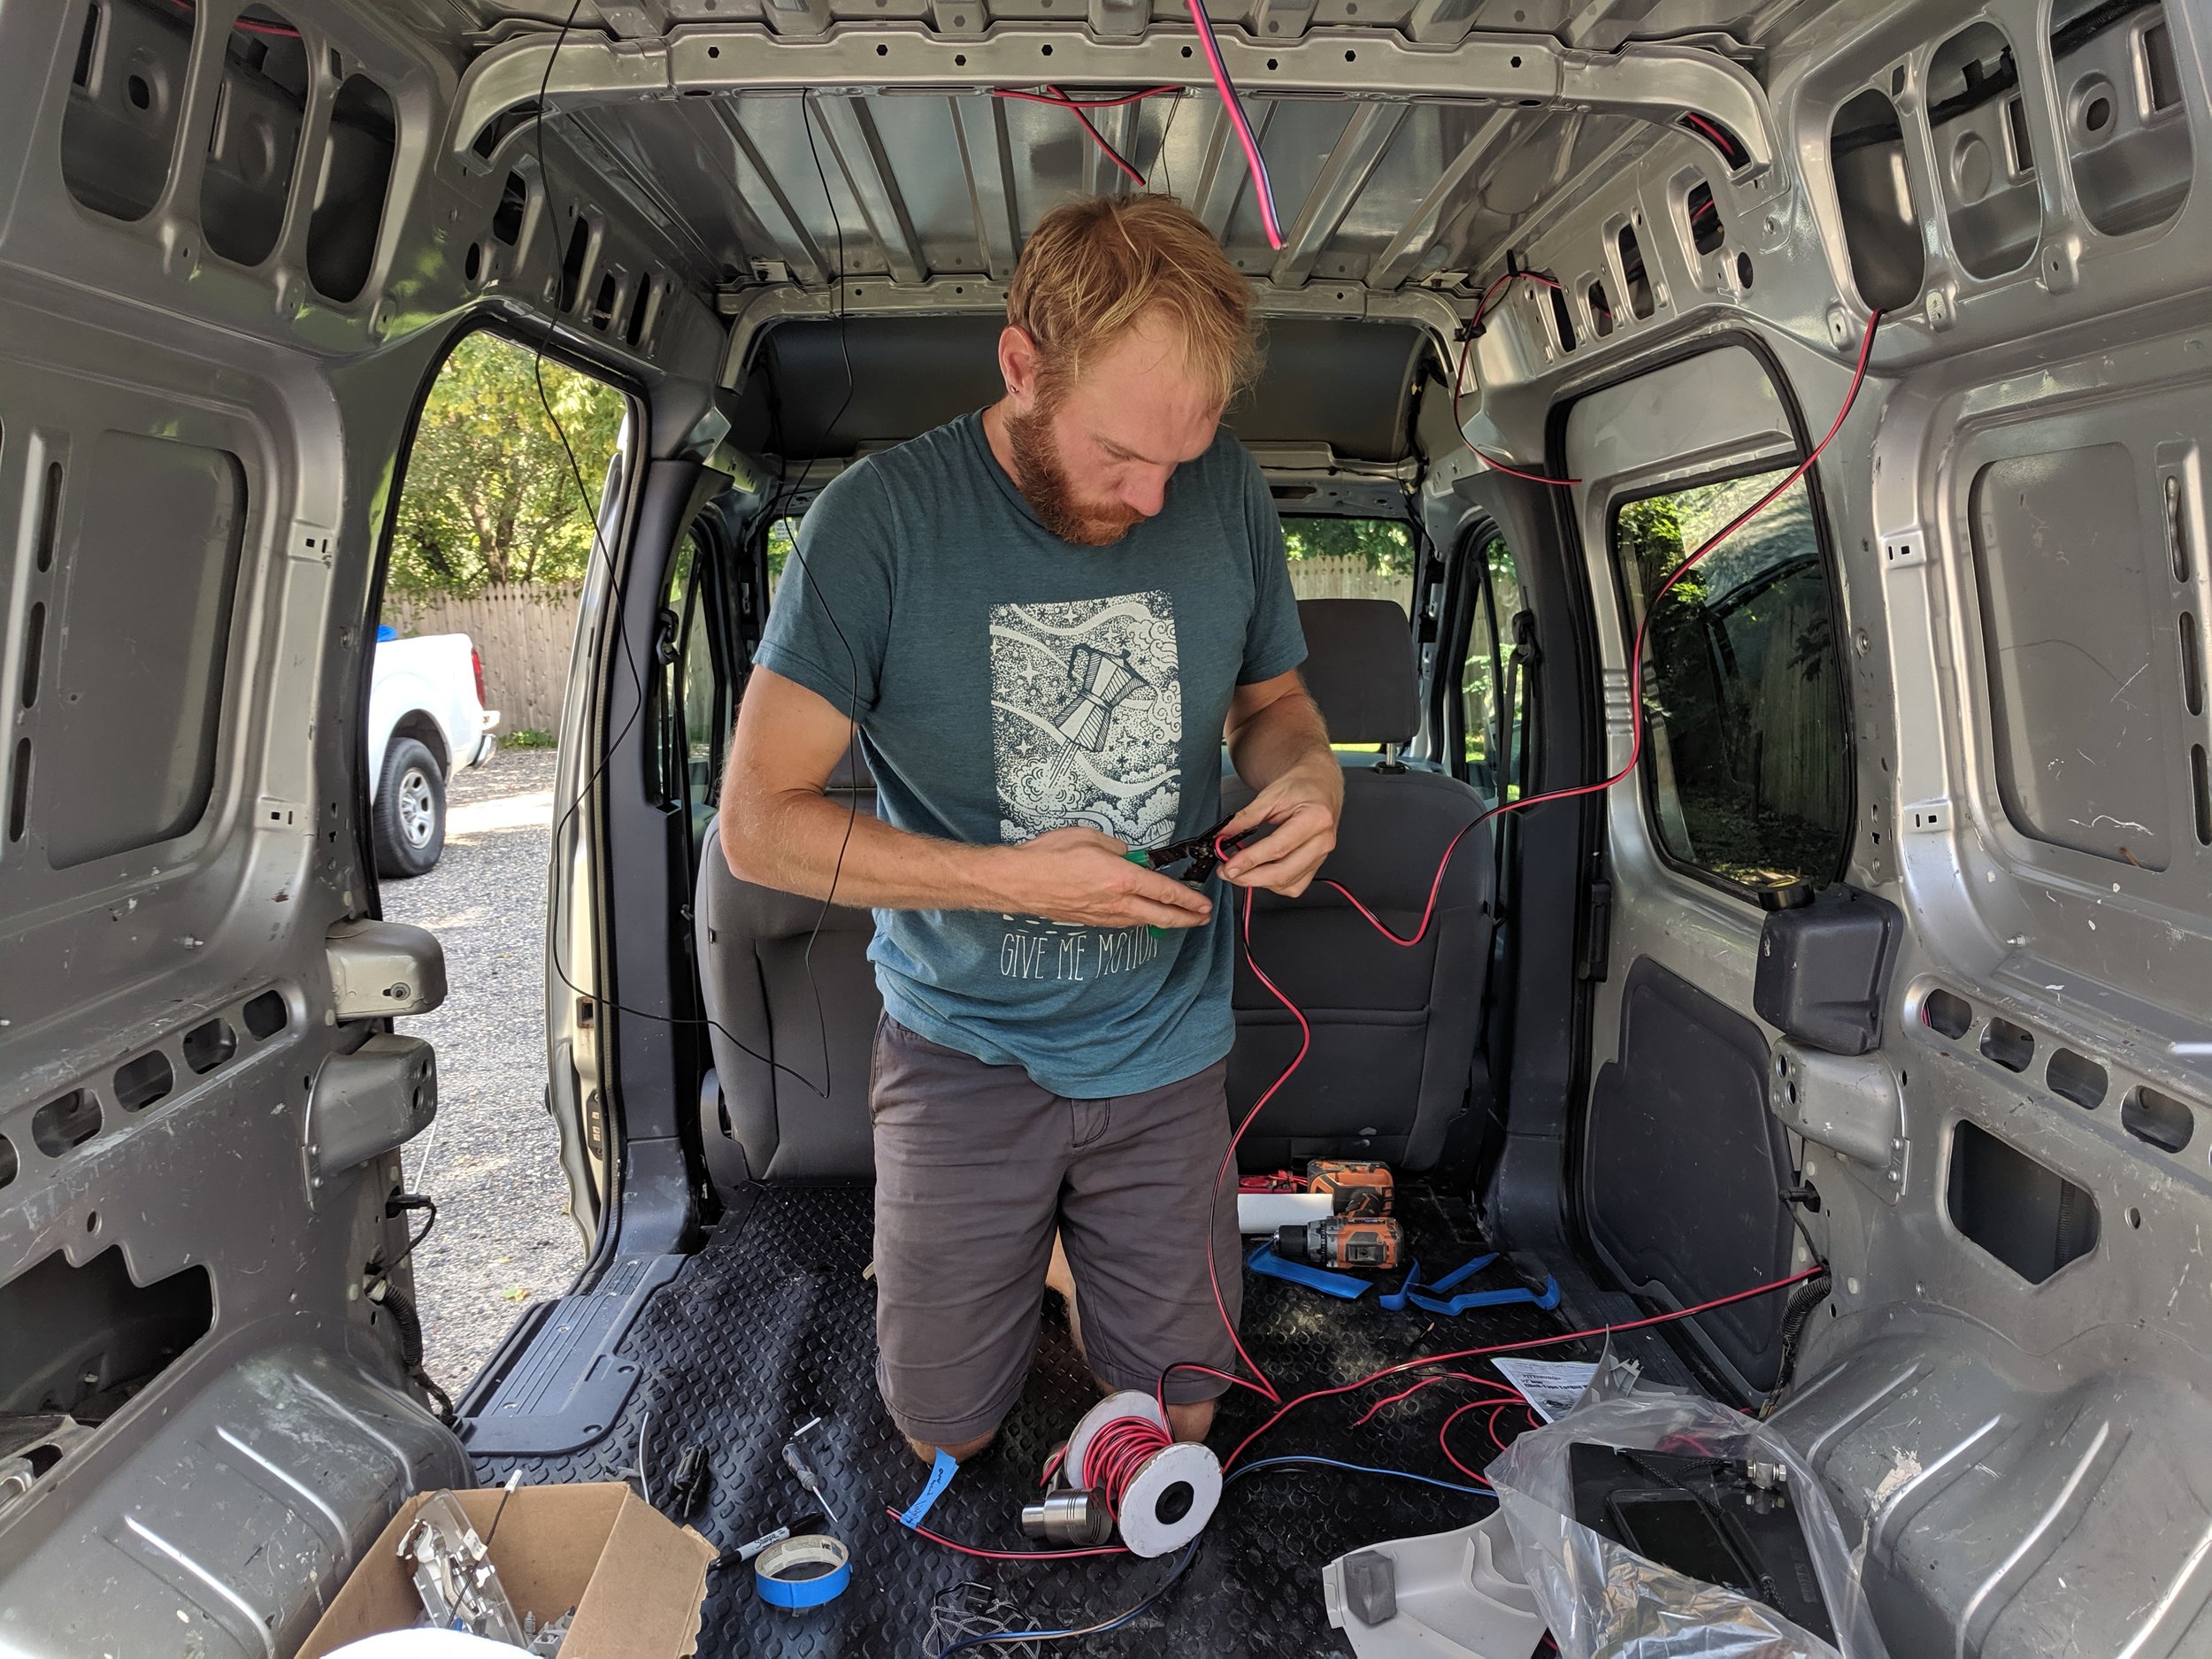
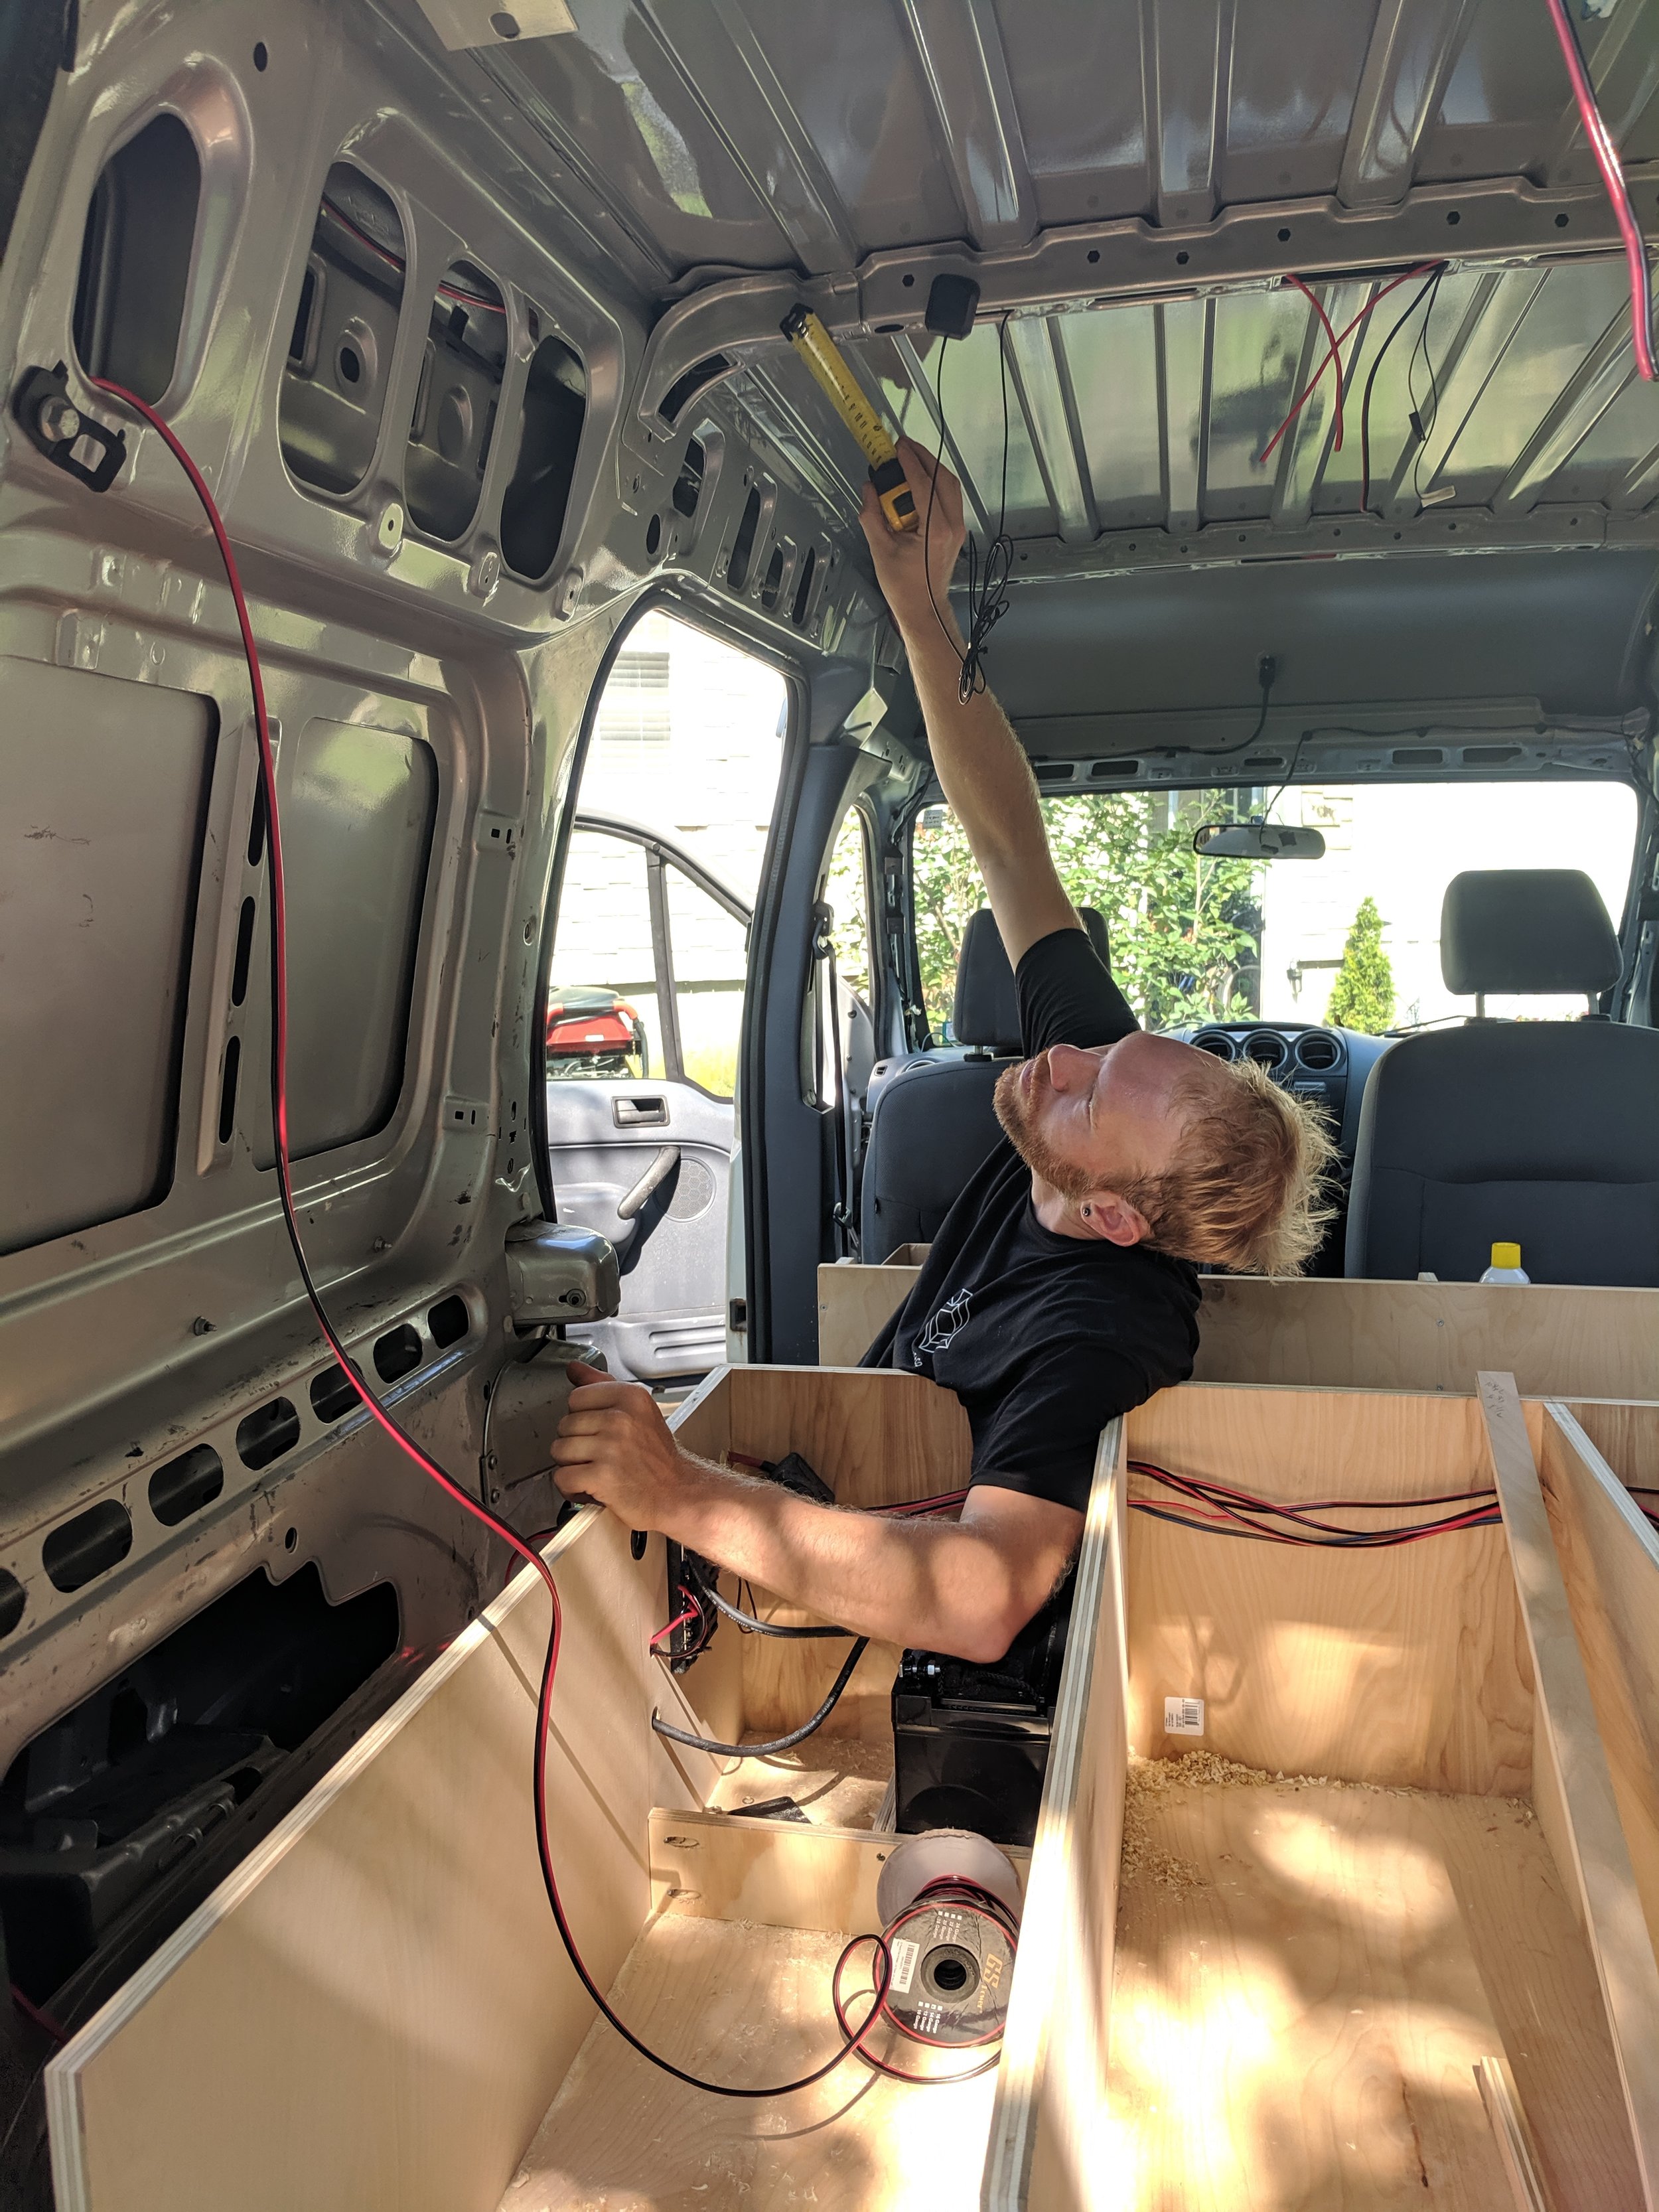
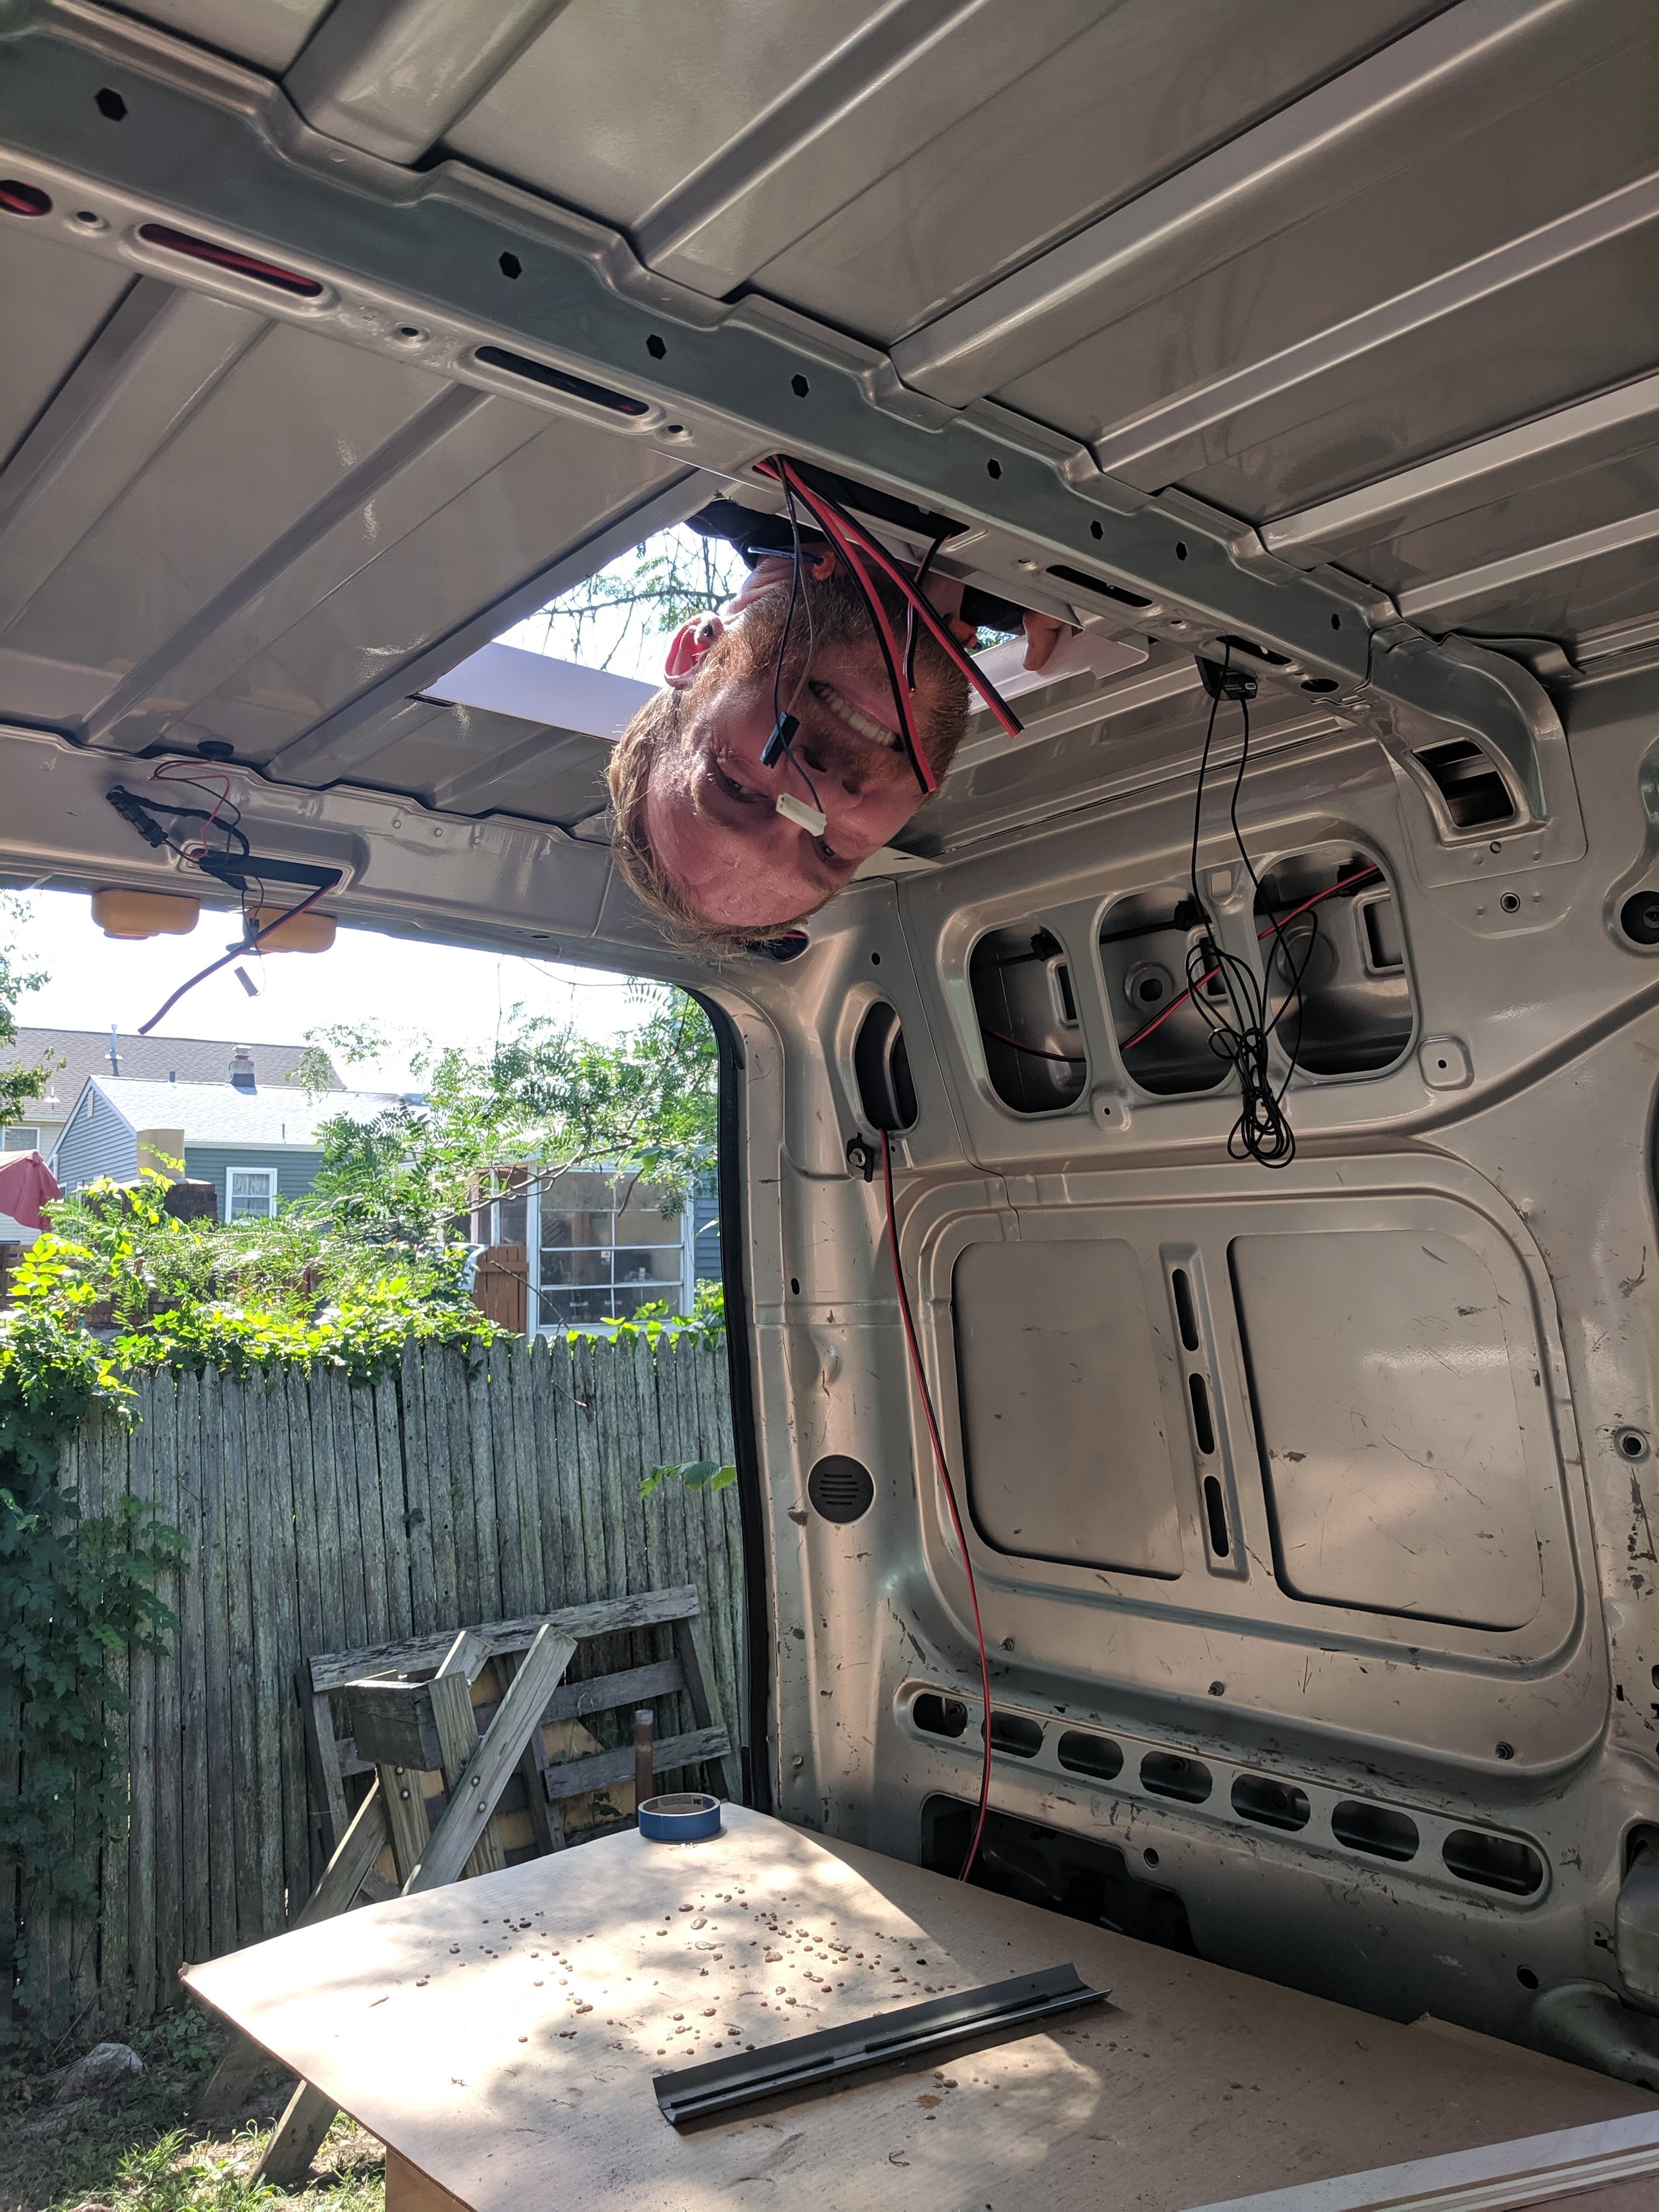
Then, we stripped the fabric headliner from the ceiling and started running wires for the conversion accessories.
REMOVING THE CEILING LINER
UPDATE: We had a reader ask for more information about the process of removing the interior roof liner, so we’re adding that response here for future reference.
The interior ceiling liner was removed for the installation of the wiring and the new fan. The removal was relatively easy, just delicate and time consuming. We used this simple tool pack to aid in the removal process. Each tool is helpful at different sections of the removal and re installation. We also purchased replacement headliner plugs as several were broken during the removal. Hope that's helpful!
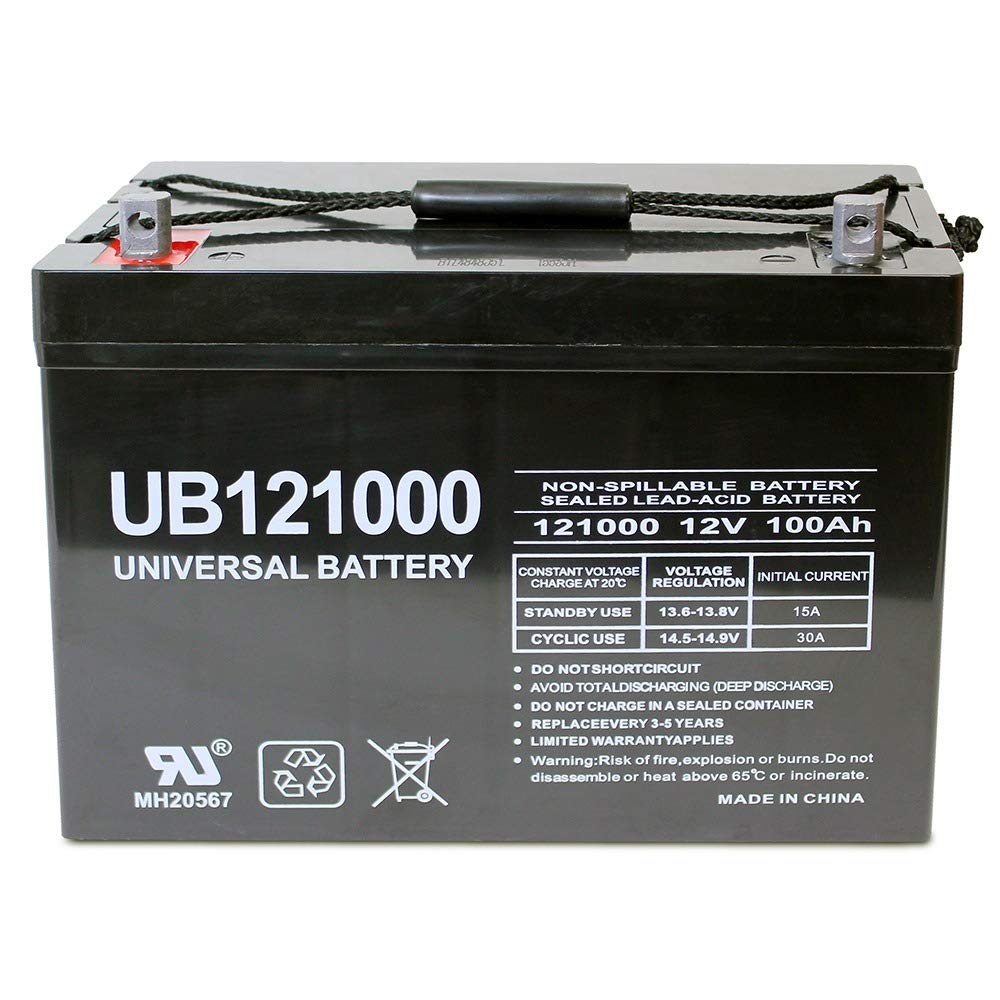
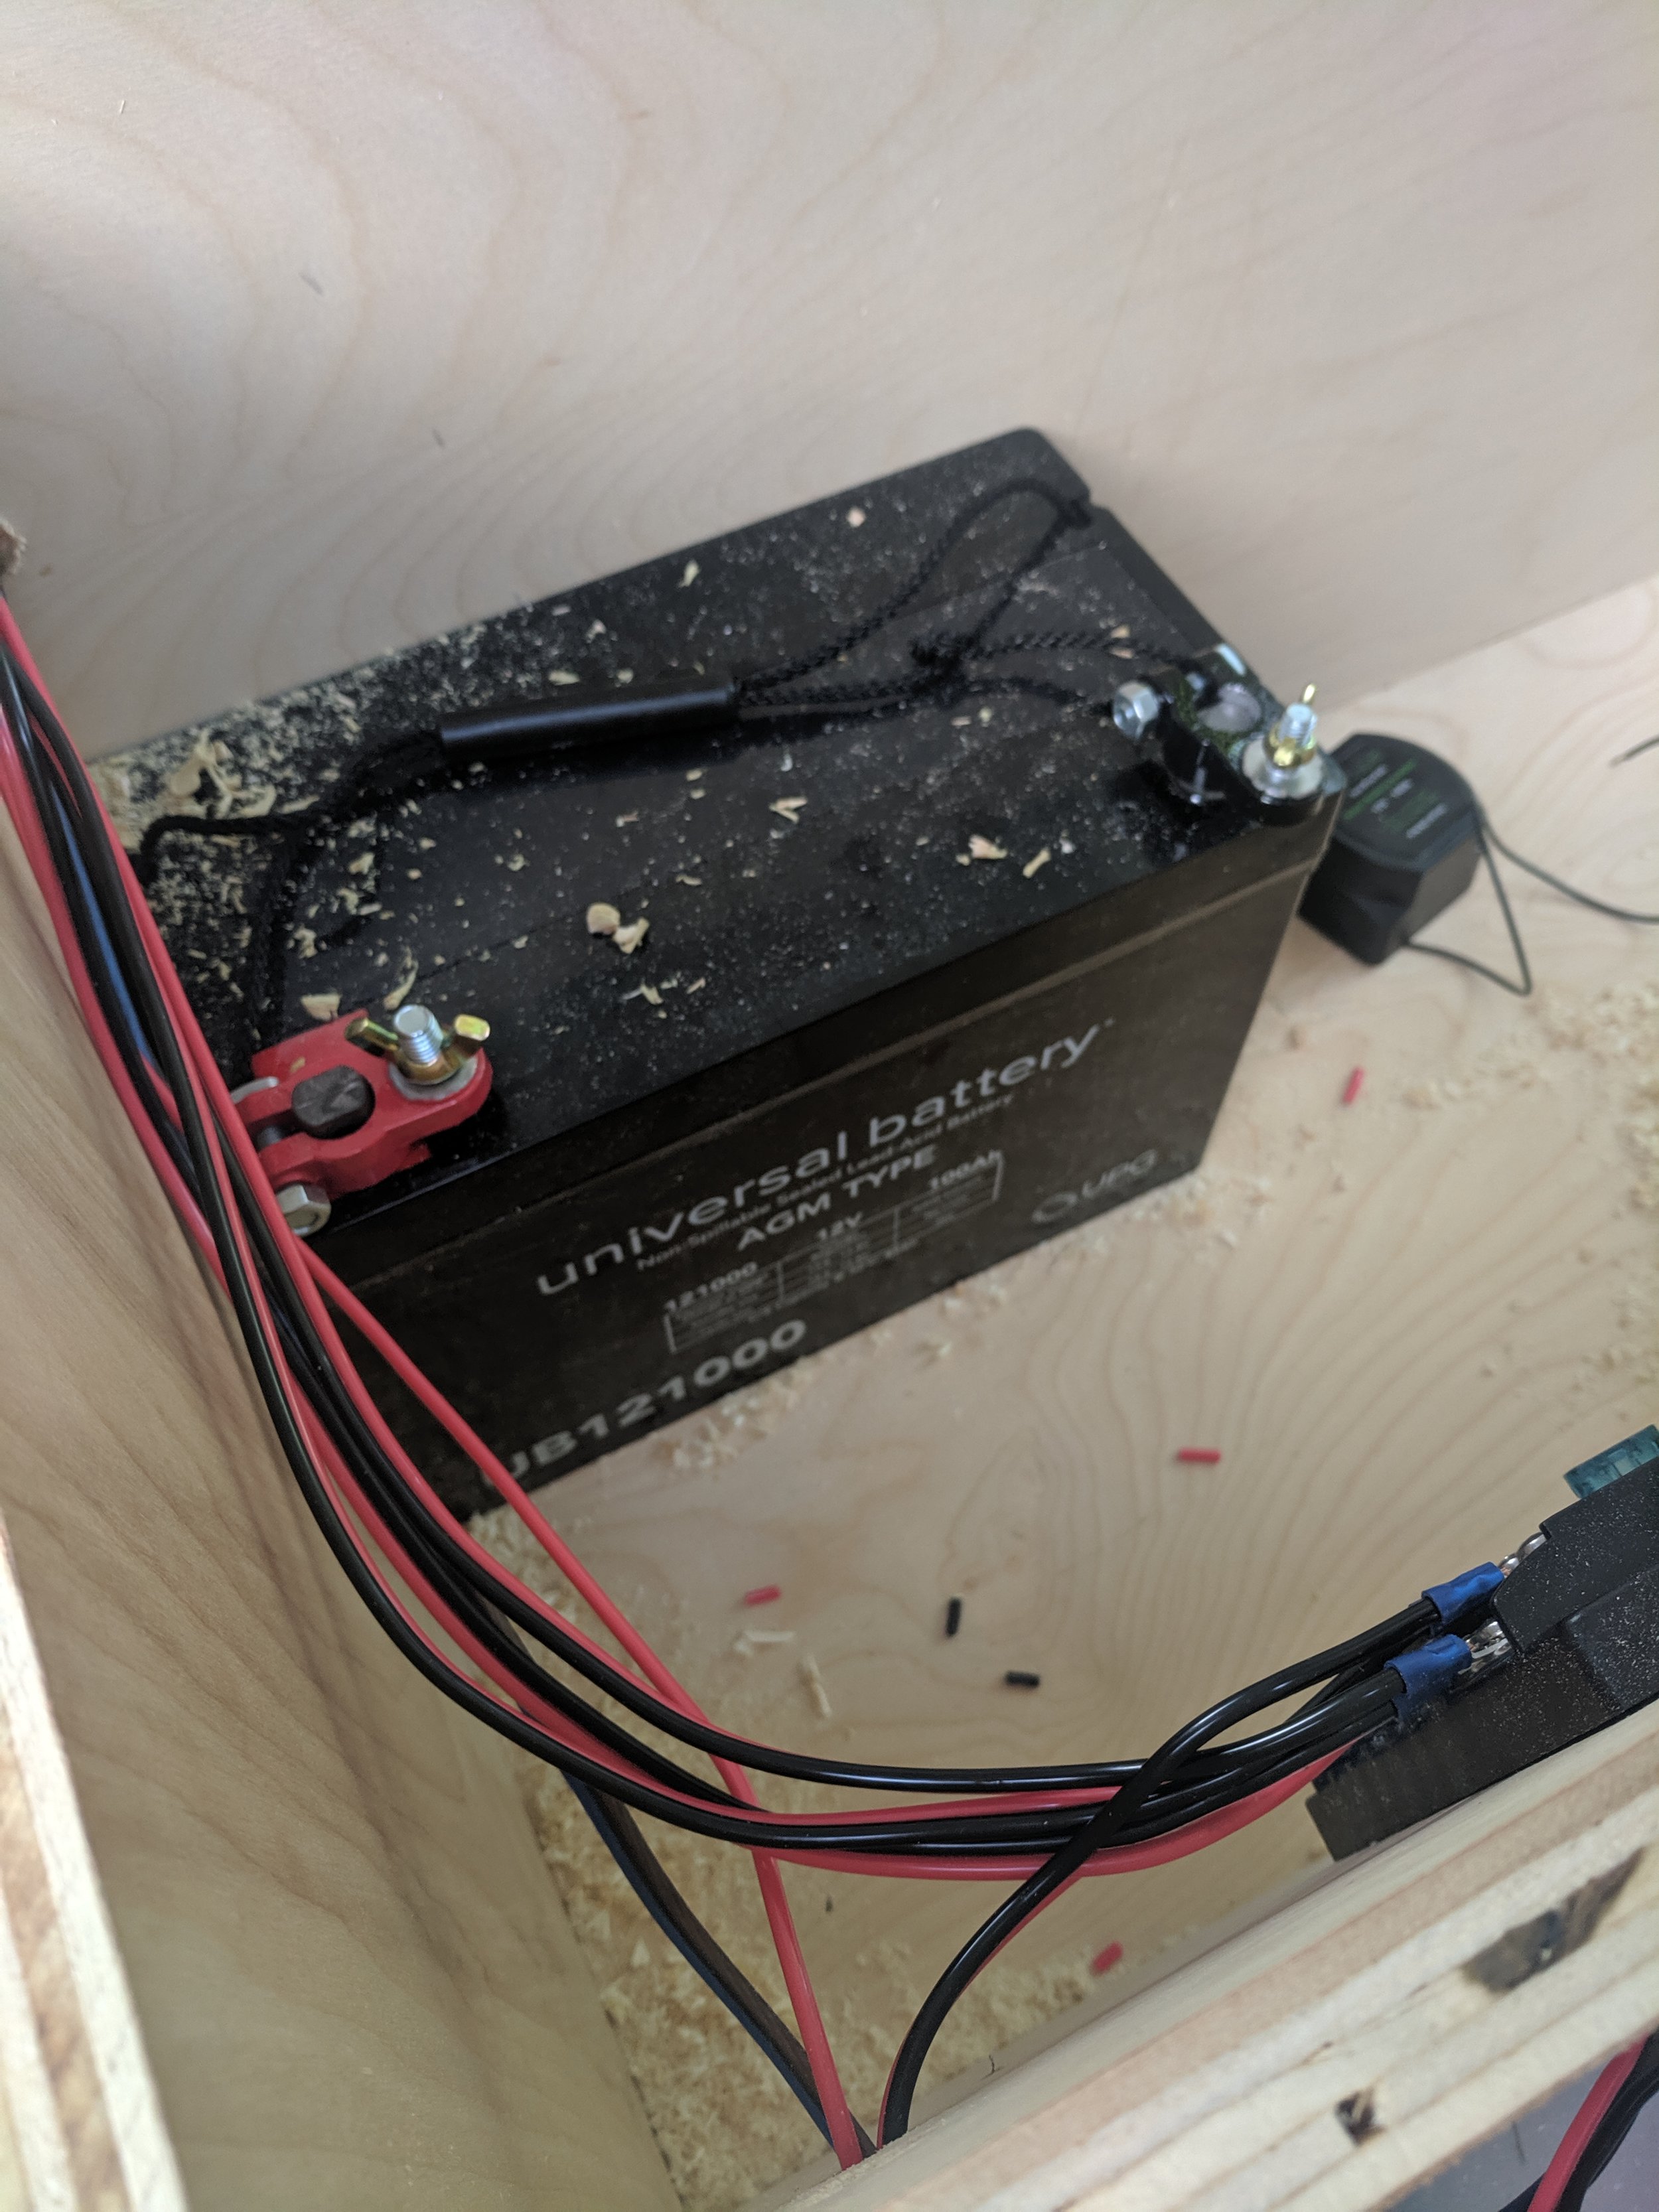
HOUSE BATTERY
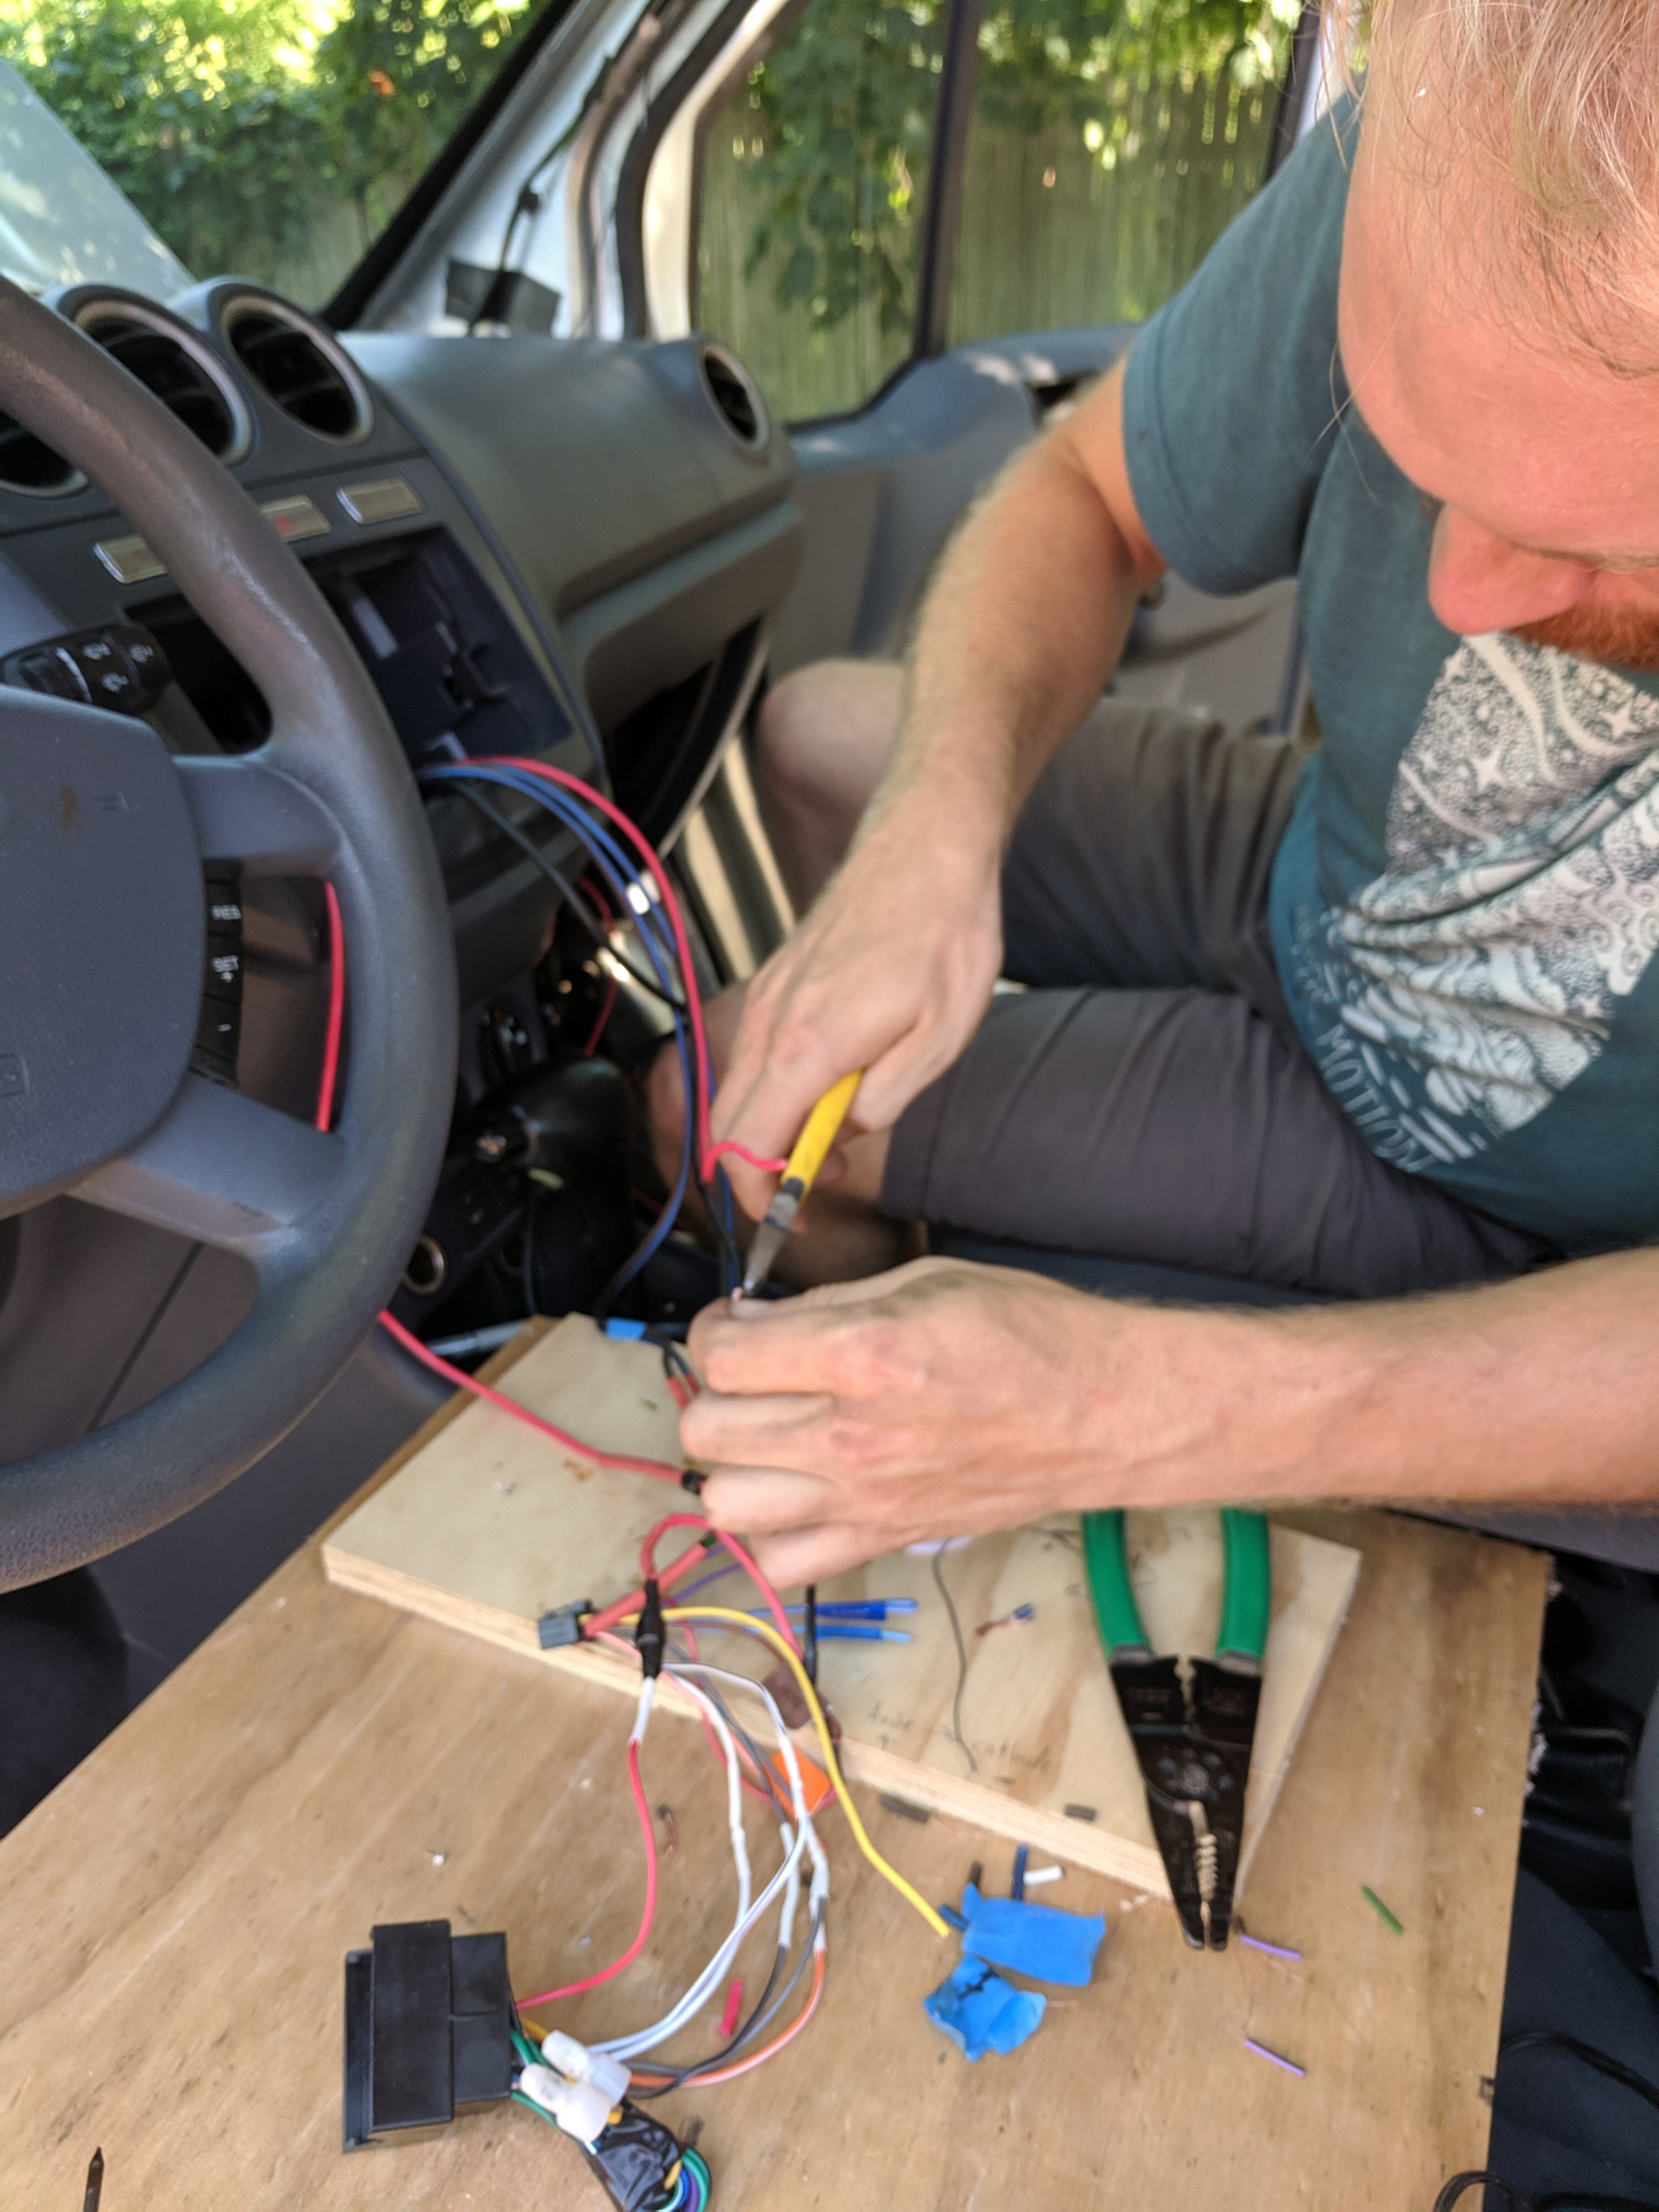
The goal of the van’s electrical upgrade was to add an alternative power source, also known as a “house battery”, to the engine’s main battery.
This alternate power supply will provide the supplemental energy needed to power the van’s new accessories; ie ventilation fan, interior reading lights and mini fridge.
John’s electrical design looks like this:


Now, hold onto your Popular Mechanics, this is about to get seriously nerdy...
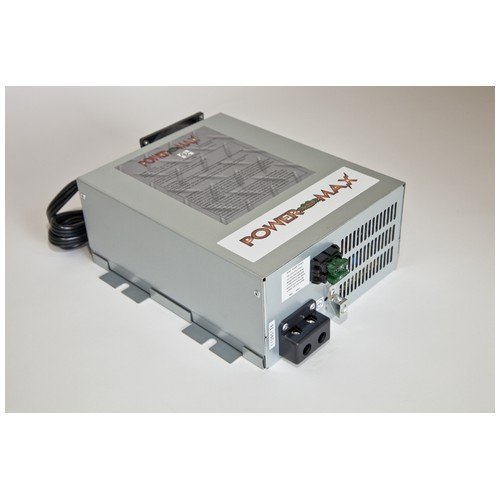
While the engine is running, the “house battery” charges off the van’s alternator or via a 20 amp outlet/plug when available (friend’s house, charging station, electric camp site).
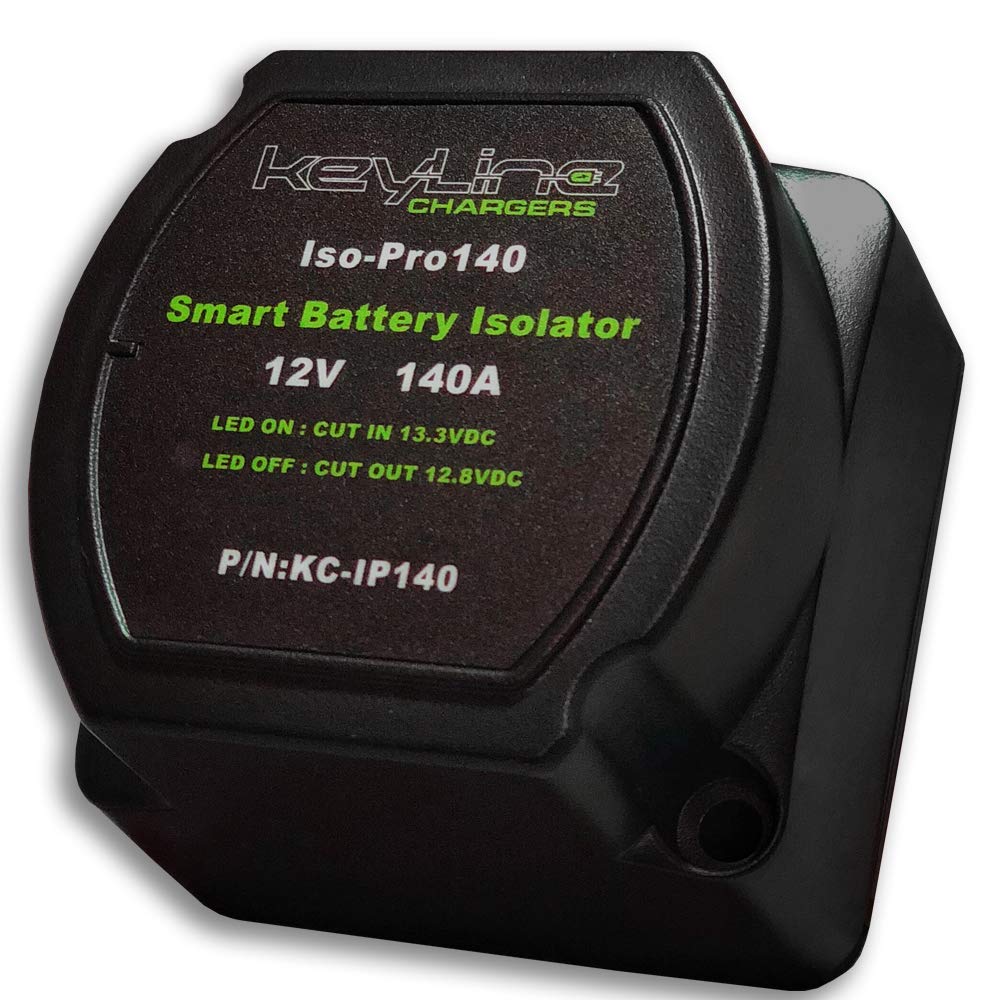
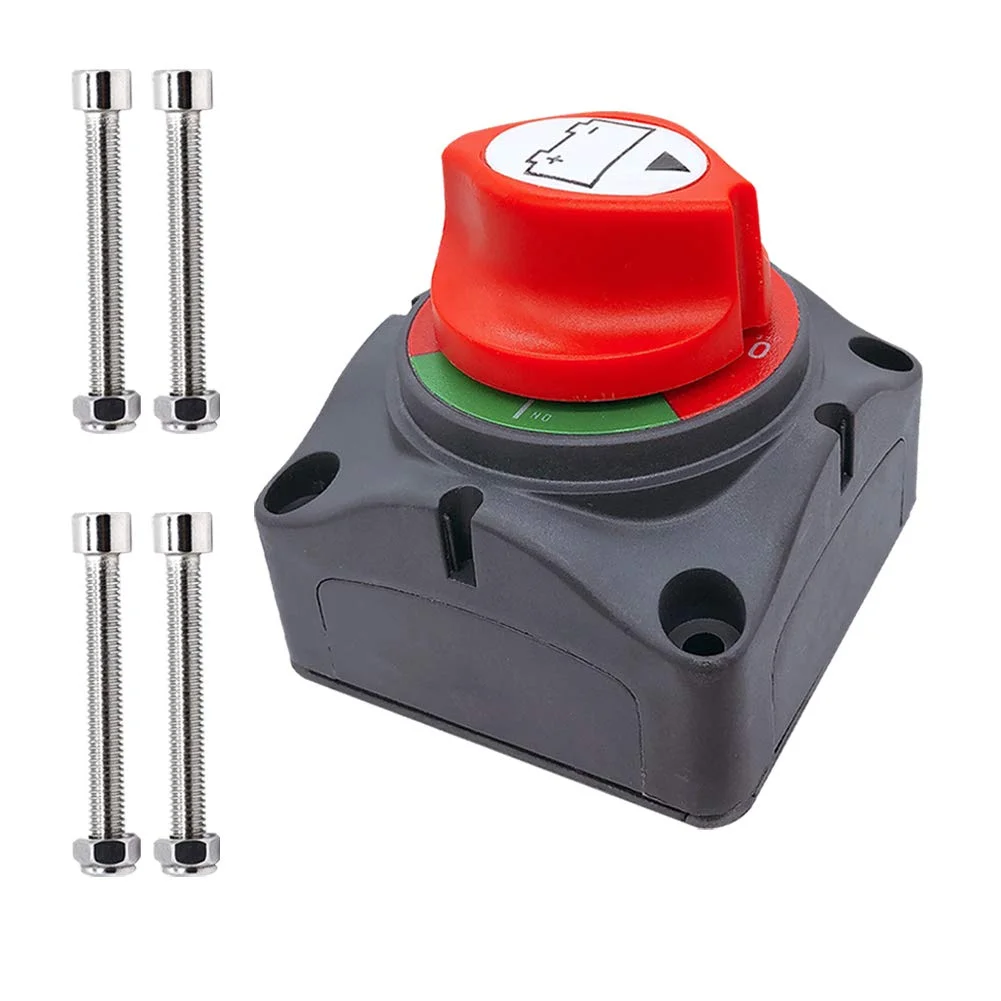
The “house battery” is connected to the car battery, through a battery isolator.
Meaning, when the car is running, it can charge the house battery but when the car is off, the car battery is not drained.
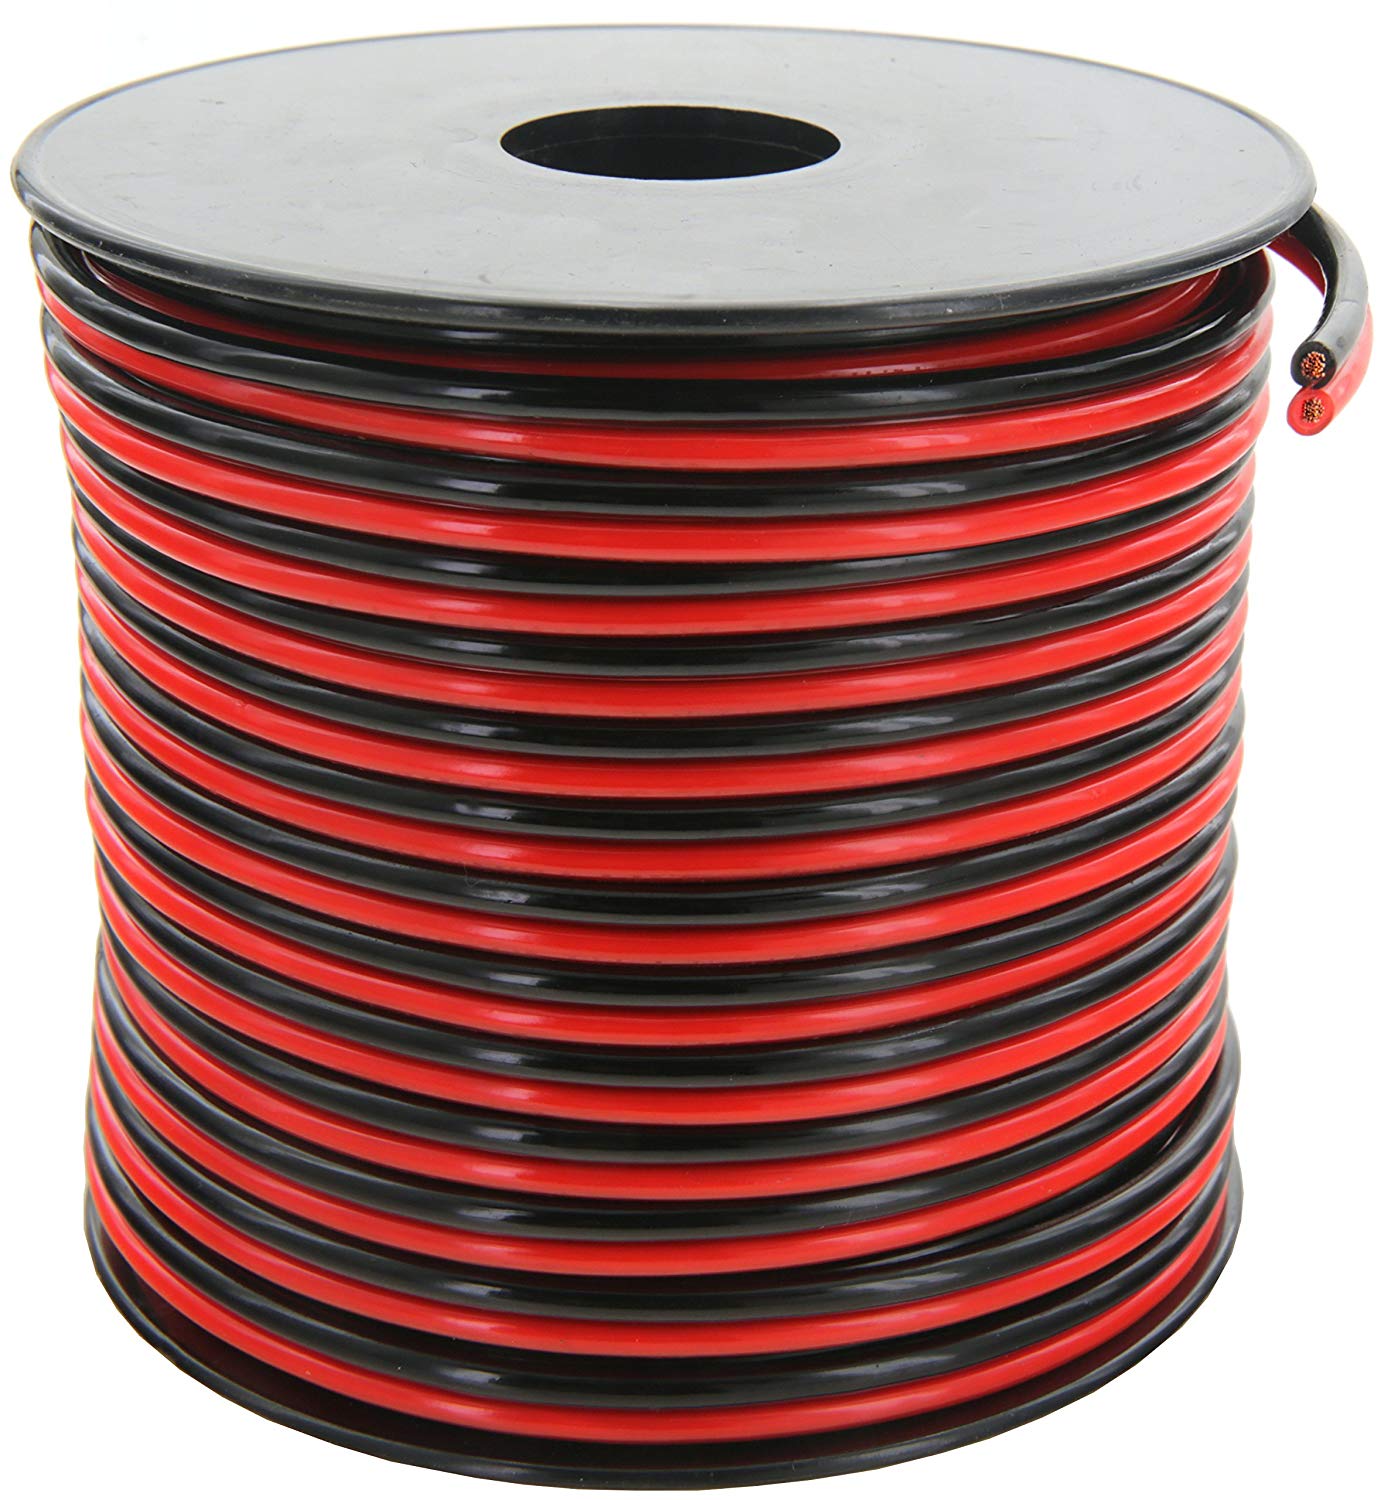
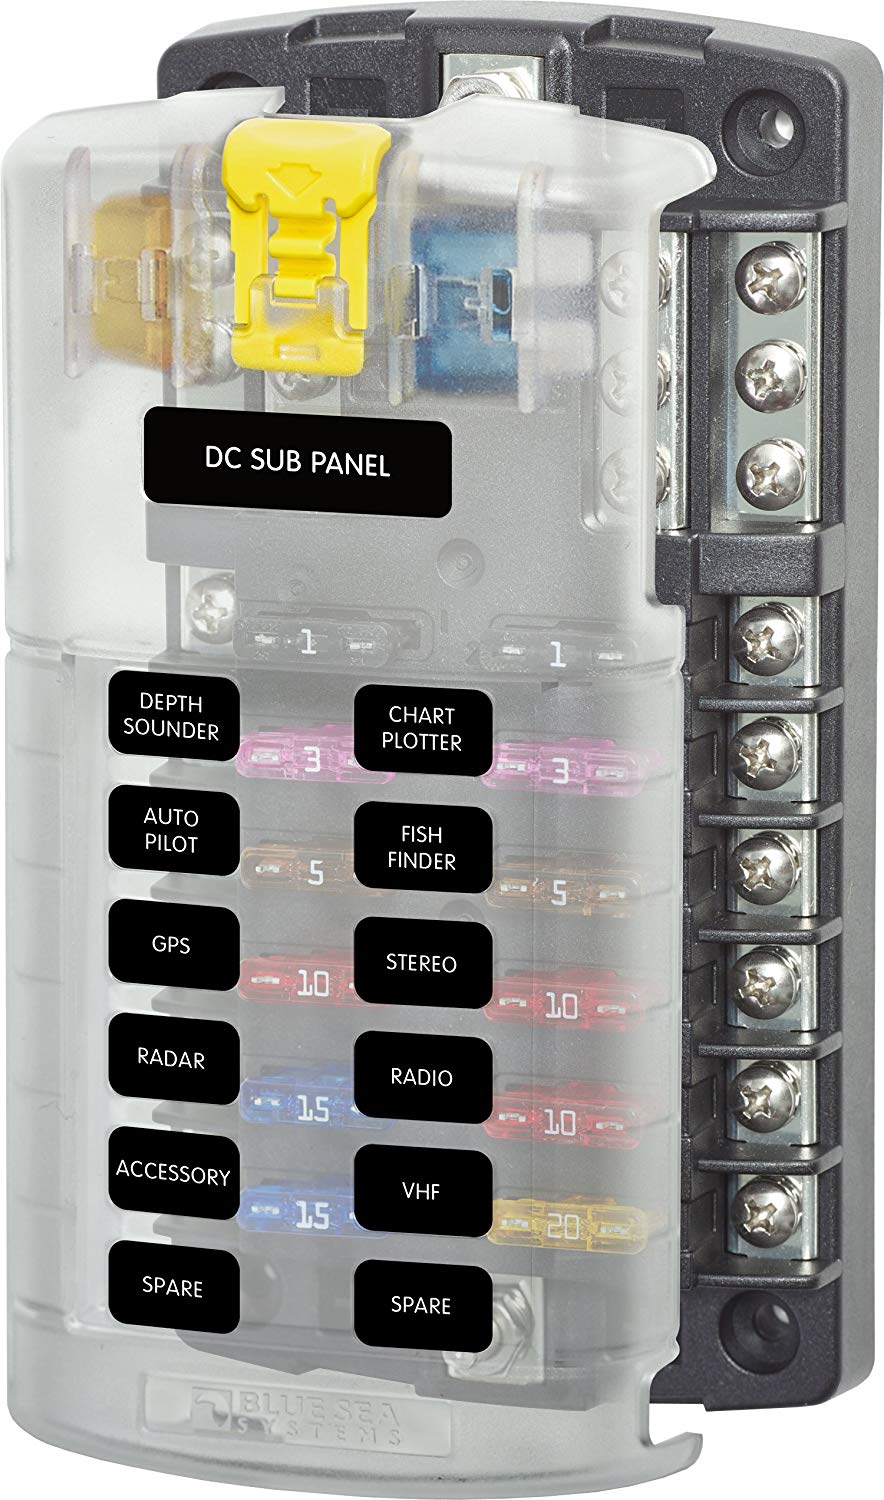
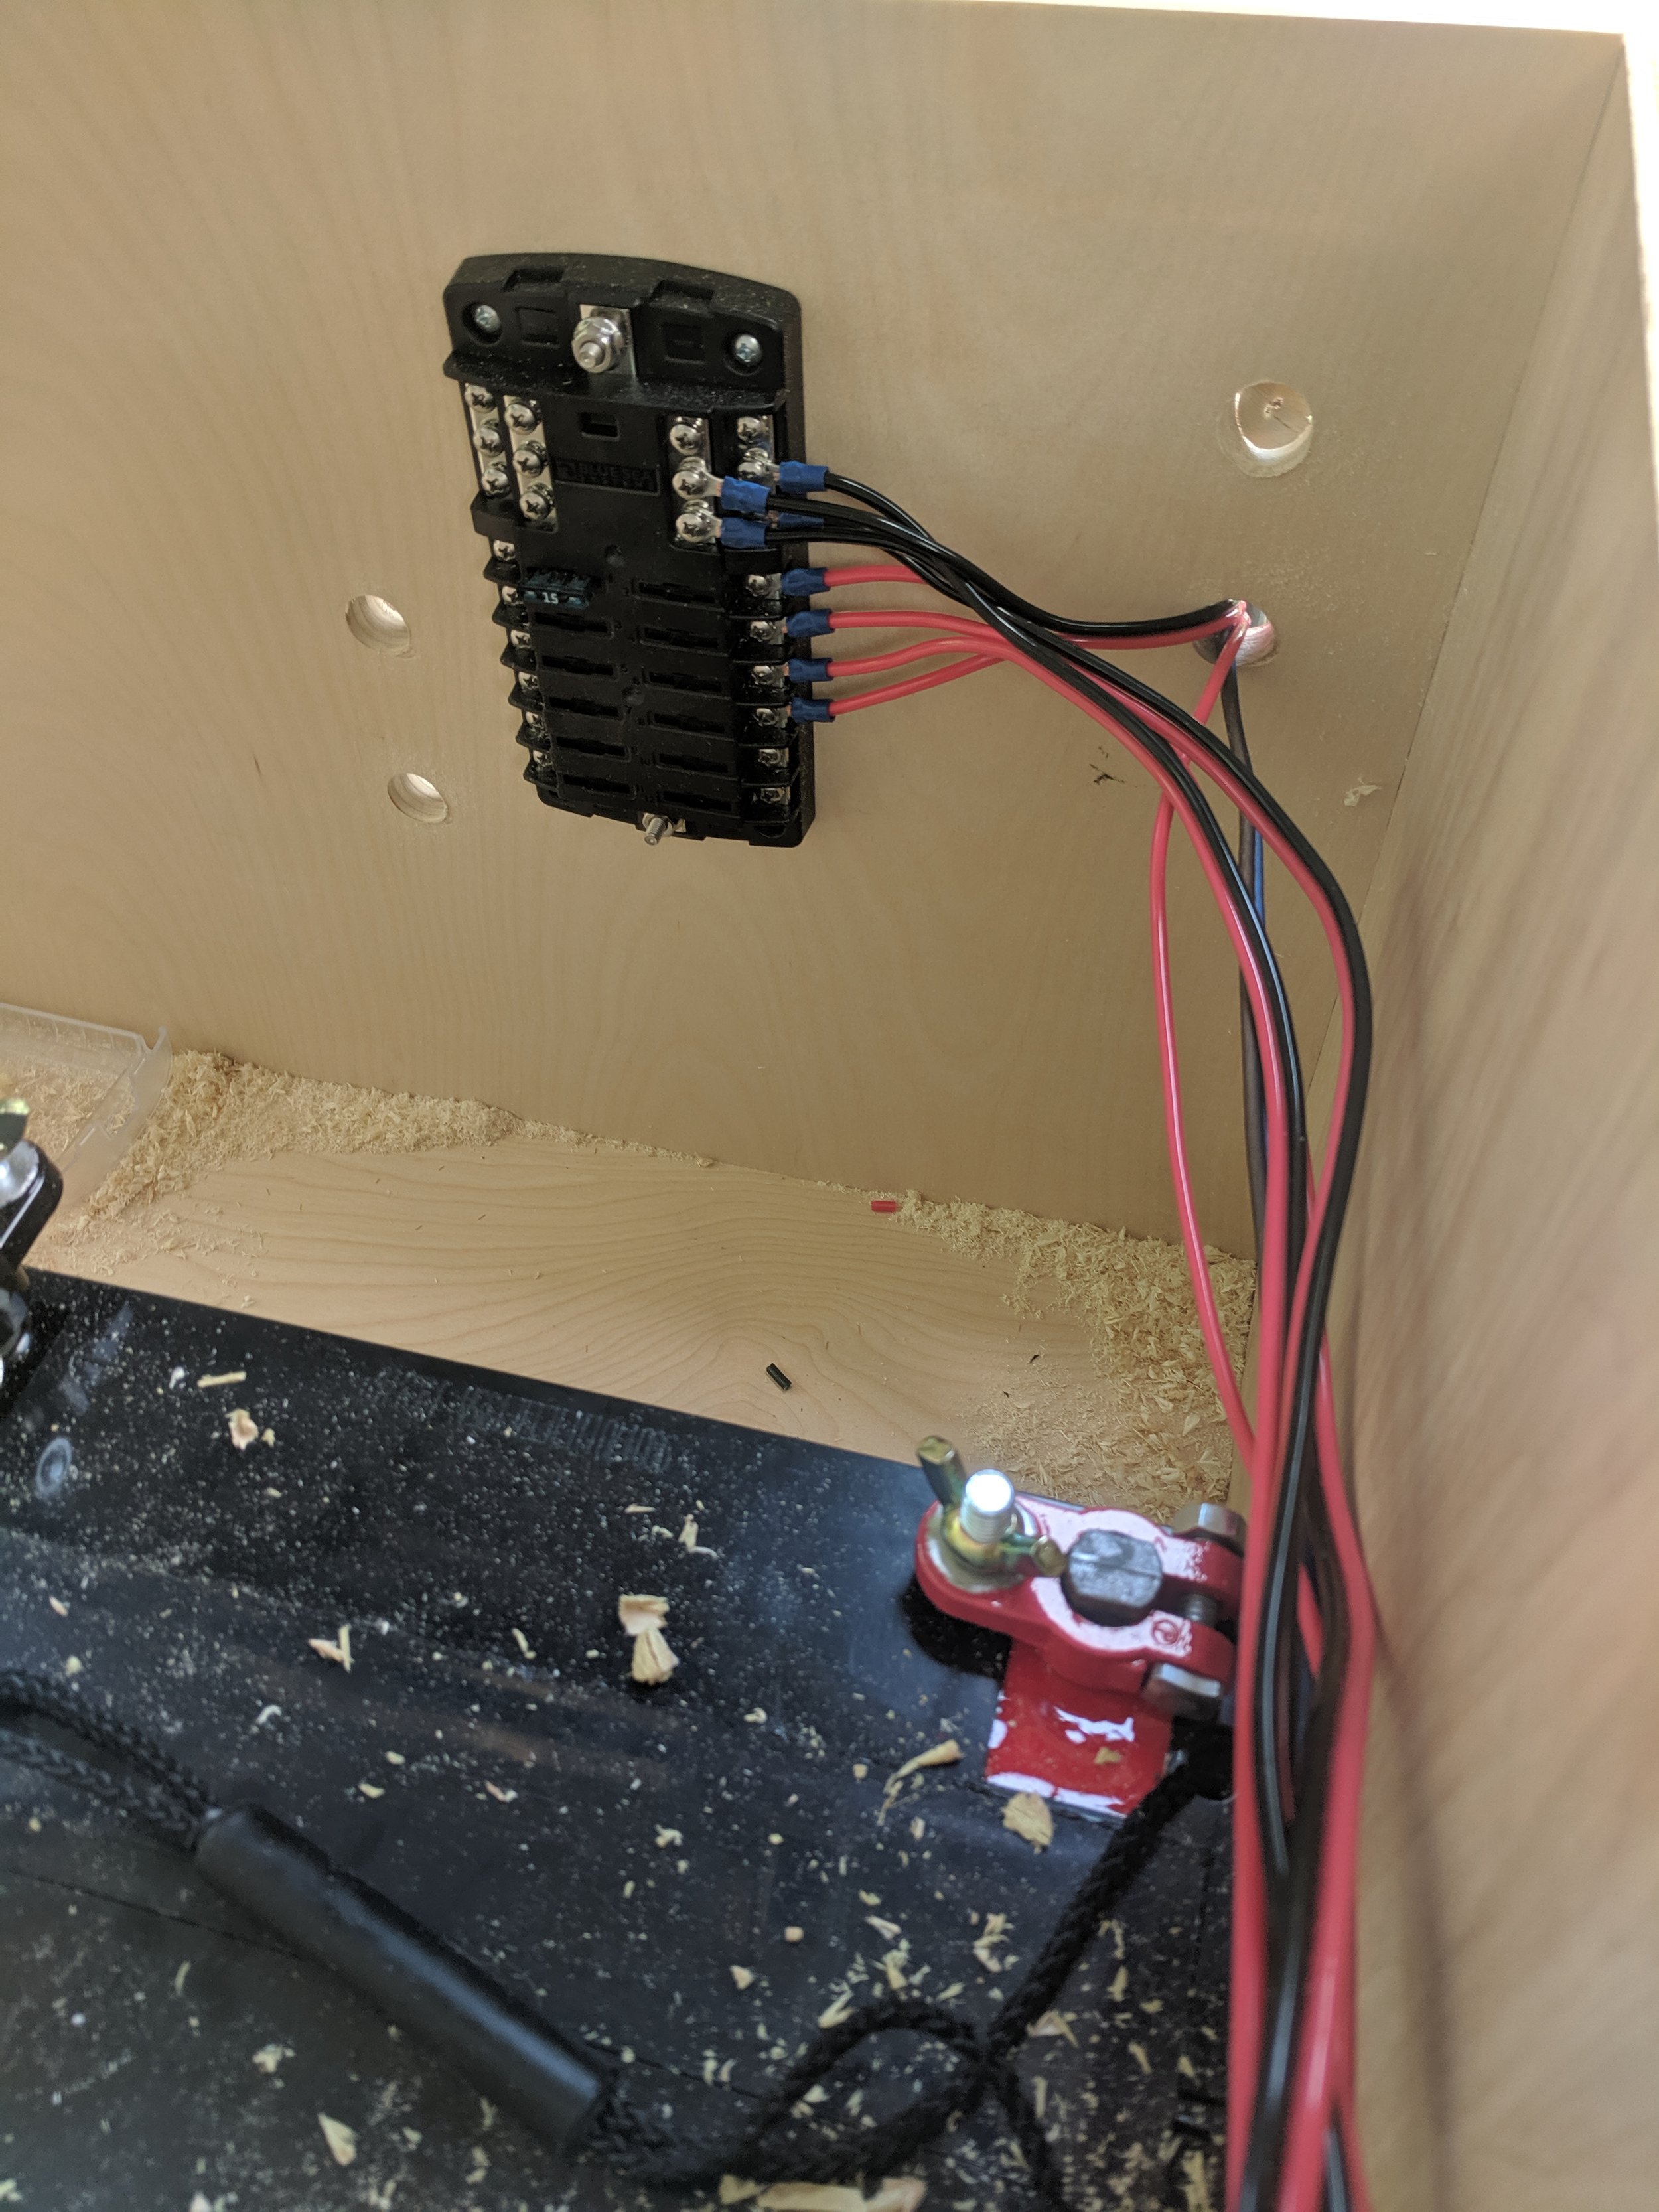
The house battery is connected to a fuse block, that powers all the accessories.
Our fuse block contains the connections for our ventilation fan, fridge, interior lights, outlets and stereo.
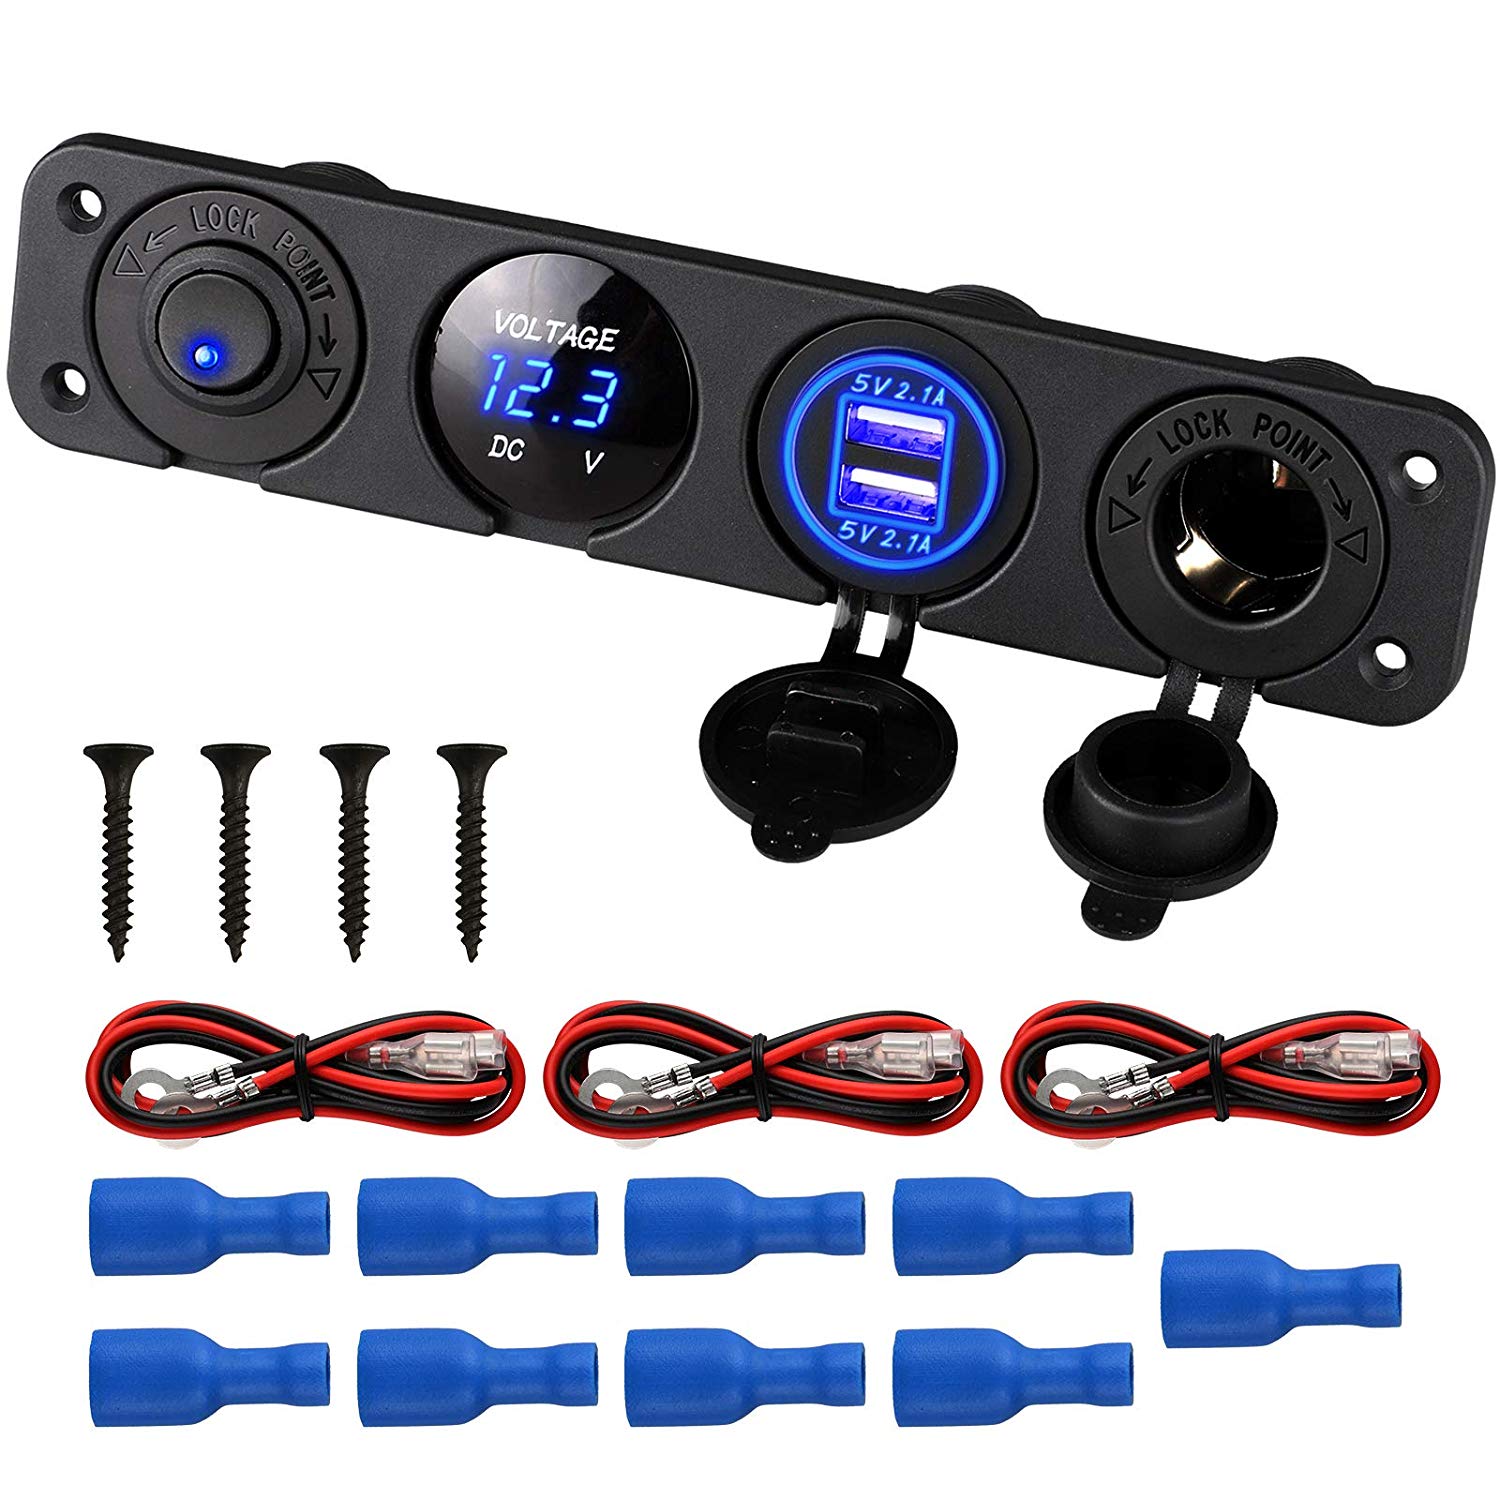
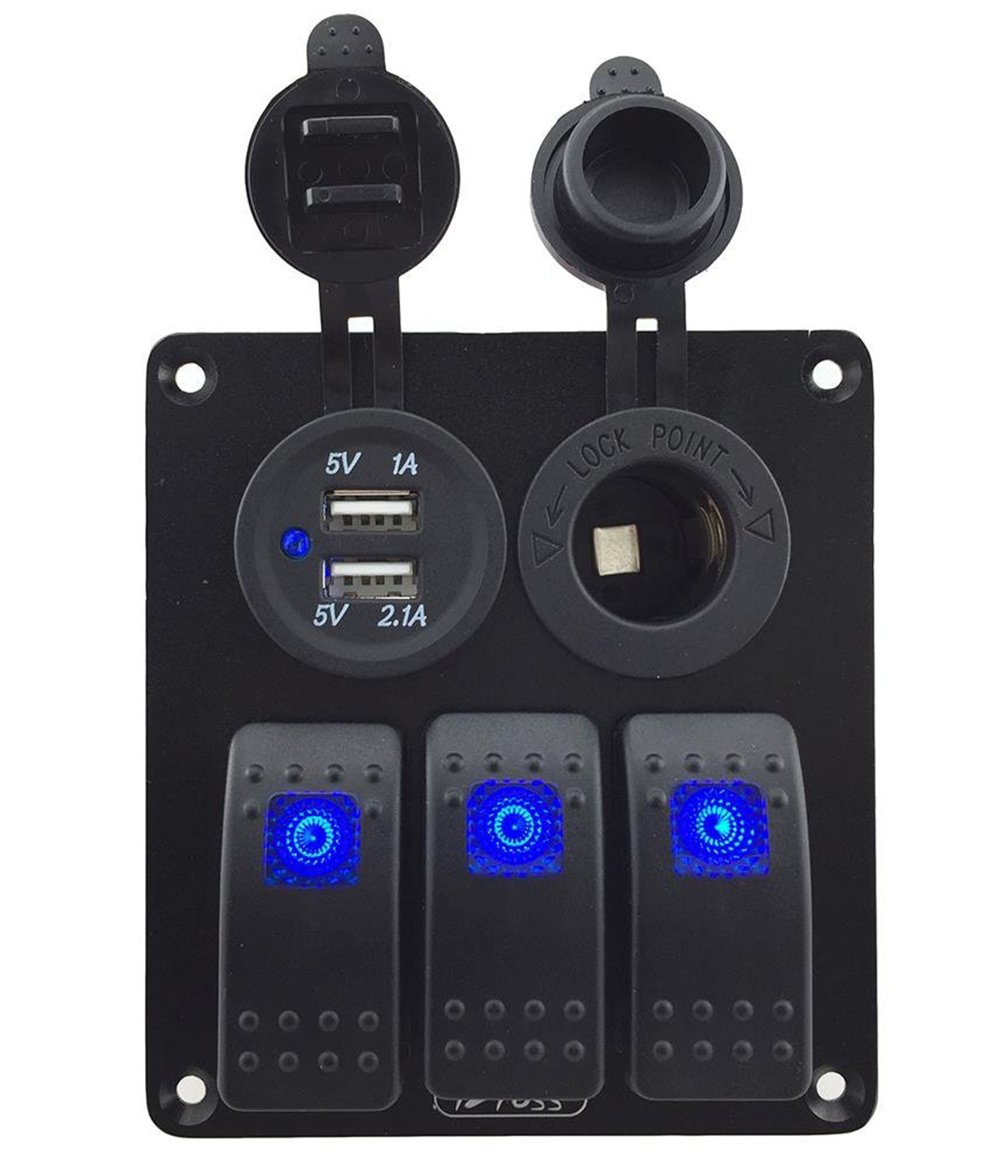
Within the van, John plans to include a few extra 12v plugs and USB charging outlets, which will be in the cubbies next to the mattress for easy charging at night.
PS- Don’t ask me how John knows how to do all this stuff… I’m more or less convinced he’s an evil genius, posing as an unsuspecting carpenter, so he can convert a van and drive me off into the desert and… Or maybe I’ve just been watching too much true crime.

Ford Transit Connect Camper Van Conversion Build & Electrical Plans (Digital Download)
Generation 1 2010-2013


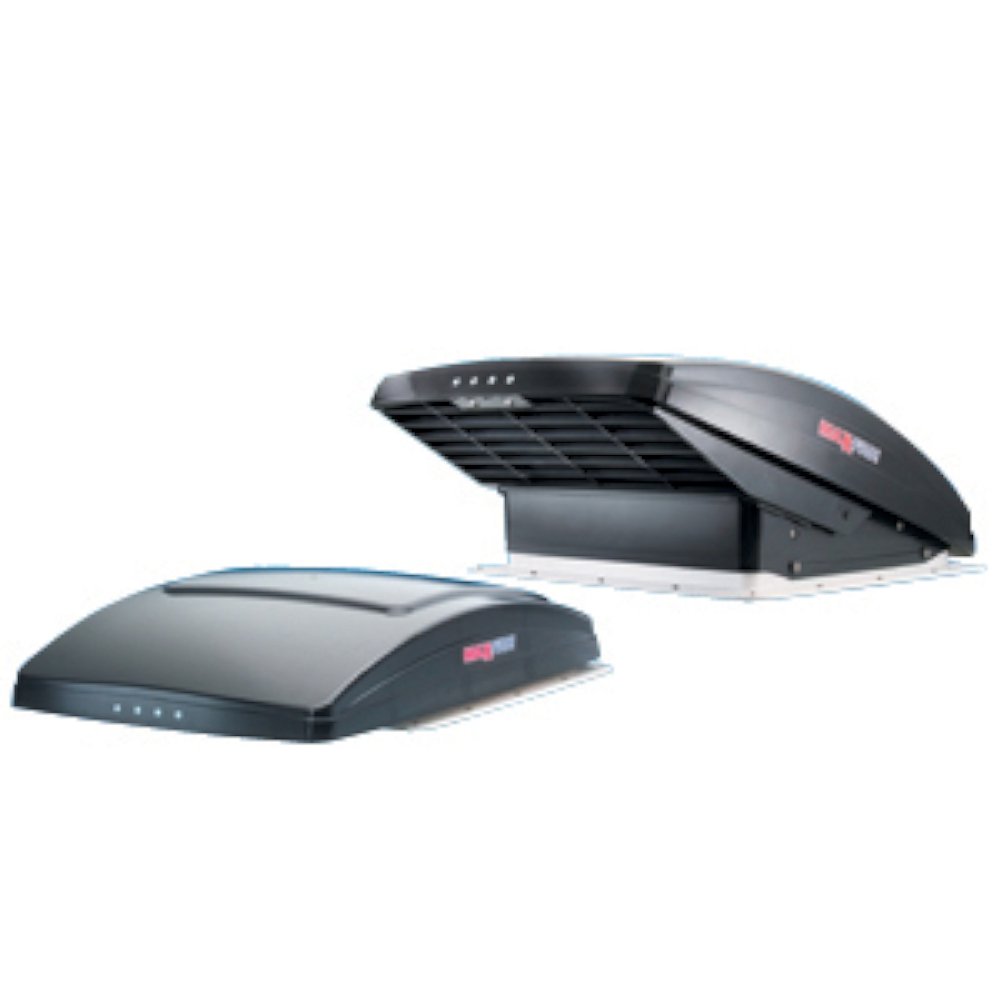
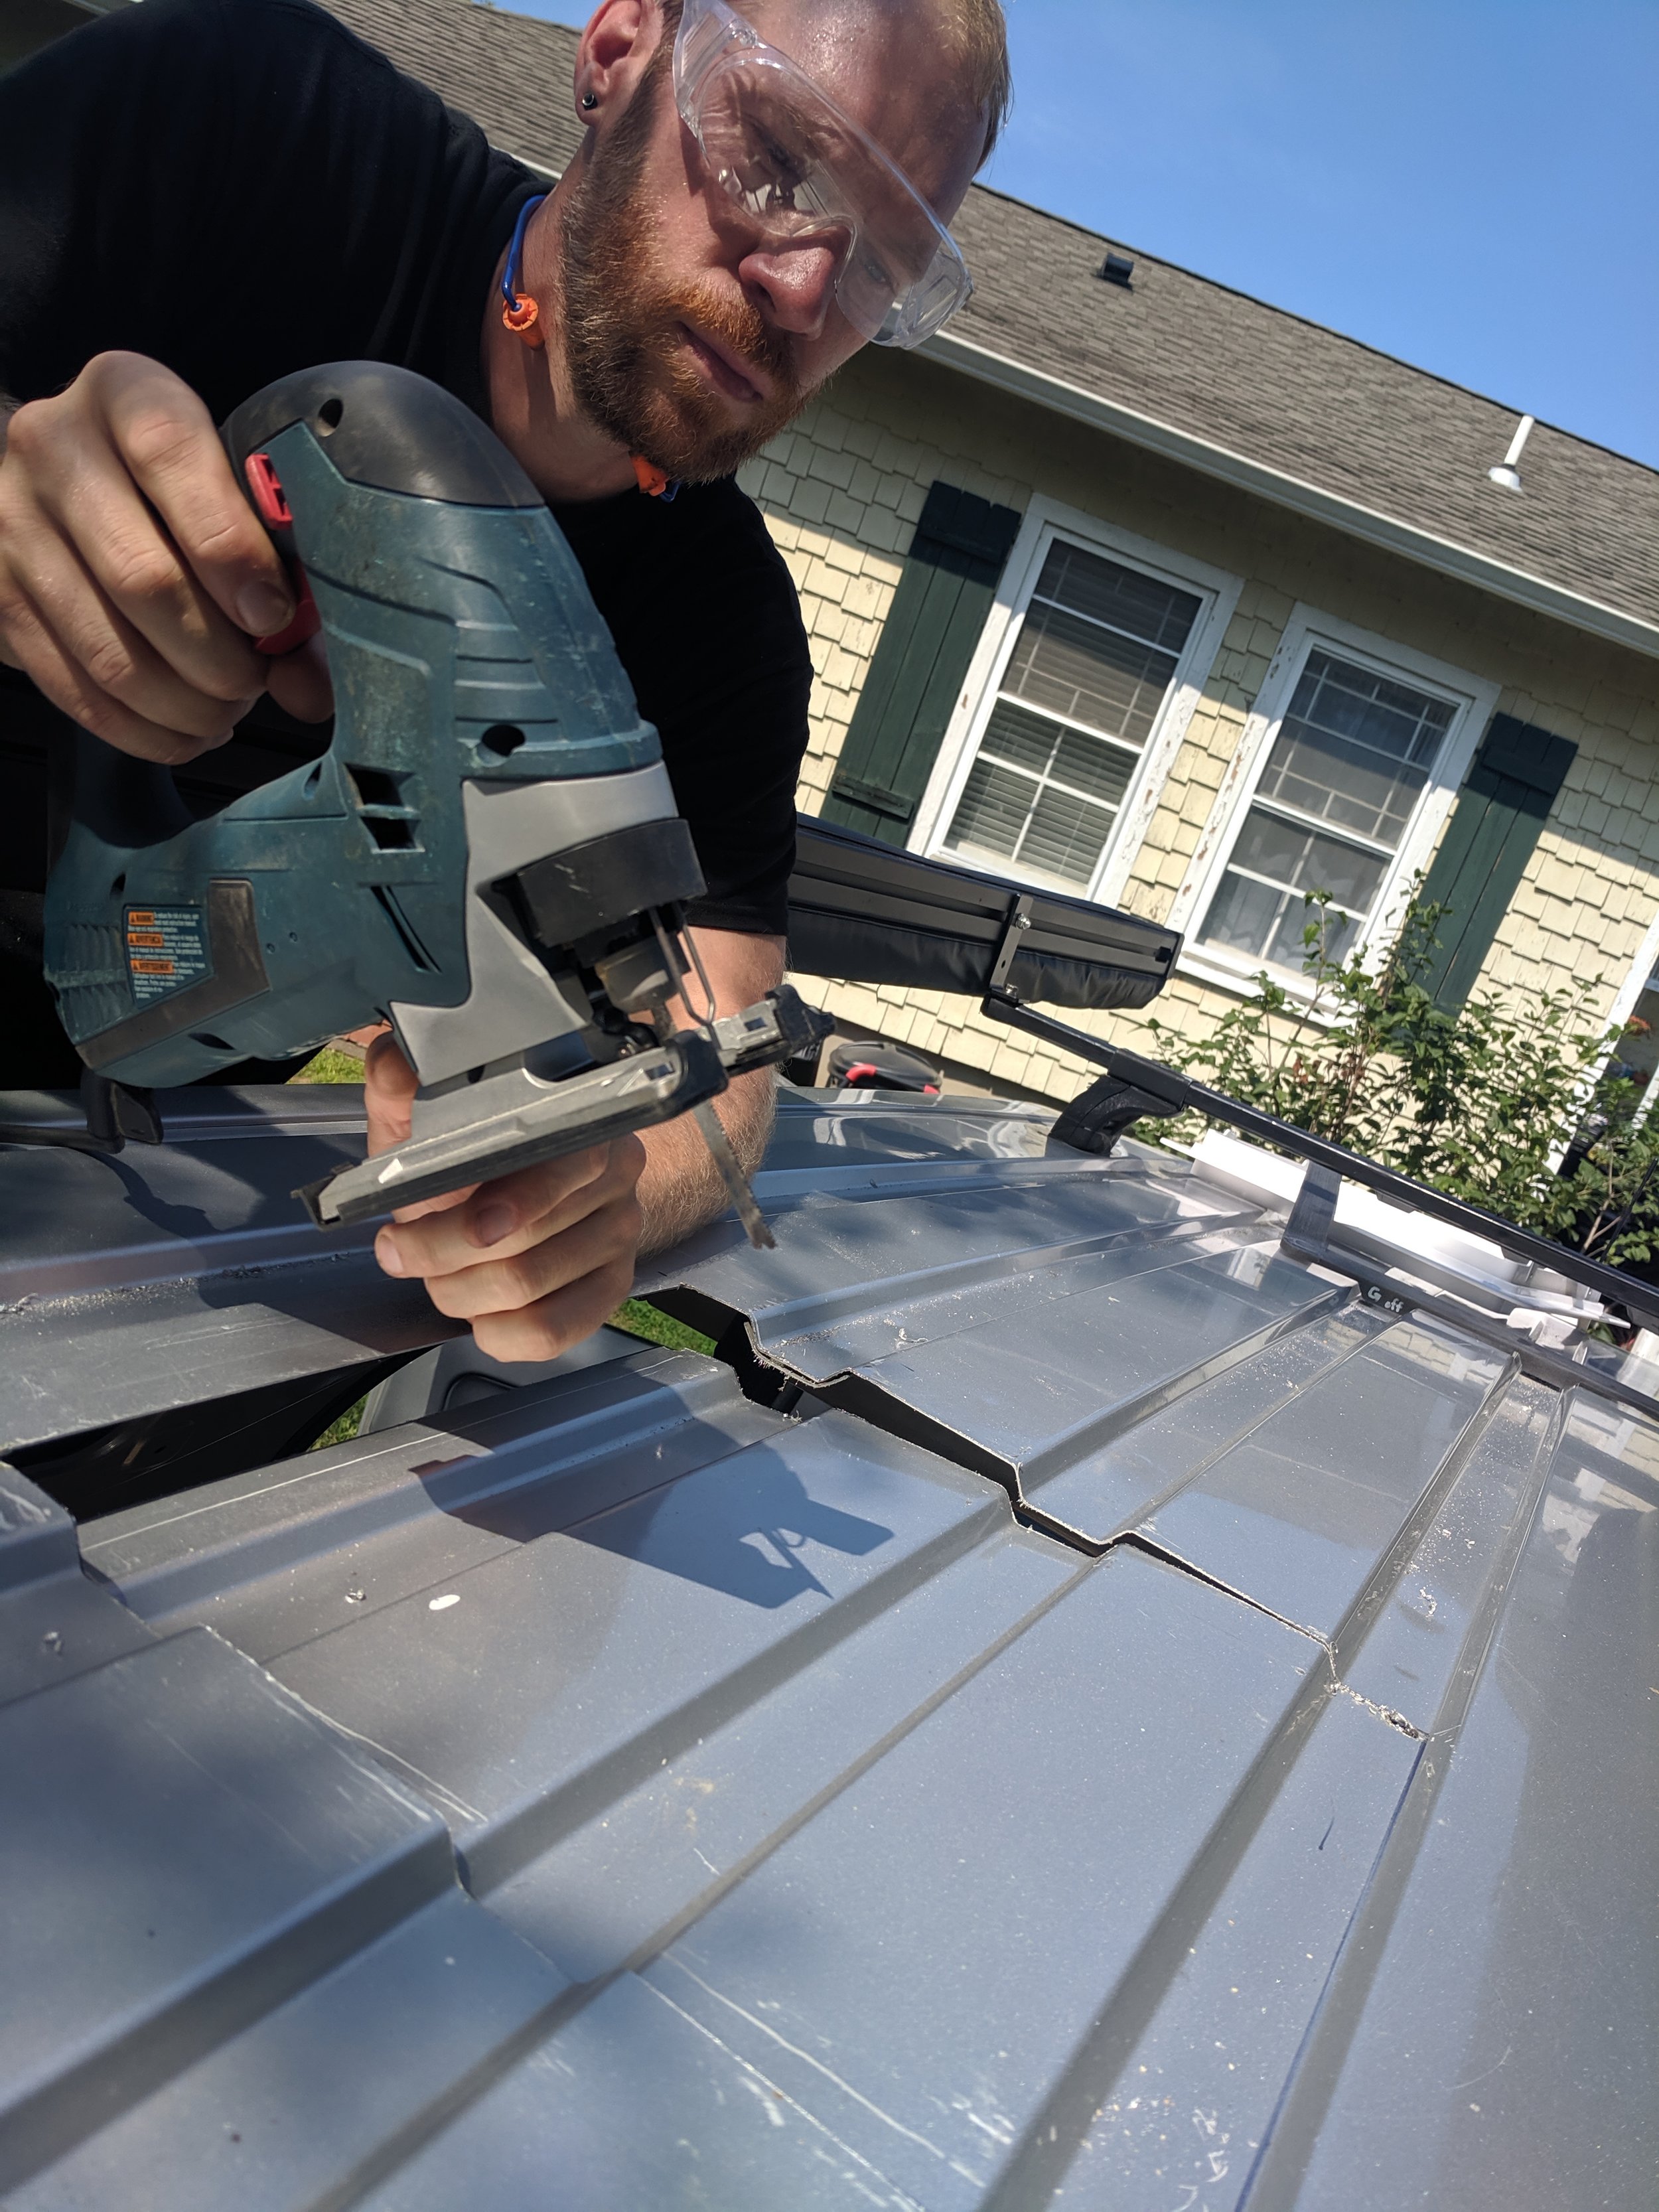
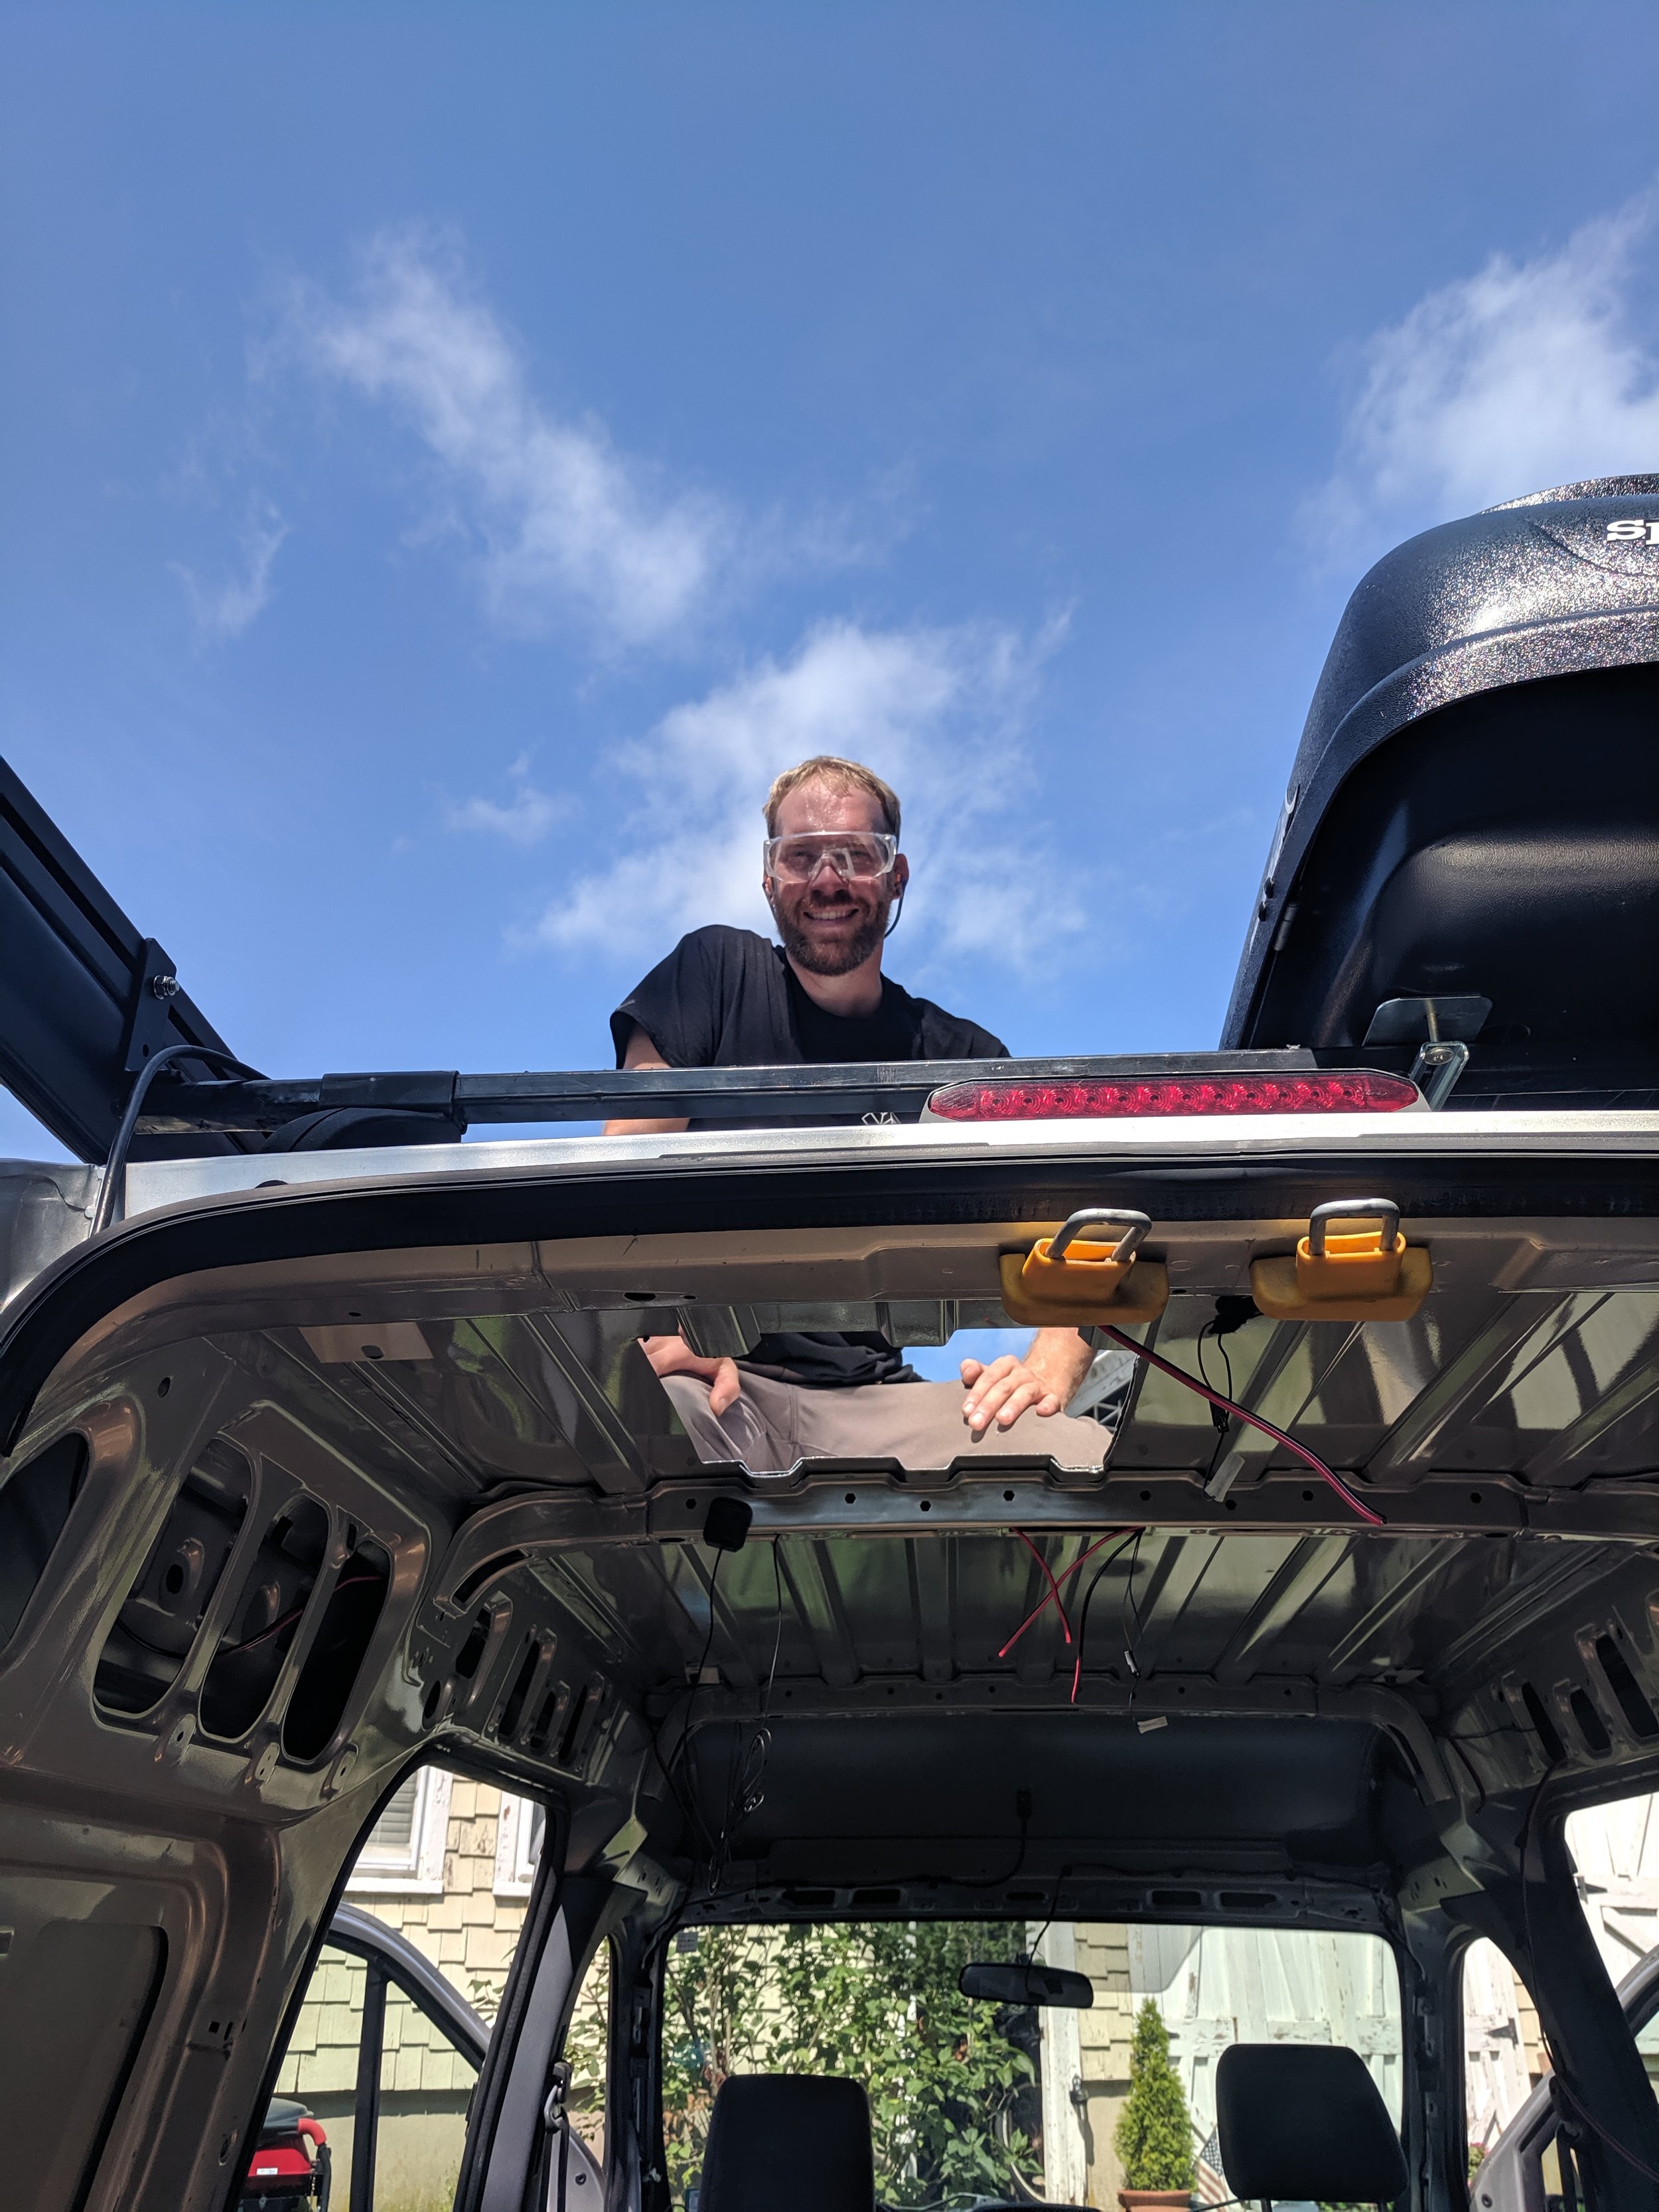
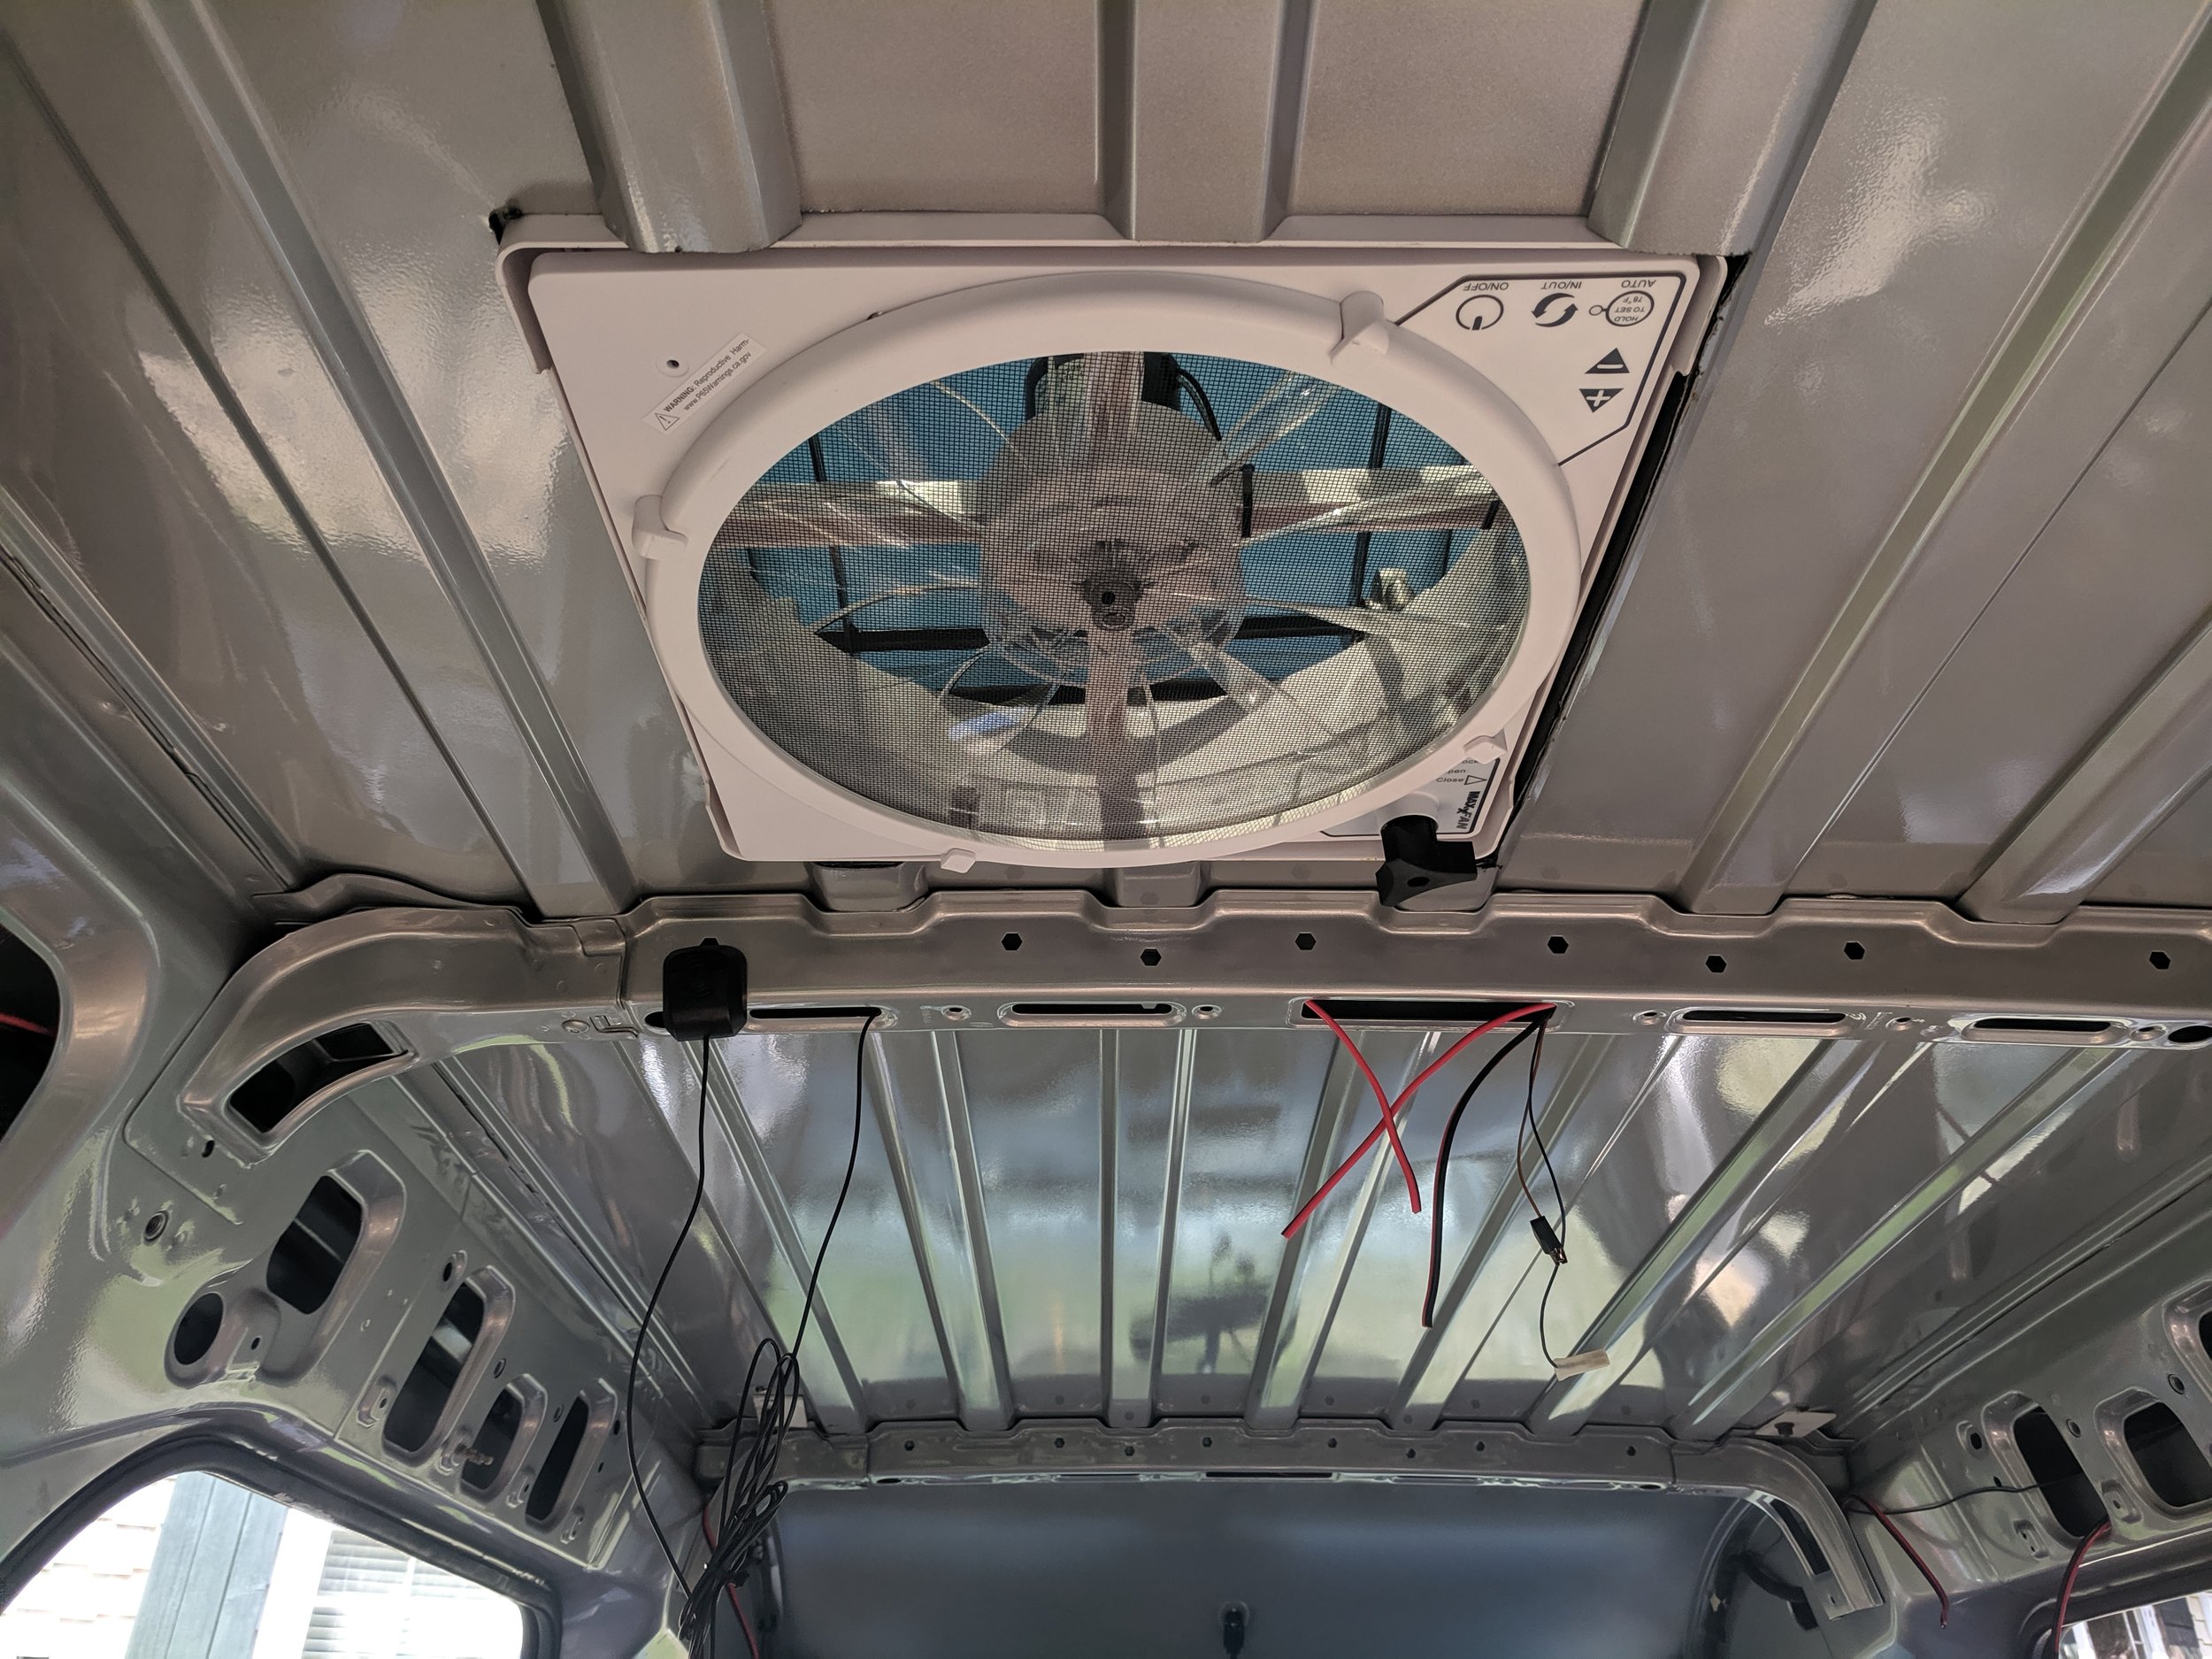
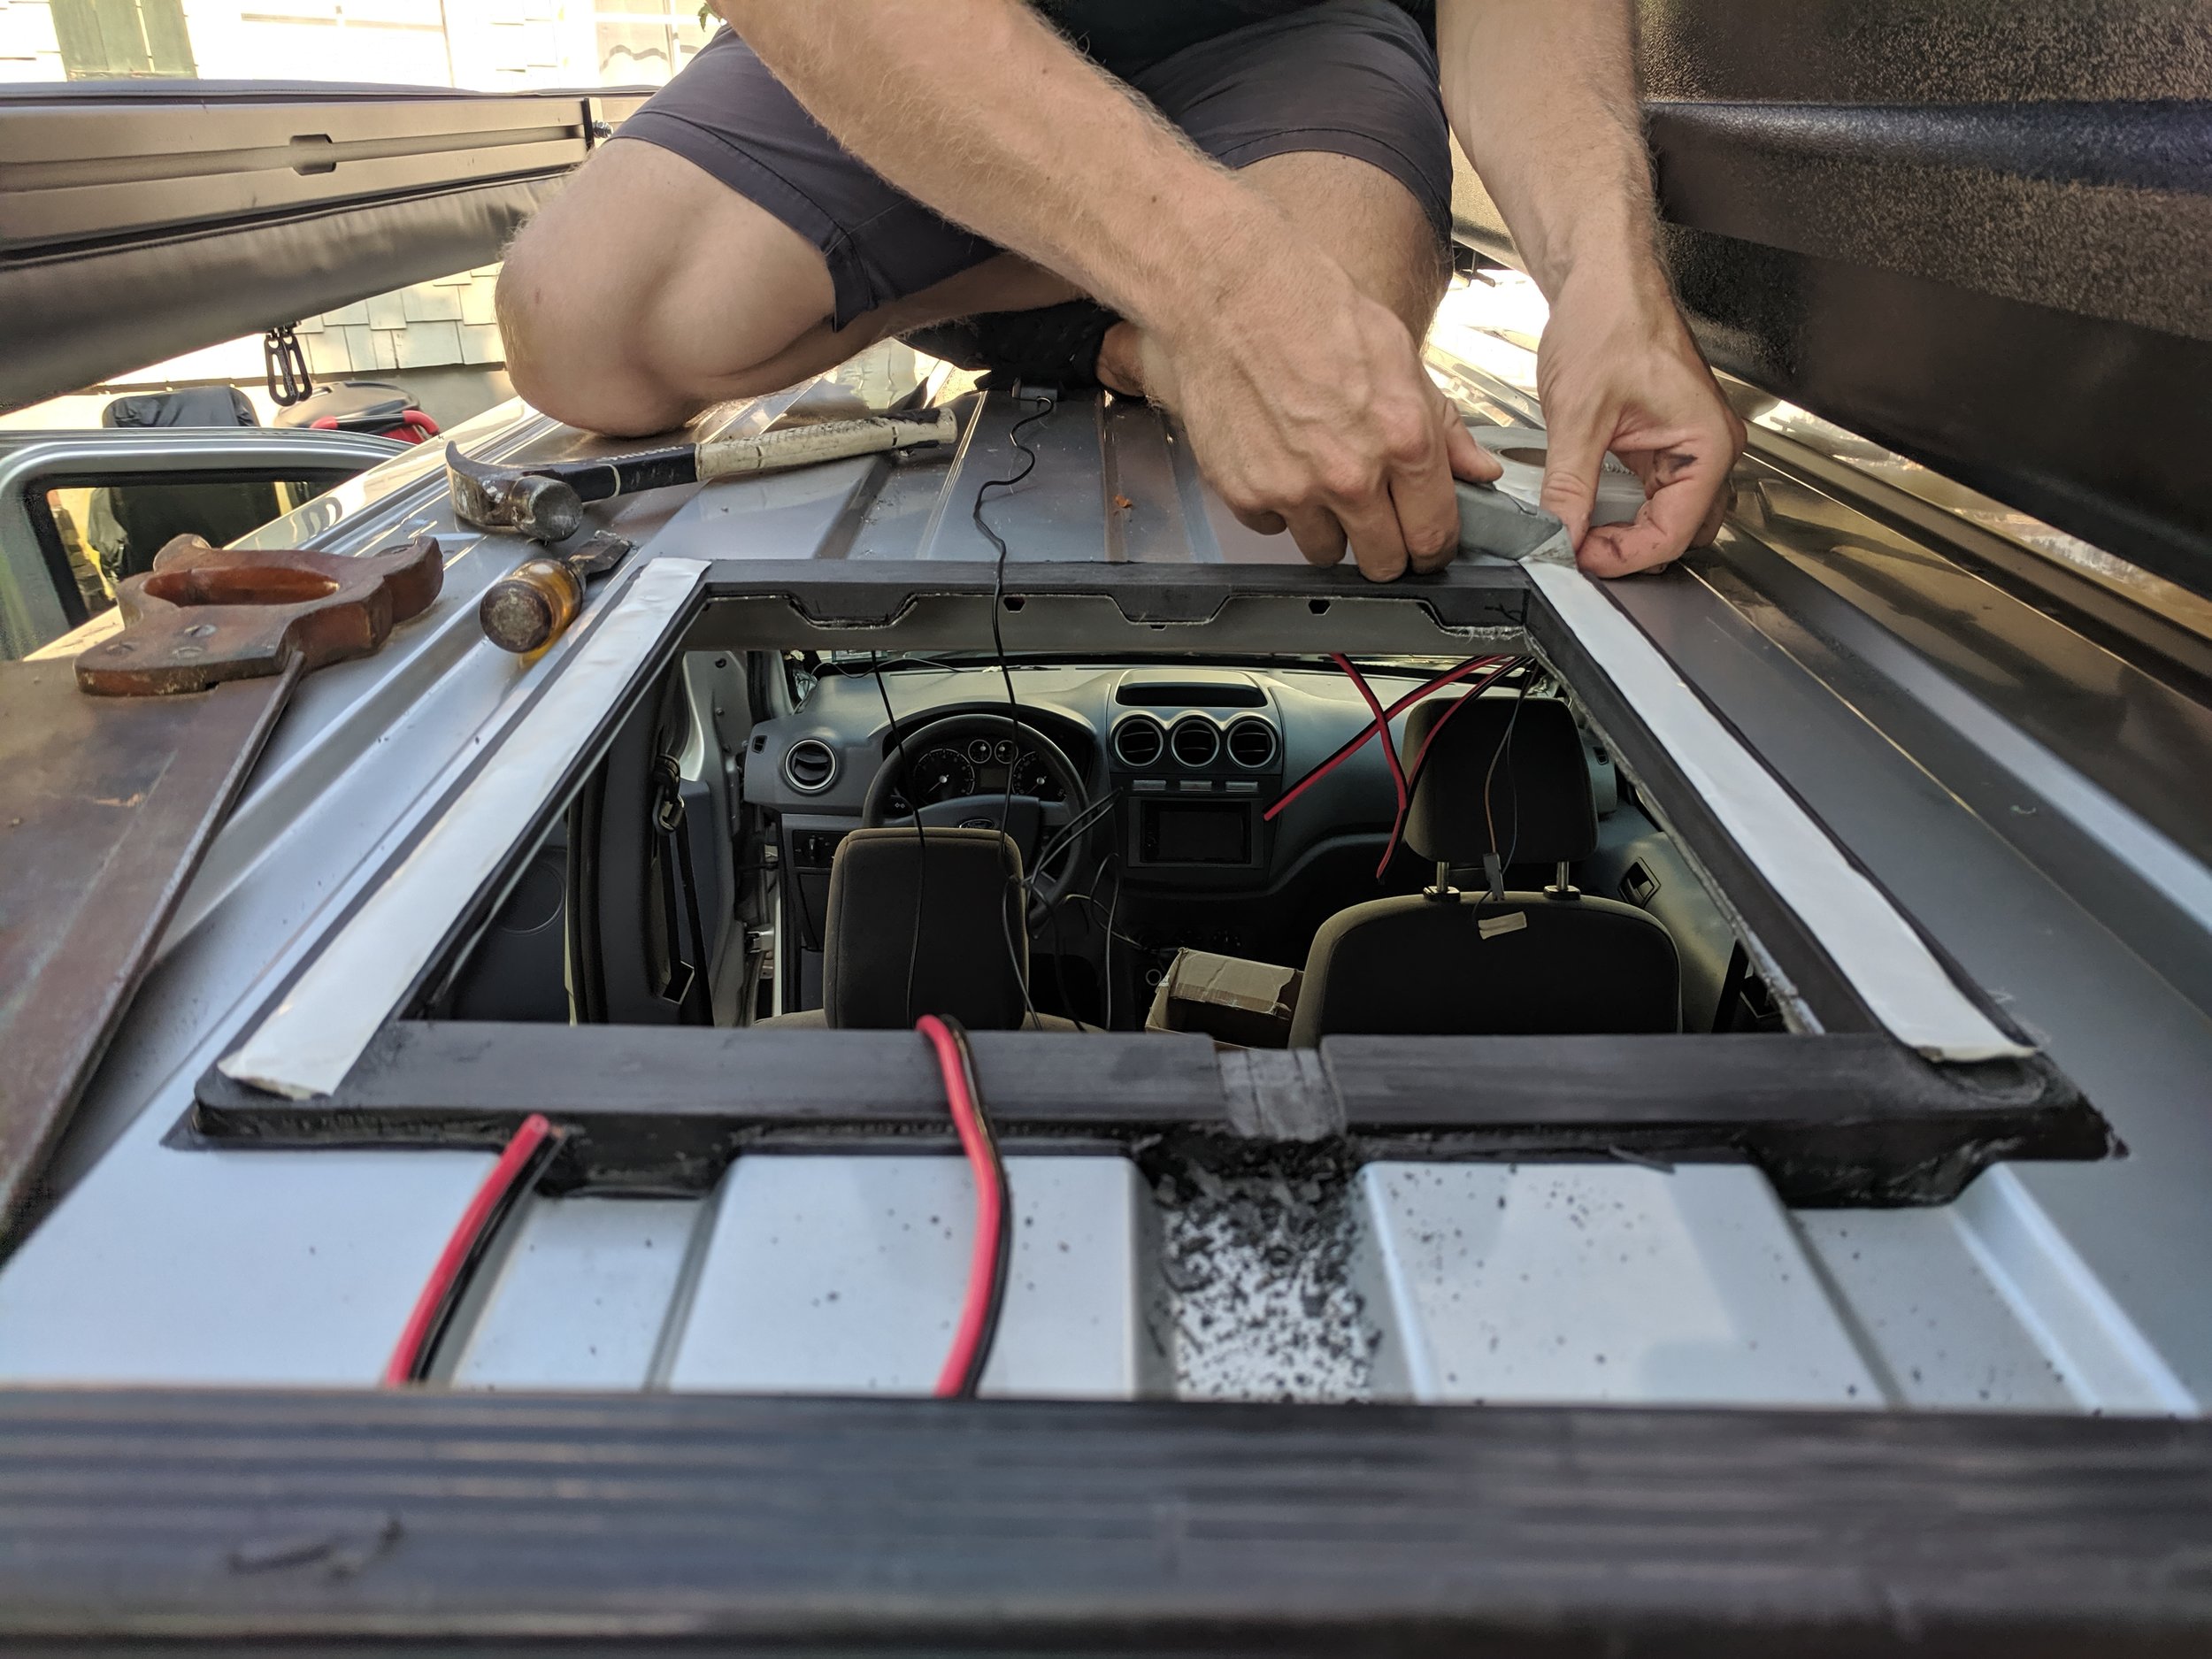
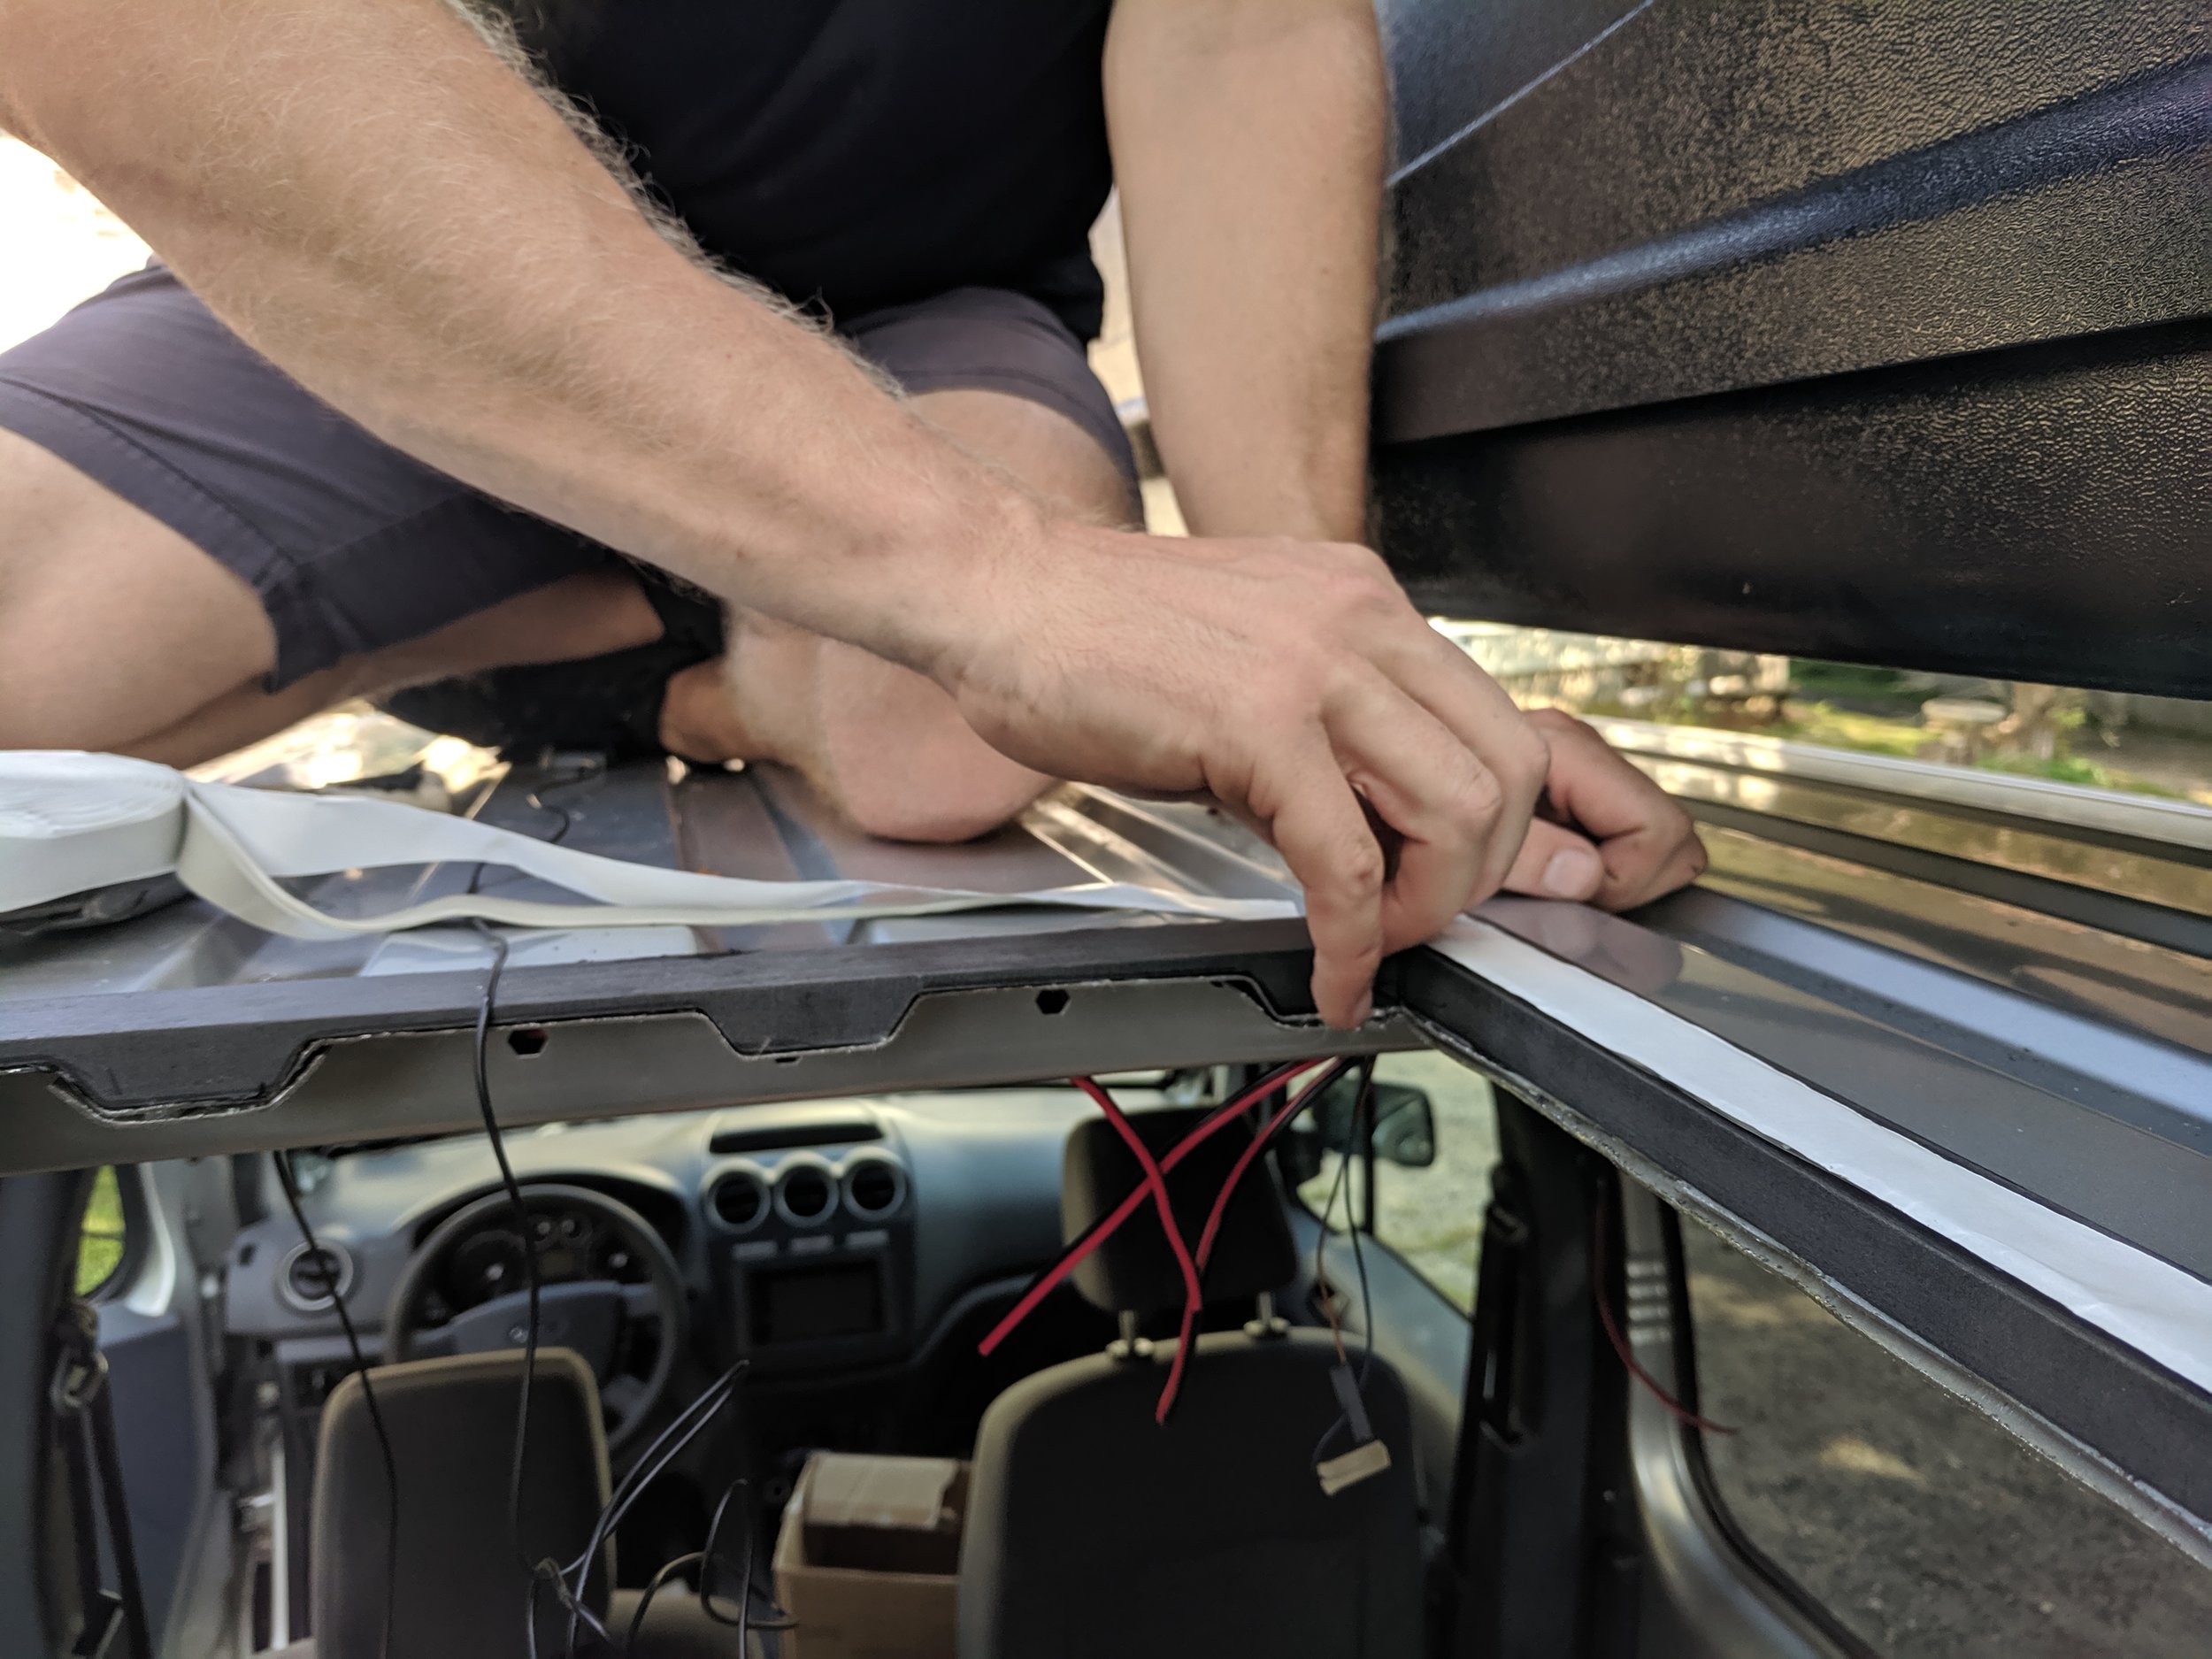
ROOF VENT
As John stressfully recounts, “Cutting a hole in the roof of your vehicle is awful.” But the addition of the roof ventilation fan will add much needed air flow and circulation, mainly while sleeping.
The roof vent that we chose for our conversion functions as an intact and exhaust fan, meaning it pulls and pushes air, which will be helpful in varying climates. It even has a thermostat!


LIGHTING
John has added several interior and exterior lights. The interior lights will mainly function as reading lights, which will be accessible in the sleeping area.
The exterior lights will illuminate the back of the van, where the kitchen is located (more on that in our upcoming Storage post), as well as the drivers side of the van where the shade awning is located (more on that in our upcoming Comfort post).
Stay tuned! Have questions about our van conversion? Comment below!
Interested in the materials we sourced for the van’s electrical upgrade?